
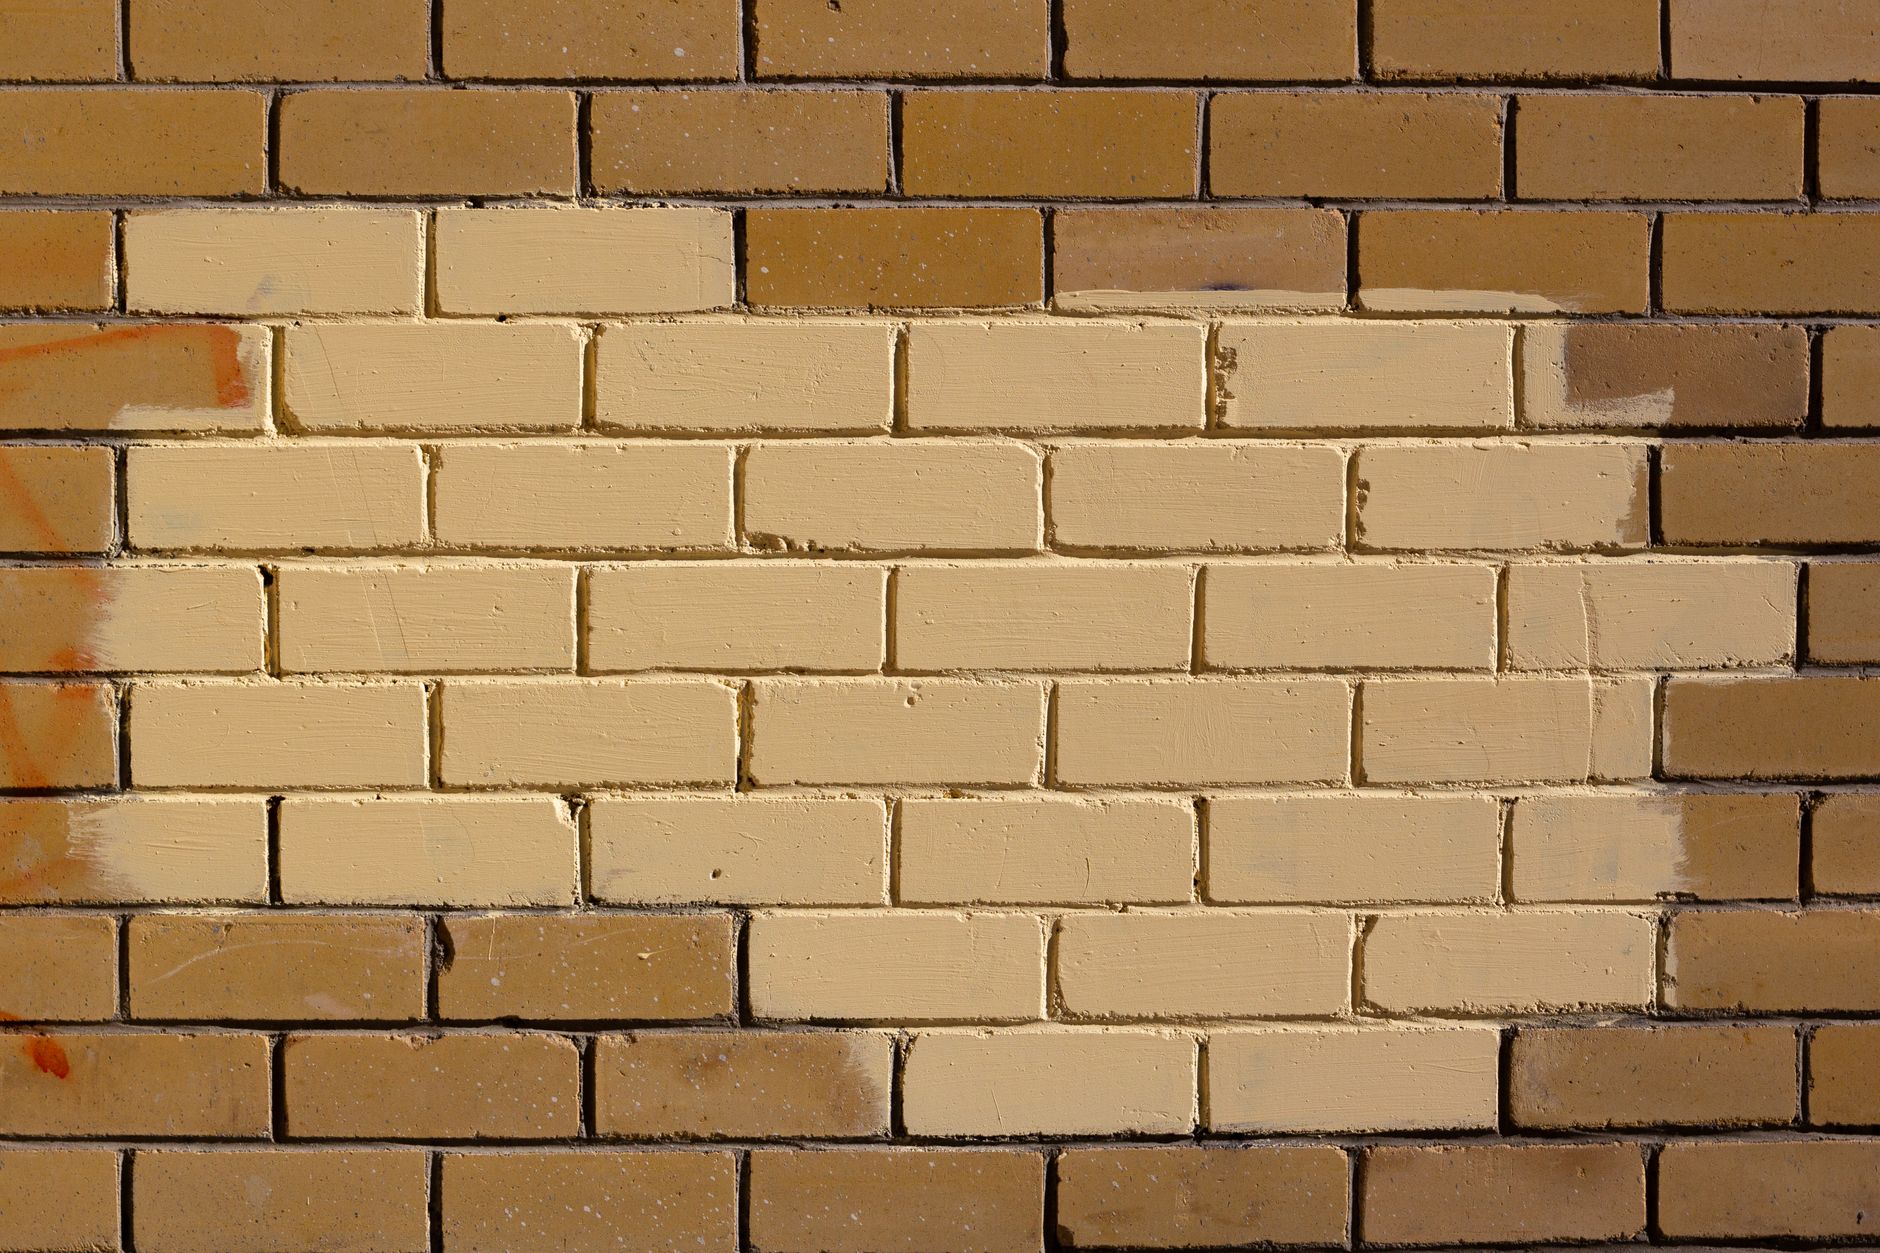
Garden walls are one of the most overlooked painting projects in any Melbourne home. They sit outside in full sun, get rained on repeatedly, deal with ground moisture wicking up from below and still somehow need to look presentable year-round. Most homeowners approach them the way they'd approach an interior wall. That's the mistake. A garden wall is closer to an exterior concrete floor in terms of how hard it is on paint.
What type of surface are you dealing with?
Before you open a tin, work out exactly what your wall is made of. Brick, rendered masonry, natural stone, Besser block and poured concrete all behave differently under paint. Rendered masonry is the most common in Melbourne garden walls, and it absorbs paint heavily on the first coat. Bare brick needs a masonry primer that's breathable, not film-forming. Stone is porous and often slightly greasy with mineral deposits. Each surface type changes which primer and topcoat you need.
Check for efflorescence first. That's the white, powdery salt residue that appears on brick and render after moisture pushes salts to the surface. It looks minor. It isn't. Paint applied over efflorescence will flake within months because the salt crystals keep migrating through the film. Brush it off with a stiff bristle brush, treat the area with a diluted muriatic acid wash (following the product instructions carefully), rinse thoroughly and let the wall dry for at least 48 hours before you prime.
How to clean and prepare a garden wall properly
Preparation on a garden wall takes longer than the painting itself. That's not an exaggeration. A wall that's been outside for more than two years will have algae, mould, lichen or general grime embedded in its surface. A garden hose won't shift it. You need a pressure washer set to at least 2,500 PSI for masonry, or a scrub with a sugar soap solution and a stiff brush for smaller sections.
Patch cracks before you prime. Hairline cracks in render tend to open and close with temperature changes, so use a flexible exterior filler rather than a rigid cement-based product. Anything wider than 3mm needs proper preparation: cut the crack out slightly with a grinder or chisel to give the filler something to key into, pack it in two layers if it's deep, and sand flush once cured. A rigid filler in a moving crack will crack again within 12 months.
Let the wall dry completely after washing and patching. In Melbourne's cooler months, that can take 3 to 5 days. Paint applied to damp masonry traps moisture underneath the film, and that moisture has nowhere to go except back through the paint as bubbles or flakes. If you're not sure whether the wall is dry enough, tape a square of plastic sheeting to the surface and leave it for 24 hours. Condensation forming on the underside of the plastic means moisture is still moving through the wall.
Choosing the right primer and paint
For rendered masonry garden walls, a penetrating masonry sealer or alkali-resistant primer is the right starting point. Render is alkaline, and standard primers can react with the alkalinity to cause yellowing or adhesion failure. An alkali-resistant primer stops this. Apply it by roller with a 15mm nap sleeve so it gets into the texture.
For the topcoat, use an exterior acrylic paint rated for masonry. Don't use interior paint outdoors. Interior formulas don't contain the UV stabilisers and fungicides that exterior products carry, and Melbourne's UV index sits high enough for most of the year to degrade an interior-grade film within one summer. Look for a product with a micro-elastomeric formulation if your wall shows fine surface cracking; these paints flex slightly rather than cracking when the substrate moves.
Sheen level matters outdoors. A flat or low-sheen finish hides surface imperfections better, but a semi-gloss or satin exterior paint sheds water more efficiently and resists mould better in shaded spots. For a garden wall that gets full afternoon sun, low-sheen exterior acrylic is a practical choice. For a wall under tree cover that stays damp, go one sheen level higher. The same logic applies to interior surfaces: if you want to understand how sheen performs under heavy-use conditions, the principles covered in managing paint sheen on high-traffic commercial walls translate directly to high-exposure exterior surfaces.
How to apply the paint
Work on a dry day with temperatures between 10°C and 30°C. Melbourne's weather is unpredictable, so check the Bureau of Meteorology forecast for at least 48 hours ahead. Paint needs time to cure after application and rain within 4 hours of a fresh coat can wash it off or cause surface pitting.
Apply two full coats of primer on bare or previously unpainted masonry. One coat won't seal the porosity adequately. For the topcoat, two coats are the minimum; three coats on walls with heavy texture or those facing west and getting full afternoon sun. Work from top to bottom so any drips get picked up in your next stroke. Use a 20mm nap roller for the field and a 50mm brush for edges and the base of the wall near the ground line.
Don't thin the paint unless the manufacturer specifically allows it. Thinning exterior masonry paint reduces film build, which reduces hiding power and durability. If the paint is dragging on a hot day, work in the shade or start early in the morning when the surface is cooler.
Protecting the base of the wall
The bottom 200mm of a garden wall is where most painted finishes fail first. Ground moisture wicks up through the base, mulch and garden beds press against the render, and sprinkler systems hit it repeatedly. A few practical steps extend the finish significantly. Clear a gap between garden beds and the wall base. If the wall is in an area prone to moisture problems, apply a clear penetrating water repellent to the bottom section before priming. This doesn't replace primer; it goes on before it as an additional barrier.
If you're noticing broader moisture-related paint failure across your property, it's worth reading about how poor ventilation causes paint damage because the same moisture movement that affects interior surfaces can also drive persistent peeling at external wall bases.
How often does a garden wall need repainting?
A well-prepared and properly painted garden wall in Melbourne should hold its finish for 7 to 10 years in a sunny, open position. Shaded walls with persistent damp may need attention every 5 years. The first sign of failure is usually a chalky, powdery surface when you rub your hand against it. That's UV breakdown of the paint film. At that stage the wall needs cleaning, a fresh coat of primer where the film has broken down, and two topcoats. Catching it at the chalking stage is far cheaper than waiting for flaking and delamination to set in.
If the garden wall is part of a broader exterior repaint or you're planning a full property refresh, understanding how exterior house painting protects your home long-term will help you coordinate the timing and products across all surfaces rather than treating the garden wall as an isolated job.
Done correctly, a painted garden wall holds up against Melbourne's mix of summer UV, winter rain and everything in between. The prep work is unglamorous, but it's what separates a finish that lasts a decade from one that starts peeling by the following spring.