
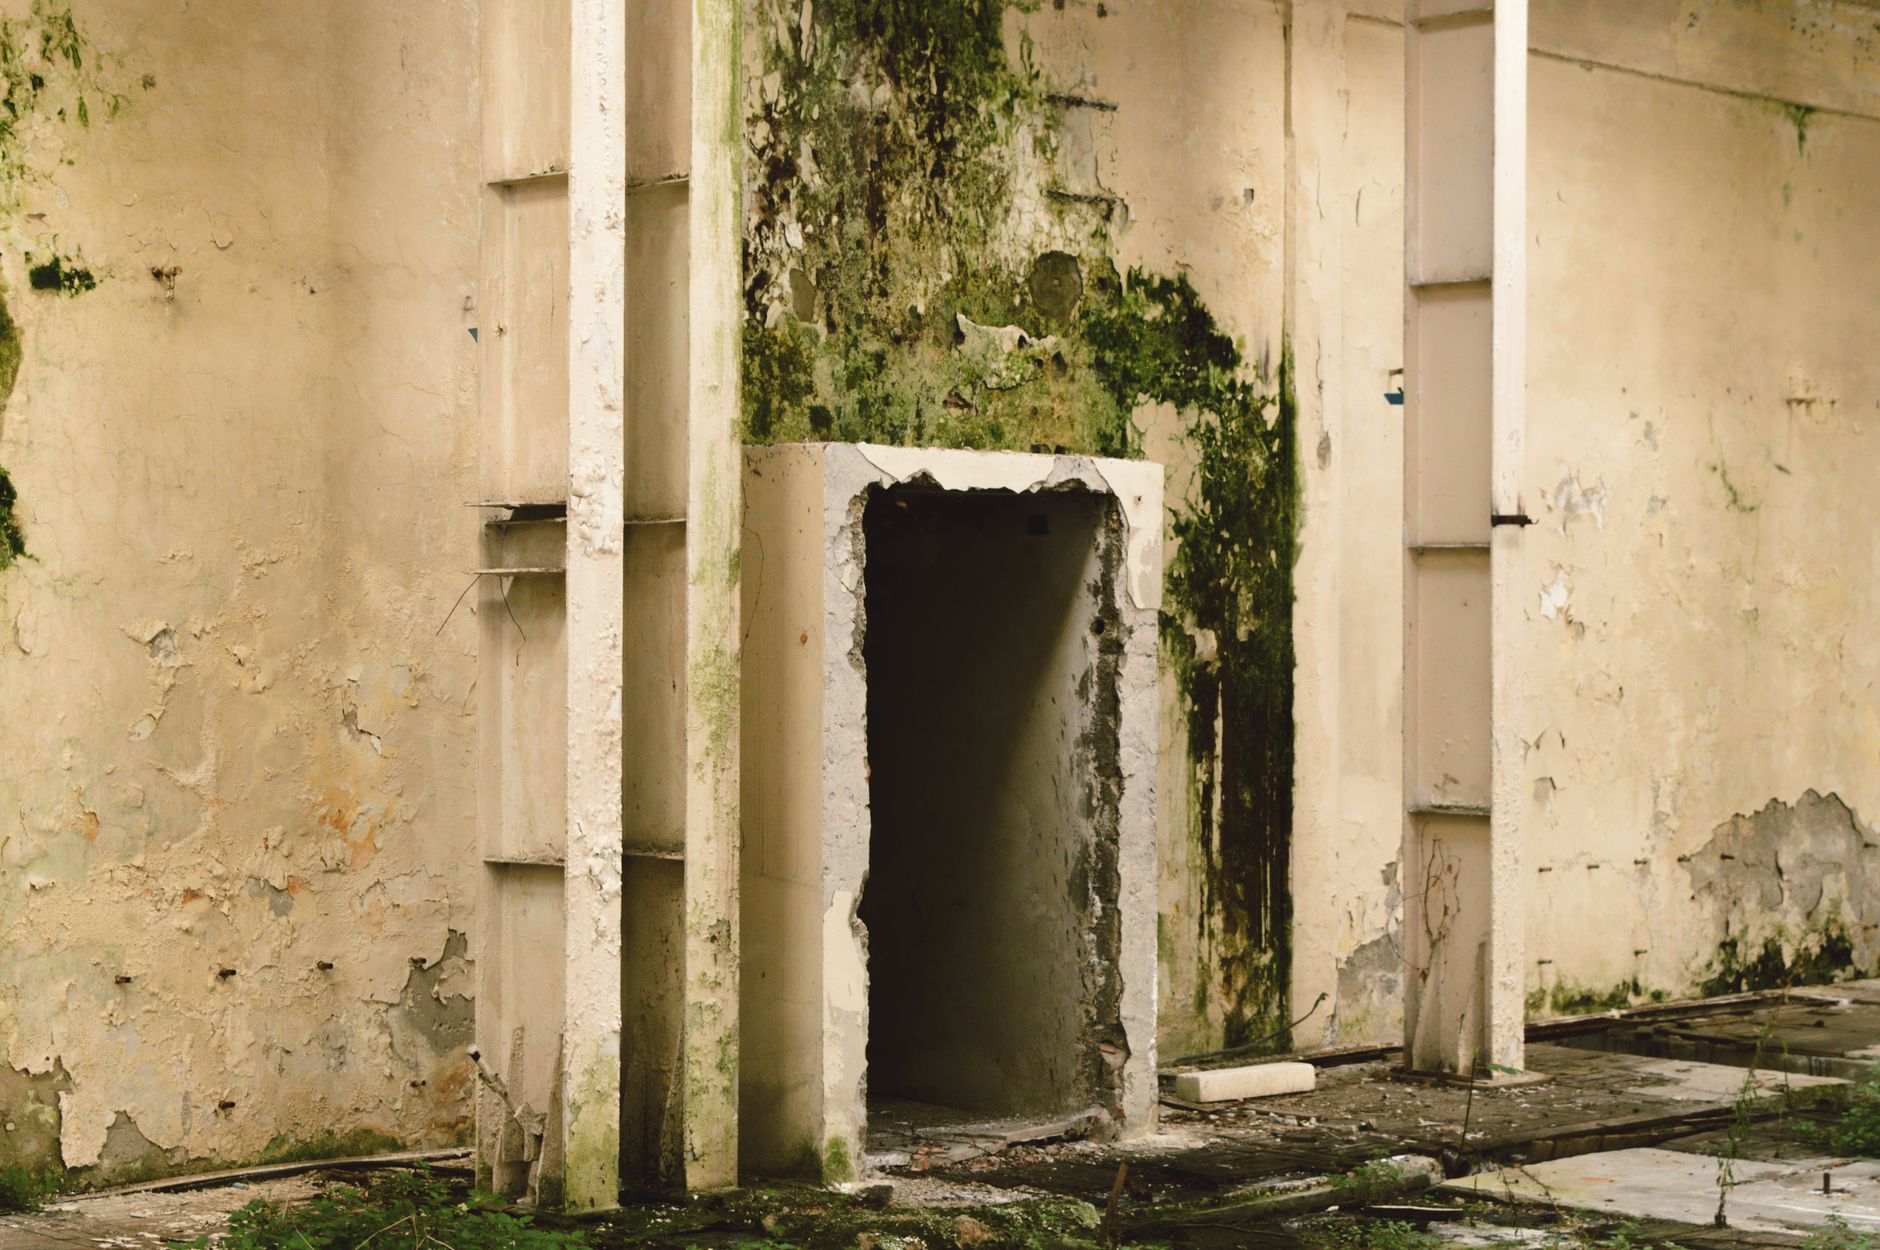
Poor ventilation causes paint to fail faster than almost any other factor in a residential property. Moisture that has nowhere to go builds up inside wall cavities, behind surfaces and against ceilings until the paint starts to show the strain. Most homeowners blame the paint, the painter or the product. The real problem is usually the air.
Why ventilation affects paint so directly
Paint forms a semi-permeable film over the surface it covers. That film tolerates normal humidity swings, but persistent, trapped moisture is a different matter. When warm, damp air inside a room contacts a cooler wall or ceiling surface, it condenses. That condensation works under the paint film over time, weakening the bond between the coating and the substrate. In a well-ventilated home, the moisture disperses before it accumulates. In a poorly ventilated one, it doesn't get the chance.
Apex Painting sees this pattern repeatedly across Melbourne homes, particularly in bathrooms, laundries, kitchens and rooms with sealed double-glazing that was retrofitted without upgrading the exhaust capacity. The suburbs with older housing stock tend to compound the problem: draughtproofing was added over decades, but ventilation was never upgraded to compensate.
The four main signs of ventilation-related paint damage
Each type of damage has a distinct visual signature. Knowing which one you're looking at tells you something specific about where the moisture is coming from.
Blistering. Small, raised bubbles appear on the surface, usually near skirting boards, window reveals or the lower sections of bathroom walls. The bubbles form when moisture vapour trapped beneath the paint film heats up and expands. Pop one and you'll typically find the substrate beneath it is damp or discoloured. Blistering near the ceiling in a bathroom almost always points to an underperforming exhaust fan or none at all.
Flaking and peeling. Where blistering is an early warning, peeling is the next stage. The paint film lifts away in strips or sheets, often taking primer and filler with it. Peeling in large sections across a ceiling suggests prolonged condensation, not a one-off moisture event. A single leaking pipe produces a localised stain; poor ventilation produces broad, progressive peeling that migrates across the surface.
Mould growth. Dark spotting, usually black or greenish-grey, appears in corners, on ceilings and along grout lines in painted tile areas. Mould on paint is not just a cosmetic issue. It signals that the surface has stayed damp long enough for spores to colonise it. Wiping it away without fixing the ventilation problem means it will return within weeks. In severe cases the mould penetrates the substrate, and a repaint alone won't fix it.
Yellowing and staining. Nicotine and cooking grease are well-known causes of paint discolouration, but moisture can produce a similar effect. Watermarks and tide lines appear where condensation has pooled and dried repeatedly. On ceilings, a ring-shaped stain that isn't directly below a wet area above is a reliable indicator of condensation rather than a leak.
The rooms most at risk
Bathrooms are the obvious candidate, but kitchens, laundries and even bedrooms with poor cross-ventilation carry the same risk. If you're painting a laundry room without upgrading ventilation first, the new finish will show stress in as little as 12 months in Melbourne's humid summer periods. Bedrooms with sealed windows in heritage homes are also vulnerable, particularly if the occupants dry clothes indoors during winter.
Garages converted to living spaces are a particular problem. The original structure was never designed to manage the moisture load of a habitable room, and owners rarely install adequate exhaust capacity during conversion.
How to distinguish ventilation damage from other causes
Several other issues produce paint damage that looks similar on the surface. The pattern and location of the damage usually separate them.
Penetrating damp from a cracked render or failed flashing produces paint damage from the outside in. The moisture source is external and directional. Ventilation-related damage comes from inside the room and spreads across the surface more evenly. If the damage is worst on interior walls with no external exposure, ventilation is the likely culprit. If it tracks along one external wall or appears below a window, start looking outside first. Our article on protecting rendered walls from cracking and moisture damage covers the external failure modes in detail.
Substrate movement is another confounding factor. Hairline cracks in paint over plasterboard can look like moisture damage but actually result from the board flexing. Moisture cracks tend to be broader, often discoloured at the edges, and surrounded by soft or spongy substrate. Flex-related cracks are usually clean-edged and dry.
What to do before you repaint
Repainting over ventilation damage without fixing the underlying cause is a short-term fix that costs money twice. Before Apex Painting touches a surface affected by persistent moisture, the ventilation problem needs to be resolved.
Start with the exhaust. Australian Standard AS 1668.2 specifies minimum exhaust rates for wet areas. A bathroom of 10 square metres requires at least 25 litres per second of exhaust capacity. Most builder-grade fans installed before 2010 fall short of this, particularly after bearing wear reduces their output. Replacing the fan unit is a straightforward fix that costs far less than a repeated repaint cycle.
Check that the exhaust actually vents to outside. A surprising number of bathroom fans in older Melbourne homes exhaust into the ceiling cavity rather than through the roof or eave. That transfers the moisture problem from the bathroom walls to the ceiling structure.
Once ventilation is confirmed adequate, let the affected surfaces dry out fully. In a room with persistent damp, this can take 2 to 4 weeks with the improved ventilation running. Rushing the dry-out produces the same failure in the new paint film.
Surface preparation then follows: strip the failed paint, treat any mould-affected substrate with a registered biocide, allow it to dry, and prime with a moisture-resistant primer before applying the topcoat. Skipping the biocide treatment means the mould will return regardless of how good the topcoat is.
Choosing the right paint for high-moisture areas
Standard low-sheen acrylic is not suitable for bathrooms, laundries or kitchens. In those spaces, Apex Painting uses semi-gloss or gloss acrylic formulations with anti-mould additives. The higher sheen level sheds moisture rather than absorbing it, and the additive package inhibits spore growth on the film surface. Dulux Aquanamel and Taubmans EnduraShield are two Dulux and Taubmans products formulated for wet areas, and both perform well when the substrate has been properly prepared.
The paint choice matters, but it's the third decision, not the first. Fix the ventilation, prepare the surface, then choose the right product. In that order.
When to call a professional
Spot blistering in a single bathroom is a job most homeowners can manage with the right preparation. Widespread mould penetration, peeling across multiple rooms, or damage that has reached the plasterboard or render substrate is a different matter. At that point the scope of preparation work is significant and the risk of trapping residual moisture under a new paint film is real if the dry-out is rushed.
Apex Painting offers assessments for properties where the source of paint failure isn't immediately clear. Correctly diagnosing the cause before committing to a repaint saves the cost of repeating the job in two years. If you're also watching for other early warning signs on the outside of your home, it's worth reviewing how to spot the early signs of exterior paint failure before they become a larger problem.