
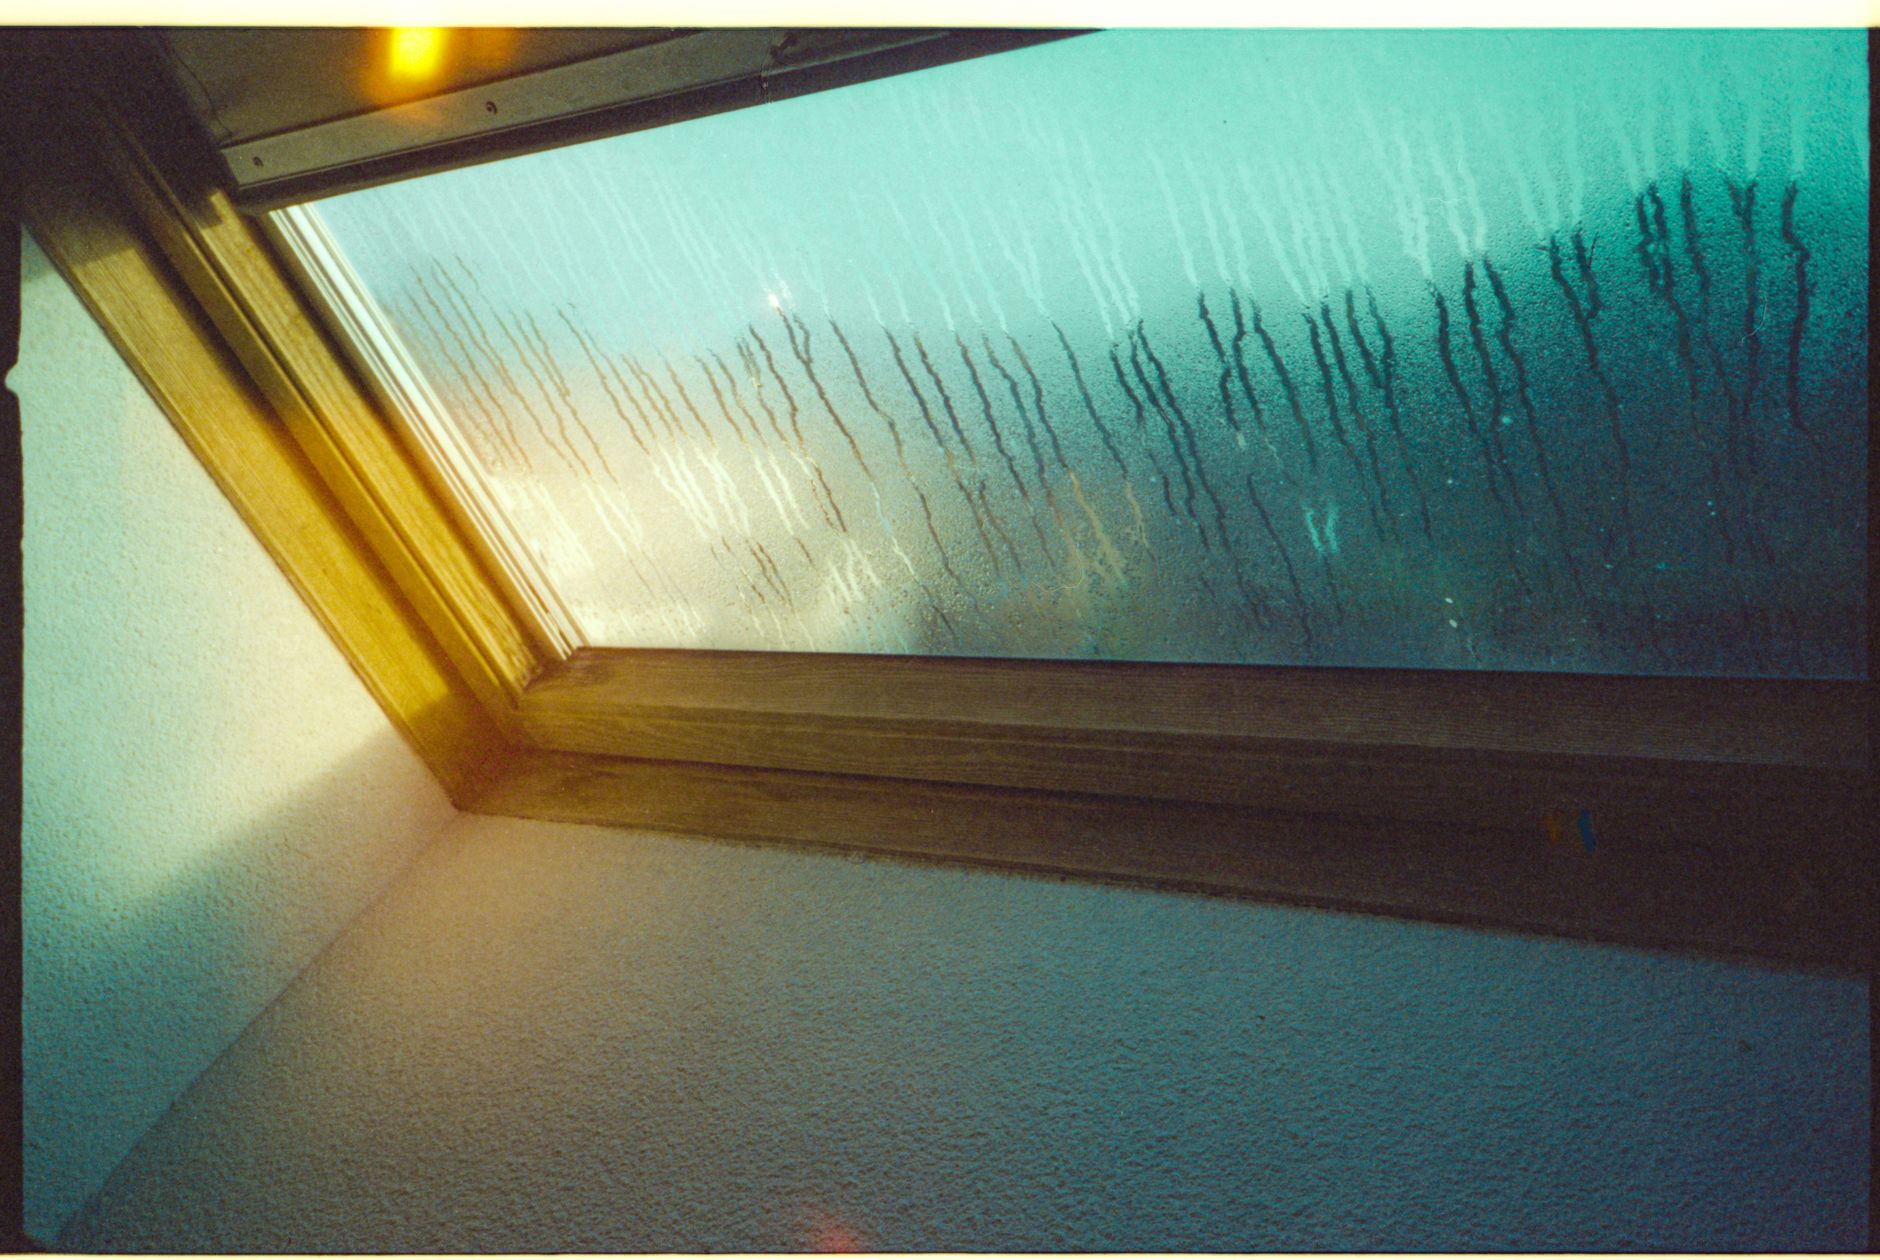
Condensation damage on interior walls is a category of paint failure that most homeowners treat backwards. They scrub off the mould, slap on a fresh coat, and wonder why it's peeling again by winter. The problem isn't the paint. It's what's happening inside the wall itself, and fixing the surface without addressing the cause is a cycle that keeps repeating until someone does it correctly.
What condensation damage actually looks like
Interior condensation doesn't announce itself cleanly. It arrives as soft patches of discolouration, usually grey or greenish, that feel slightly damp to the touch even after warm, dry days. Paint starts lifting at the edges of these patches, not in dramatic sheets, but in slow, papery curls that come away if you press them. Skirting boards below the affected area often show swelling or staining at the base.
The location is the tell. Condensation damage concentrates on cold walls, typically external walls on the south or west side, on ceiling corners where warm humid air meets a cold surface, and in rooms with poor air circulation. Bathrooms and laundries are obvious candidates, but bedrooms with sealed windows and kitchens without rangehoods are just as common. If the damage clusters near the ceiling line of an external wall, condensation is almost certainly involved.
What looks like a paint problem is often a thermal problem. The wall surface drops below the dew point of the interior air, water vapour condenses on or inside it, and the moisture works its way into the paint film. The paint fails. Mould follows.
The difference between condensation damage and a leak
Distinguishing condensation from a roof or plumbing leak matters because the fix is completely different. Leak damage typically presents in a defined ring or tide mark, starting at one point and spreading downward with gravity. The staining is usually yellow or brown, and it's worst directly after rain. If you've already read about how to handle paint damage after a roof leak, you'll know those repairs start with finding and fixing the water source before any painting begins. Condensation damage doesn't follow that pattern. It appears across a broad area, worsens in cold weather regardless of rain, and improves when the house is well-ventilated. There's no single entry point to find.
Press a piece of plastic sheeting flat against the wall and tape all four edges. Leave it for 48 hours. If moisture forms between the plastic and the wall, the source is inside the wall or behind it. If moisture forms on the outside of the plastic, facing into the room, you're dealing with condensation from the interior air hitting a cold surface. That distinction determines everything that follows.
Treating the wall before repainting
Repainting over active condensation damage without preparation is the most reliable way to reproduce the problem. The process has four distinct steps, and none of them can be skipped.
- Kill the mould correctly. Sugar soap and water removes mould visually but doesn't kill the spores. Use a diluted bleach solution (1 part bleach to 4 parts water), scrub the area thoroughly, and allow it to dry completely, which takes at least 48 hours in Melbourne's cooler months.
- Strip the damaged paint. Any paint that has lifted, softened or lost adhesion needs to come off. Feather the edges of the remaining paint so there's no hard ridge, and sand the bare area smooth.
- Prime with a moisture-tolerant primer. Standard water-based primers applied over a condensation-prone wall will fail at the same rate as the original finish. An oil-based or stain-blocking primer, applied to clean, fully dry substrate, breaks the failure cycle. Zinsser BIN or a similar shellac-based product is the standard choice for areas with a history of mould.
- Allow full cure before topcoating. Rushing from primer to topcoat traps residual moisture. Two full days of cure time at minimum, more in cooler weather.
Choosing the right paint for condensation-prone walls
Paint choice on a condensation-affected wall isn't primarily about colour. It's about the right sheen level and moisture resistance. Low-sheen and flat paints are porous enough that moisture penetrates the film repeatedly. Semi-gloss or satin finishes resist surface moisture better and are easier to clean when mould reappears. That matters because condensation problems rarely resolve completely with paint alone.
Products with built-in mould inhibitors are worth using, but they're not a substitute for fixing the underlying cause. Dulux's Wash and Wear range, Taubmans' Endure, and Haymes' Ultra Premium are three products with mould-resistant additives that suit interior use. Apply two full coats rather than one heavy one. Two thin coats are more consistent and less prone to sagging on cool surfaces.
If the wall is in a bathroom or laundry, the guidance on how poor ventilation causes paint damage is directly relevant, because the same conditions that generate condensation are almost always tied to inadequate airflow in these rooms.
Addressing the ventilation problem
Paint cannot solve a ventilation deficit. It can slow the visible symptoms, but it won't stop condensation from forming on a wall that's regularly colder than the dew point of the interior air. Repainting is always part of the answer, never all of it.
Practical changes that reduce interior condensation include installing or upgrading exhaust fans in bathrooms and laundries so they vent to the exterior (not into the ceiling cavity), using a rangehood that exhausts outside rather than recirculating, and opening windows for even 10 to 15 minutes a day in cooler months to cycle out humid air. In severely affected rooms, a dehumidifier running during the winter months reduces the moisture load on wall surfaces more effectively than any paint product.
In newer Melbourne homes with double-glazed windows and sealed construction, the problem is often the absence of mechanical ventilation. Older homes with draughty windows inadvertently vented themselves. Sealed homes hold more moisture and need deliberate airflow management.
When to call a professional painter
If the condensation damage covers more than a square metre, if the plaster substrate has softened or crumbled, or if mould recurs within a year of the last repaint, the job is beyond a straightforward DIY fix. Softened plaster needs to be cut out and replaced before repainting begins, and getting the primer and product sequence right on problem walls takes experience. Apex Painting handles condensation-affected interior walls across Melbourne, including surface assessment, substrate repair, primer selection, and topcoating with products suited to the specific moisture conditions in the room.
A poorly executed repaint on a condensation-prone wall costs more to redo than a professional job done once. Getting the prep right the first time is what separates a result that lasts from one that peels by the same time next year.