
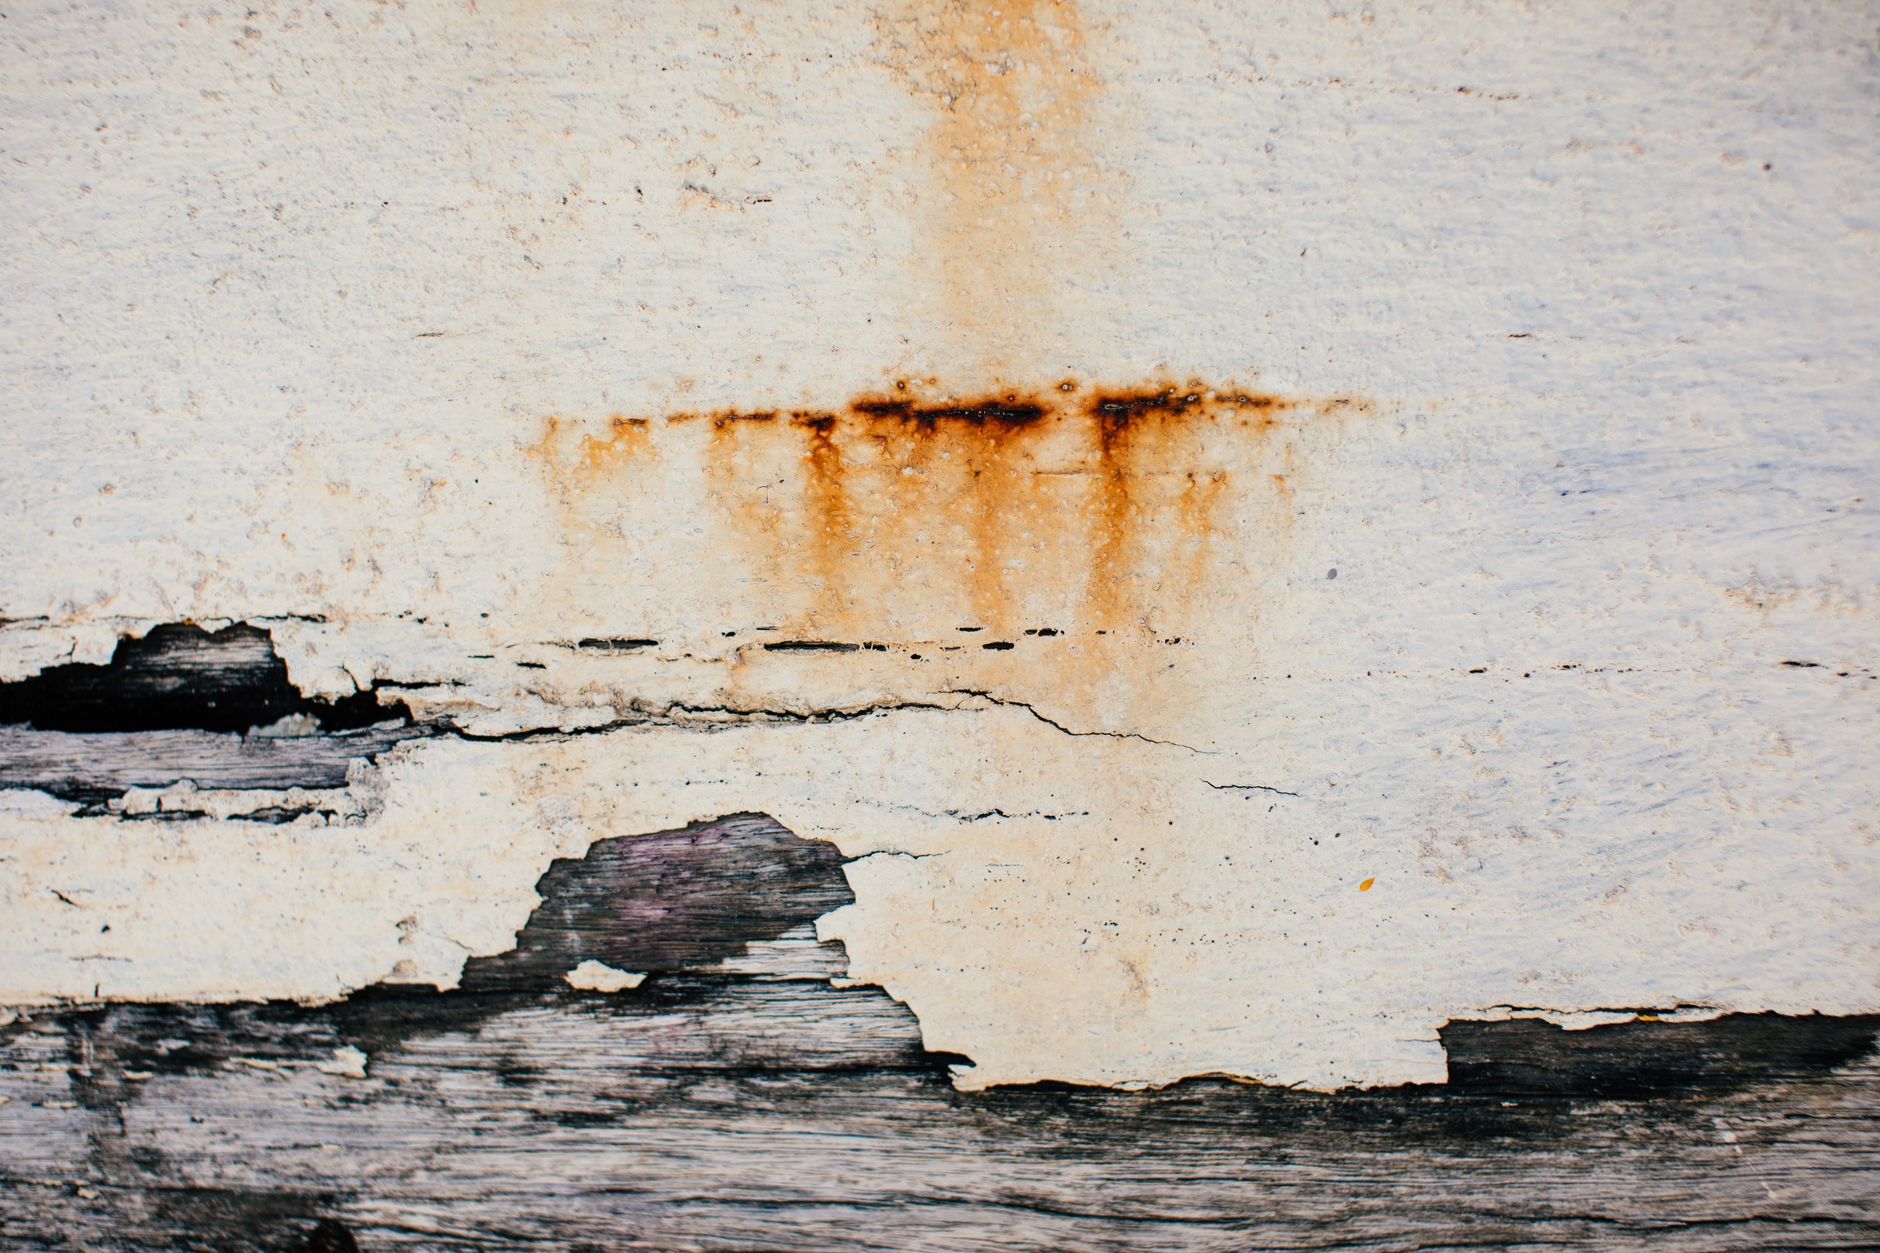
Roof leaks cause two problems: the immediate water damage, and the paint damage that follows once things dry out. Most homeowners focus on fixing the roof itself and treat the interior surfaces as a cosmetic afterthought. That's the wrong order of priority. Repainting over water-damaged surfaces without proper treatment locks in staining, feeds mould, and produces bubbling and peeling within months. Apex Painting handles post-leak remediation regularly across Melbourne, and the same mistakes come up every time.
What a roof leak actually does to painted surfaces
Water migrating through a ceiling or wall doesn't travel in a straight line. It spreads laterally behind plaster and plasterboard, saturating a much wider area than the visible stain suggests. The paint itself lifts from the substrate as water breaks the bond between the film and the surface beneath. On ceilings, this shows up as bubbling, sagging or a brownish tide-mark ring. On walls near windows or eaves, you'll often see long vertical streaks that look like watermarks on glass.
The bigger issue is what happens underneath. Wet plasterboard is a feeding ground for mould, and mould grows behind the paint film before it becomes visible on the surface. By the time black or grey spots appear on the ceiling, the colony behind it is already established. Painting over the top traps moisture and organic matter together, which accelerates further growth rather than stopping it.
Assess before you touch a brush
Don't start any paint work until the source of the leak is confirmed and repaired. This sounds obvious, but Apex Painting regularly visits properties where an owner has repainted a ceiling only to have a second storm reopen the same problem. Verify the roof is watertight first. Then give the affected area at least 72 hours to dry fully in dry weather, longer in winter or after extended wet periods.
Press the plaster with your thumb. If it gives, feels soft or has a hollow sound when tapped, the substrate is compromised and needs cutting out rather than painting over. Plasterboard saturated to the core will not hold paint reliably no matter what primer you apply. Replacing a section of plasterboard is a straightforward repair and far cheaper than dealing with a failed repaint in six months.
Check the area with a moisture meter if you have access to one. Readings above 15% moisture content in plasterboard mean the surface isn't ready for paint. This is the most common reason post-leak repaints fail: the surface looks dry on top but retains moisture at depth.
Treating water stains and mould before repainting
Water stains contain dissolved minerals and organic compounds that bleed straight through standard water-based topcoats. A single coat of Dulux Aquanamel or similar product over a tide-mark stain will not cover it. Within weeks, the stain migrates through the new film and the ring reappears. The correct approach uses a shellac-based or oil-based stain-blocking primer, applied directly to the stained area before any topcoat goes on.
Dulux produces a water-based stain blocker (Dulux Professional Stain Block) that handles most water staining without the odour and ventilation demands of shellac. For severe staining or any surface where mould is present, shellac-based products like Zinsser BIN give a more reliable seal.
For mould, clean the affected surface with a diluted bleach solution (1 part bleach to 4 parts water), scrub firmly, then allow the area to dry completely. Wear gloves and a respirator during this step. Once dry, apply a mould-inhibiting primer before any topcoat. Skipping the primer and going straight to a topcoat marketed as "mould-resistant" won't kill existing spores; it only discourages future growth on the surface film.
Choosing the right topcoat for damaged ceilings
Once the substrate is dry, treated and primed, the topcoat choice matters. Flat or low-sheen ceiling paints are standard for interiors, but in areas prone to condensation or repeated moisture exposure, a low-sheen washable product offers better long-term resistance than a dead-flat ceiling white. The finish looks nearly identical to the eye but holds up significantly better over time.
Colour-matching the new section to the existing ceiling is the other challenge. Paint yellows slightly over time, and a bright white patch on an aged ceiling is immediately obvious. Apex Painting recommends painting the full ceiling plane rather than spot-patching where possible. If budget limits the project to a patch, feathering the new paint into the existing surface with a dry-roller technique reduces the contrast at the boundary. It won't be invisible, but it's far less noticeable than a hard edge.
If you've been dealing with recurring moisture issues and are also noticing broader deterioration on interior surfaces, it's worth reading about how poor ventilation causes paint damage in parallel. Roof leaks and ventilation problems often compound each other in older Melbourne homes, particularly in bathrooms, laundries and rooms beneath low-pitched roofs.
When to call a professional painter
Patch painting after a minor, isolated leak is a reasonable DIY job if the substrate is sound and the staining is contained to less than half a square metre. Anything larger, anything involving mould, or any situation where plasterboard needs cutting out warrants professional involvement. Apex Painting provides post-leak assessments for Melbourne homeowners and can advise on whether a spot repair is feasible or whether a full ceiling repaint is the more cost-effective path.
It's also worth thinking about how this repair fits into your broader exterior paint maintenance routine. Roof leaks often indicate that flashings, gutters or eaves paint have deteriorated to the point where water entry became inevitable. Addressing those surfaces proactively reduces the chance of a repeat interior repair. A fresh interior ceiling repaint following a roof leak is a good prompt to inspect the exterior too, before the next Melbourne winter arrives.
Fix the cause, dry the substrate fully, seal the stain, and then repaint. Done in that order, the repair holds. Done in any other order, it doesn't.