
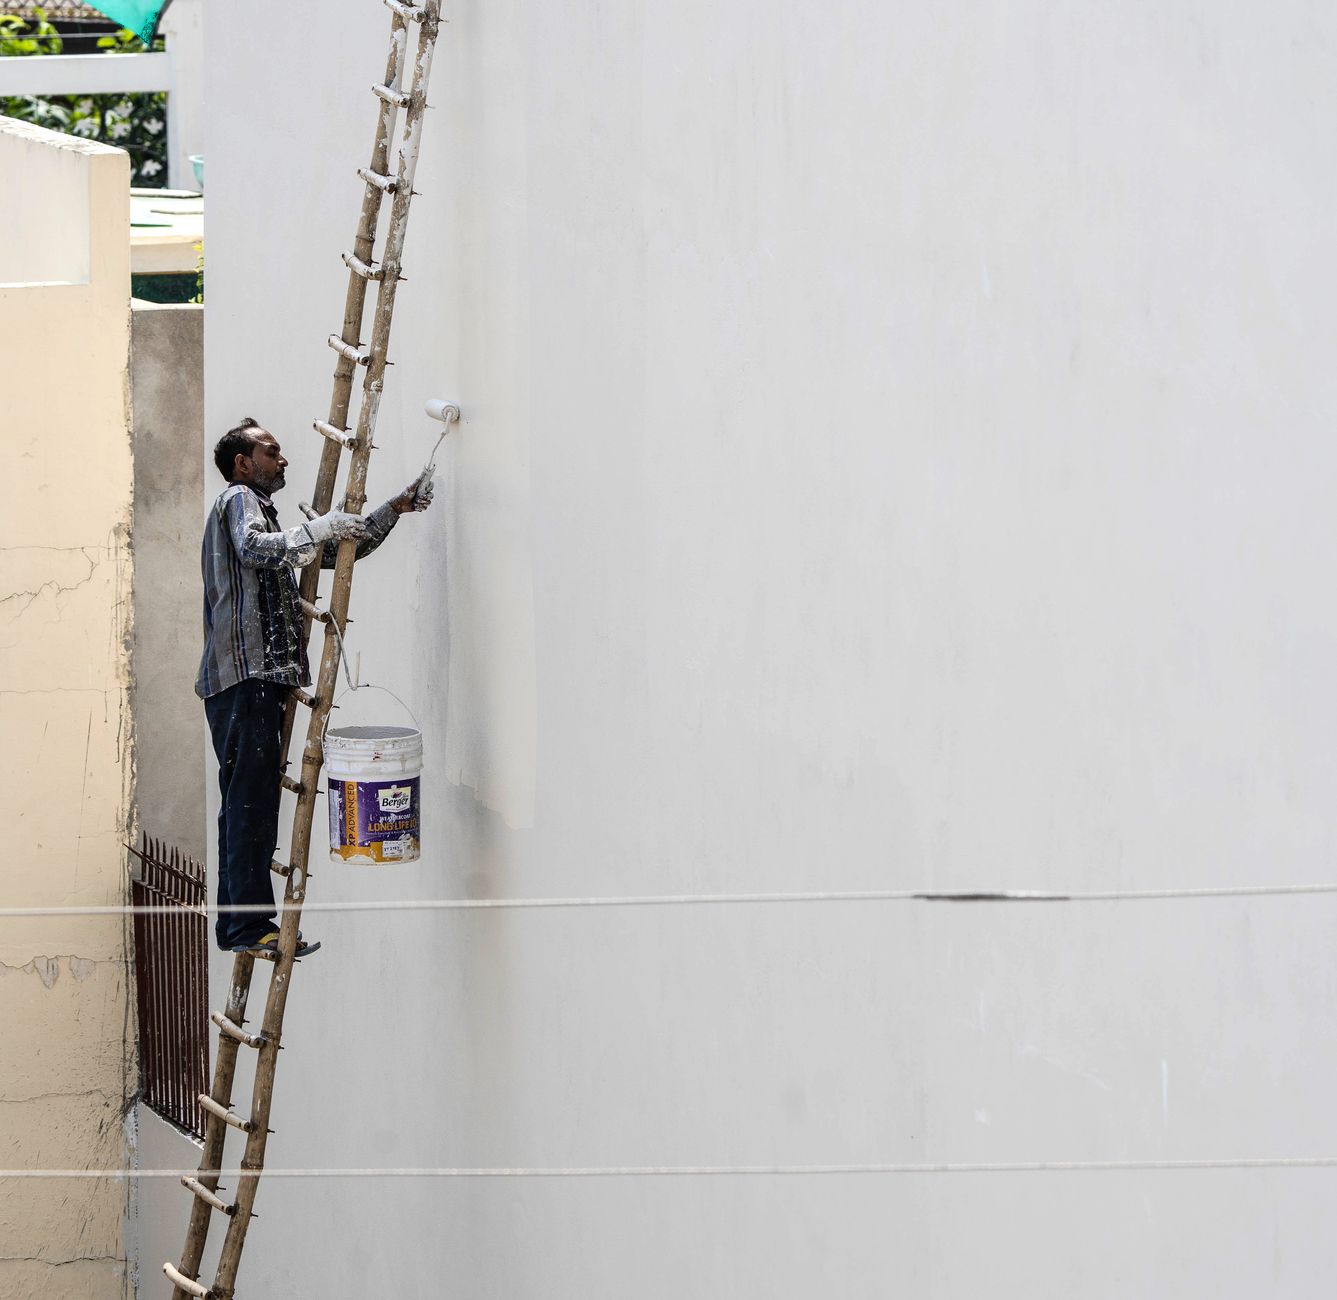
Stairwell painting is one of those jobs that looks deceptively simple from the ground floor. Once you're up a ladder at the halfway point, trying to cut in along a raking ceiling line with your arm at full stretch, the reality sets in fast. The stairwell is where paint jobs go wrong in three ways at once: poor access, inconsistent lighting and surfaces that are genuinely difficult to reach cleanly. Getting it right takes more planning than most other rooms in the house.
Why stairwells are harder than they look
The core problem is height combined with a sloping floor plane. Unlike a bedroom or hallway, a stairwell forces you to work at changing heights as you move around the space. Your ladder feet aren't on level ground, the ceiling line follows the rake of the stairs, and the walls are often tall enough that a standard step ladder won't cut it for the upper sections.
Add to that the fact that stairwells are corridors. There's no room to step back and assess your work from a distance. Lap marks and missed patches are almost impossible to spot until you're back at ground level with good light on the wall. By then, the paint has dried.
Stairwells also get touched constantly. Hands brush the walls on the way up and down, furniture scrapes past during moves, and the skirting boards cop regular scuffs. The paint you choose needs to handle that wear, not just look good on day one. For a closer look at how paint choice affects durability under daily contact, the article on painting skirting boards and architraves like a professional is worth reading before you start on the trims.
Access: the part most people get wrong
Don't start painting until you've solved the access problem. Improvising as you go is how people fall.
For a standard single-storey stairwell with a void to the floor above, a combination ladder (one that converts between step and extension configurations) gives you the most flexibility. You can angle an extension ladder against the stairwell wall and work the upper section, then swap to step mode for the lower run. A ladder standoff bracket, which holds the ladder feet away from the wall, is worth buying. It protects the wall surface and gives you a stable working position without pressing the ladder directly against a freshly painted section.
For double-height stairwells, a stairwell ladder system or a scaffold tower is the safer answer. These are widely available for hire from Kennards Hire and similar equipment suppliers across Melbourne. A hired scaffold platform takes a couple of hours to set up but it pays for itself in time saved, and it removes the genuine risk of a ladder shifting mid-stroke.
Whatever access method you use, have someone at home while you work. A spotter at the base of the ladder isn't just useful, it's basic safety practice on a sloped surface.
Prep: don't skip it because the space is awkward
Prep always matters, but it matters more in a stairwell because you're not going to want to come back and fix problems later. Getting up and down with drop sheets, trays and rollers is already enough effort.
Fill any holes and scuffs first. Stairwell walls take more impact damage than most rooms, so look carefully at the lower metre of wall on the landing side. Sand those patches back flush, prime them, and let the primer dry fully before you paint over. Jumping straight to topcoat over bare filler is one of the most common reasons paint looks uneven at the finish line.
Tape off the skirting boards and architraves. Even if you're confident cutting in freehand, tape is faster to apply than it is to scrape dried paint off timber. Lay drop sheets on each tread as you work down the staircase, moving them one section at a time. Don't try to cover the entire staircase in one go as it's a trip hazard and drop sheets on stairs shift underfoot.
Choosing the right paint for the job
Flat and low-sheen finishes look appealing in a stairwell because they hide imperfections in the plasterwork. The problem is they don't clean well. Stairwells accumulate hand marks at shoulder height and scuff marks lower down, and a flat paint won't survive repeated wiping without losing its surface.
A low-sheen or satin finish strikes the right balance. It's not as reflective as a semi-gloss, so it doesn't exaggerate wall texture, but it cleans without damage and holds up to regular contact. For the skirting boards and architraves, use a semi-gloss or gloss enamel in a water-based formula. It dries harder than wall paint and takes far more punishment.
Colour choice in a stairwell rewards lighter tones. The space is usually poorly lit on the lower sections, and a mid-tone or dark colour can make it feel genuinely oppressive. If you want something other than white or off-white, a warm greige or soft stone tone reads as calm and spacious rather than heavy. For guidance on how paint colours respond to different light conditions in enclosed spaces, the post on choosing paint colours for a north-facing room that gets afternoon shade covers the underlying principles well.
Technique: ceiling line first, walls second
In a stairwell, the raking ceiling line is the most technically demanding cut. Do it first, when your arm is fresh and your eye is sharp.
Use a quality angled brush, 50mm or 63mm wide, and cut along the ceiling-to-wall junction following the slope of the stairs. Work from the top of the stairwell down. Keep a damp cloth within reach for any drips that land on surfaces below.
Once the ceiling line is cut, roll the walls in sections. Don't try to roll the entire stairwell in one continuous pass from top to bottom. Work in manageable panels, moving your access equipment rather than overreaching. Overreaching is both dangerous and produces uneven pressure on the roller, which leaves lines in the finished coat.
Apply two coats. One coat is rarely enough in a stairwell because coverage is uneven when you're working at awkward angles. Let the first coat dry fully, 2 hours minimum for water-based paints in Melbourne conditions, before you roll the second. Touch-test in a hidden spot rather than going by the clock alone.
Lighting while you work
Natural light in stairwells is usually poor. Even if there's a window on the landing, it won't illuminate the full height of the wall evenly. Bring a portable work light and position it so it rakes across the wall surface at a low angle. Raking light reveals wet film edges, lap marks and missed spots that you'd never catch in flat overhead lighting.
Check each section in raking light before you move on. A patch you missed at the top of a stairwell is not easy to get back to.
A job worth doing carefully
A well-painted stairwell lifts the whole house. It's often the first interior surface visitors see when they come in, and it connects every floor of the home visually. The access setup adds time, but it's the only part of the job that can't be rushed. Everything else follows standard painting discipline: good prep, the right products and two solid coats.
If the height or the access puts you off, Apex Painters Melbourne paints stairwells regularly and carries the right equipment to do it safely and cleanly. Contact the team for a quote before you invest in hired scaffolding you may only use once.