
Skirting boards and architraves are the frames of a room. They catch the eye at floor level and around every door, and no amount of careful wall painting compensates for trims that look rough, patchy or smeared with the wrong colour. Painting them well takes patience and the right sequence, but it's a skill any homeowner can learn with the correct approach.
Why trims are harder than walls
Walls offer a broad, forgiving surface. Trims don't. Skirting boards sit right at the floor-wall junction, which means a stray brushstroke hits either the freshly painted wall above or the floor below. Architraves frame doorways with narrow profiles and tight corners that demand control. The margin for error is roughly 10 millimetres on a good day.
Timber trims also absorb paint differently than plaster walls. Knots bleed through undercoat. Nail holes telegraph through a gloss finish if they're not properly filled. Old trims often carry multiple layers of paint, which means edges are built up and profiles are blurred. Stripping every bit of that back isn't always practical, but knowing where to intervene is the difference between a result that holds and one that starts peeling at the corners within a year.
Preparation: the part most people rush
Start by inspecting the full length of every skirting board and architrave in the room. Press firmly along the top edge of each skirting board. If it flexes or pulls away from the wall, reattach it with panel adhesive or a finish nail before any paint goes on. A moving surface cracks paint.
Fill nail holes and dents with a fine surface filler. Overfill slightly, let it dry fully, then sand back flush with 120-grit paper. Don't skip the sanding: a filler blob under gloss is almost impossible to hide. Once filled, wipe down all surfaces with a damp cloth to remove dust, then follow with a tack cloth to pick up anything left behind.
If the existing paint is glossy, scuff the entire surface with 180-grit sandpaper. This gives the new coat something to grip. Gloss over gloss without sanding is a recipe for delamination, particularly on high-use surfaces like door architraves that get touched constantly.
Choosing the right paint for trims
For skirting boards and architraves in most Melbourne homes, a water-based semi-gloss or gloss is the practical choice. Water-based enamels have improved significantly in recent years. Products like Dulux Aquanamel offer the hard, washable finish trims need with much faster dry times and lower VOC than traditional oil-based alternatives. Oil-based enamels still produce an incredibly smooth finish, but they yellow over time, especially in rooms with limited natural light.
Always apply an appropriate undercoat first. On bare timber or heavily patched surfaces, a stain-blocking primer seals knots and prevents bleed-through. On previously painted trims in sound condition, a general-purpose enamel undercoat is sufficient. Don't skip the undercoat to save time. The topcoat alone won't cover imperfections, and two topcoats without an undercoat will still look thinner than one undercoat and one topcoat applied correctly.
Masking or cutting: which is faster?
Most professional painters cut freehand rather than masking. It's faster, and well-applied tape often leaves a bleed line anyway if the wall surface has any texture. That said, cutting freehand takes practice. If you're new to trim painting, masking the wall with a low-tack painter's tape is the right call.
Apply the tape to the wall surface, pressing the edge down firmly with a putty knife or a fingernail. Any gap between tape and wall is a gap paint will find. Peel the tape at a 45-degree angle while the paint is still slightly wet. Pulling tape off dry gloss paint risks lifting the finish.
For the floor edge, slide a piece of cardboard along the floor as you paint rather than masking the entire length. It's quicker, and it moves with you rather than requiring re-taping room by room.
The right brush makes a genuine difference
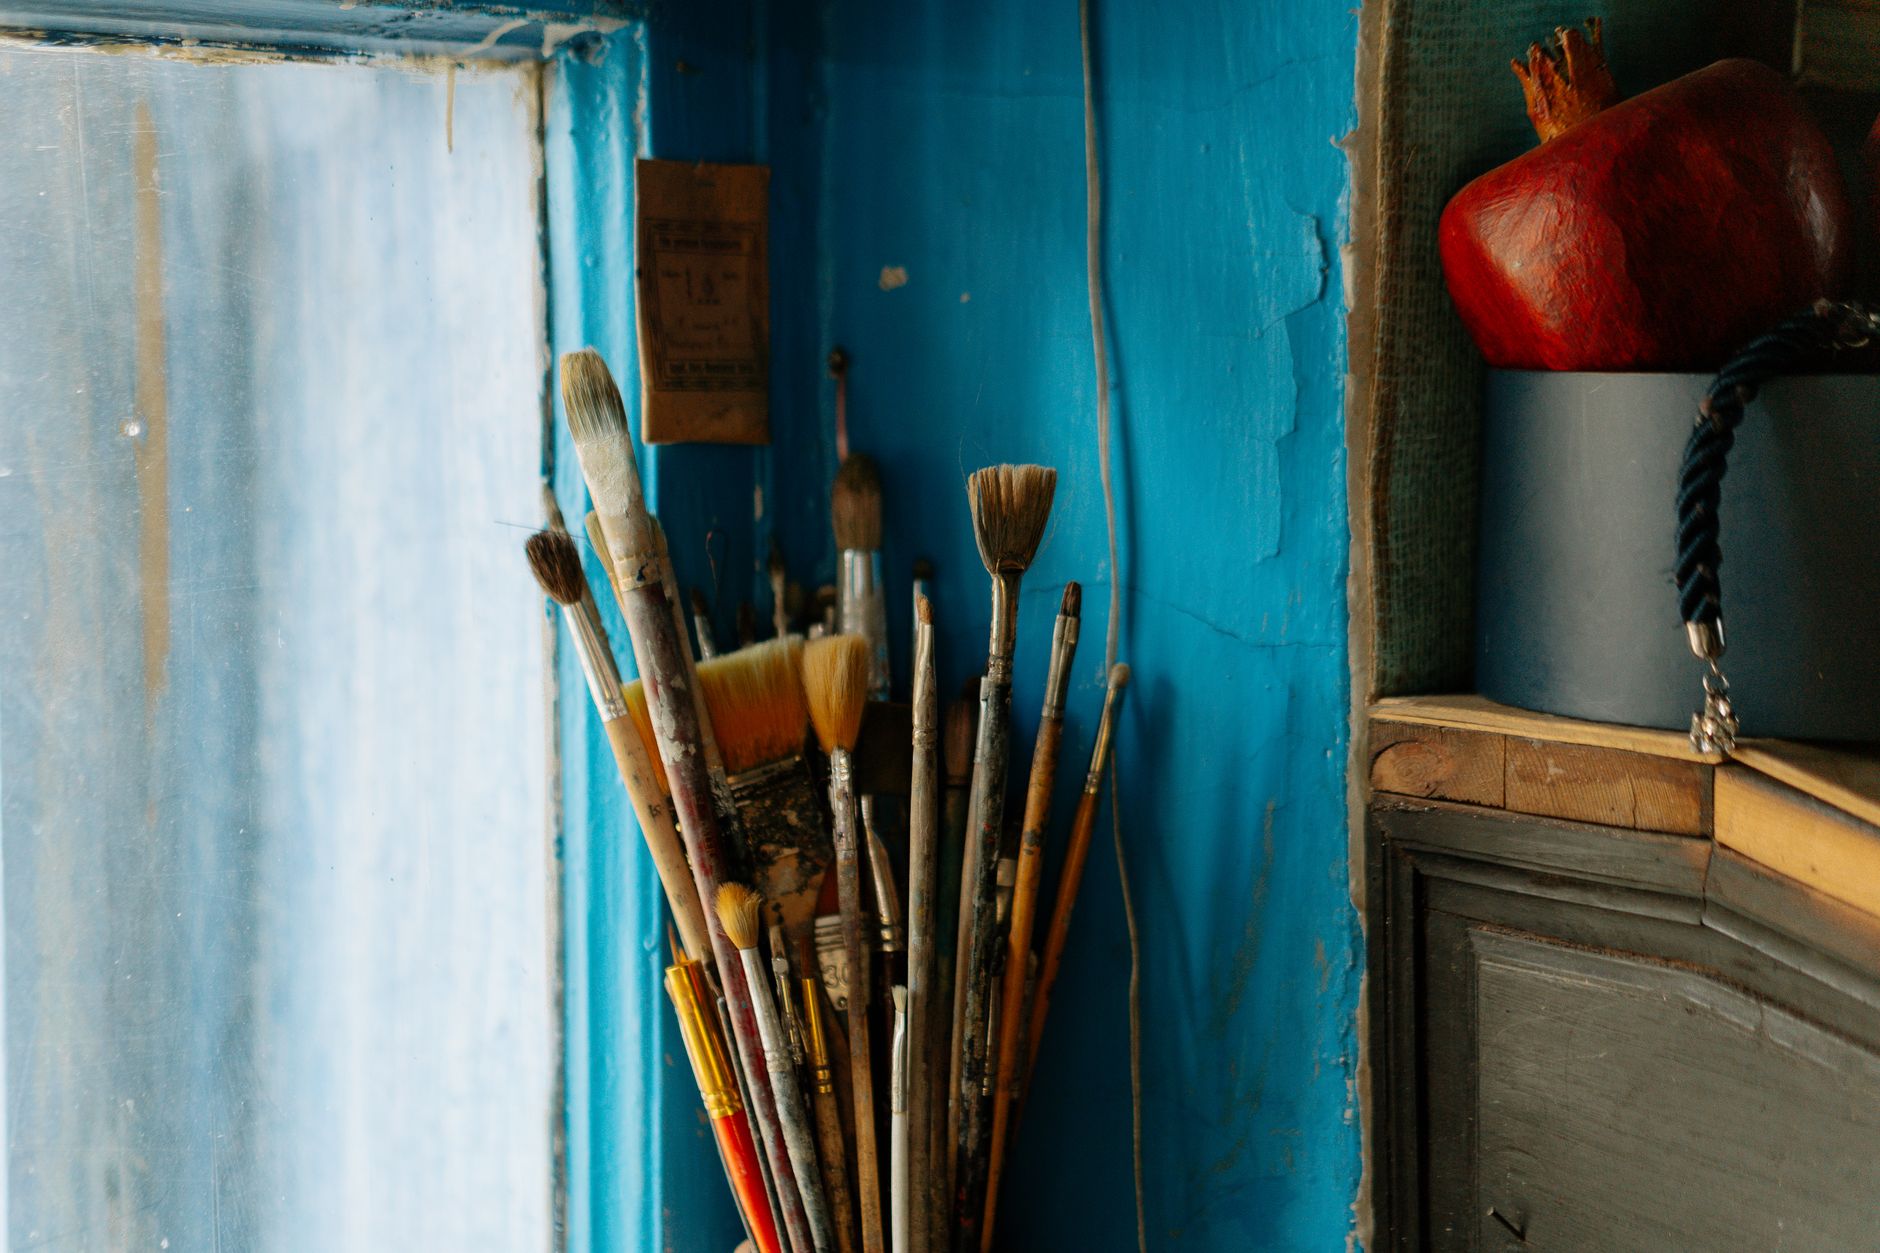
A 50 mm angled sash brush is the standard tool for trim work. The angled bristles let you lay paint into corners and along edges without the ferrule dragging on an adjacent surface. Don't use a foam roller on trims. The finish looks fine wet and then develops an orange-peel texture as it dries.
Load the brush halfway up the bristles, tap off the excess (don't wipe), and work in the direction of the grain for timber trims. Keep a wet edge. Trim sections are short enough that you won't lose it, but rushing and doubling back over dried paint is how brush marks become permanent.
Sequence matters
The correct painting order for a room is: ceiling first, walls second, trims last. Painting trims last means any wall paint that accidentally touches the trim gets covered, rather than the reverse. When you reach the trims, do the architraves before the skirting boards. Any drips from the architraves fall onto the skirting, which you haven't painted yet.
Apply two topcoats, sanding lightly with 220-grit paper between coats. The inter-coat sand removes any nibs, dust specks or brush hairs that landed in the first coat. Wipe down with a tack cloth before the second coat goes on. Two thin coats always beat one thick one: thick coats sag at edges and take far longer to harden fully.
If you're painting a full room, it's worth reading through how to repaint a room without making a mess before you start. The same discipline around drop sheets, ventilation and staging applies directly to trim work.
Common mistakes and how to avoid them
Painting over dust is the most frequent error. Skirting boards collect dust along their top edge constantly, and painting over that layer means the dust is now trapped under gloss where it telegraphs as a rough, gritty texture. Wipe down immediately before painting, not the night before.
The second common mistake is painting trims the same colour as the walls. It can work as a deliberate design choice, but it collapses the visual structure of a room and makes low ceilings feel lower. White or off-white trims against a coloured wall create a clear boundary that makes both surfaces look more intentional. If you're thinking carefully about how paint colours interact across surfaces, the guide on how to use paint to create visual flow between rooms is worth reading alongside this one.
The third mistake is painting before caulking. Where skirting boards meet the wall or floor, a small gap almost always opens over time as the house moves. Fill those gaps with a paintable acrylic caulk before the undercoat goes on. Smooth the caulk with a wet finger, let it cure fully, then paint over it. A caulked joint painted over cleanly looks like the trim was always tight to the wall.
Drying time and when to call it done
Water-based enamels are typically touch-dry in 30 to 60 minutes and recoatable in 2 to 4 hours. They feel hard within a day, but full hardness takes 7 to 14 days. Avoid scrubbing or pressing hard objects against freshly painted trims for at least a week. The finish will dent if put under pressure before it's fully cured.
When you're happy with the second topcoat, remove any remaining masking tape, reinstall door hardware and furniture you've moved, and check the full perimeter of the room in raking light. Hold a torch at a low angle along each skirting board. Any missed spots, drips or rough patches will show up immediately, and touching up at this stage takes minutes rather than a full repaint.
Done right, freshly painted skirting boards and architraves lift the entire room without a single wall being touched.