
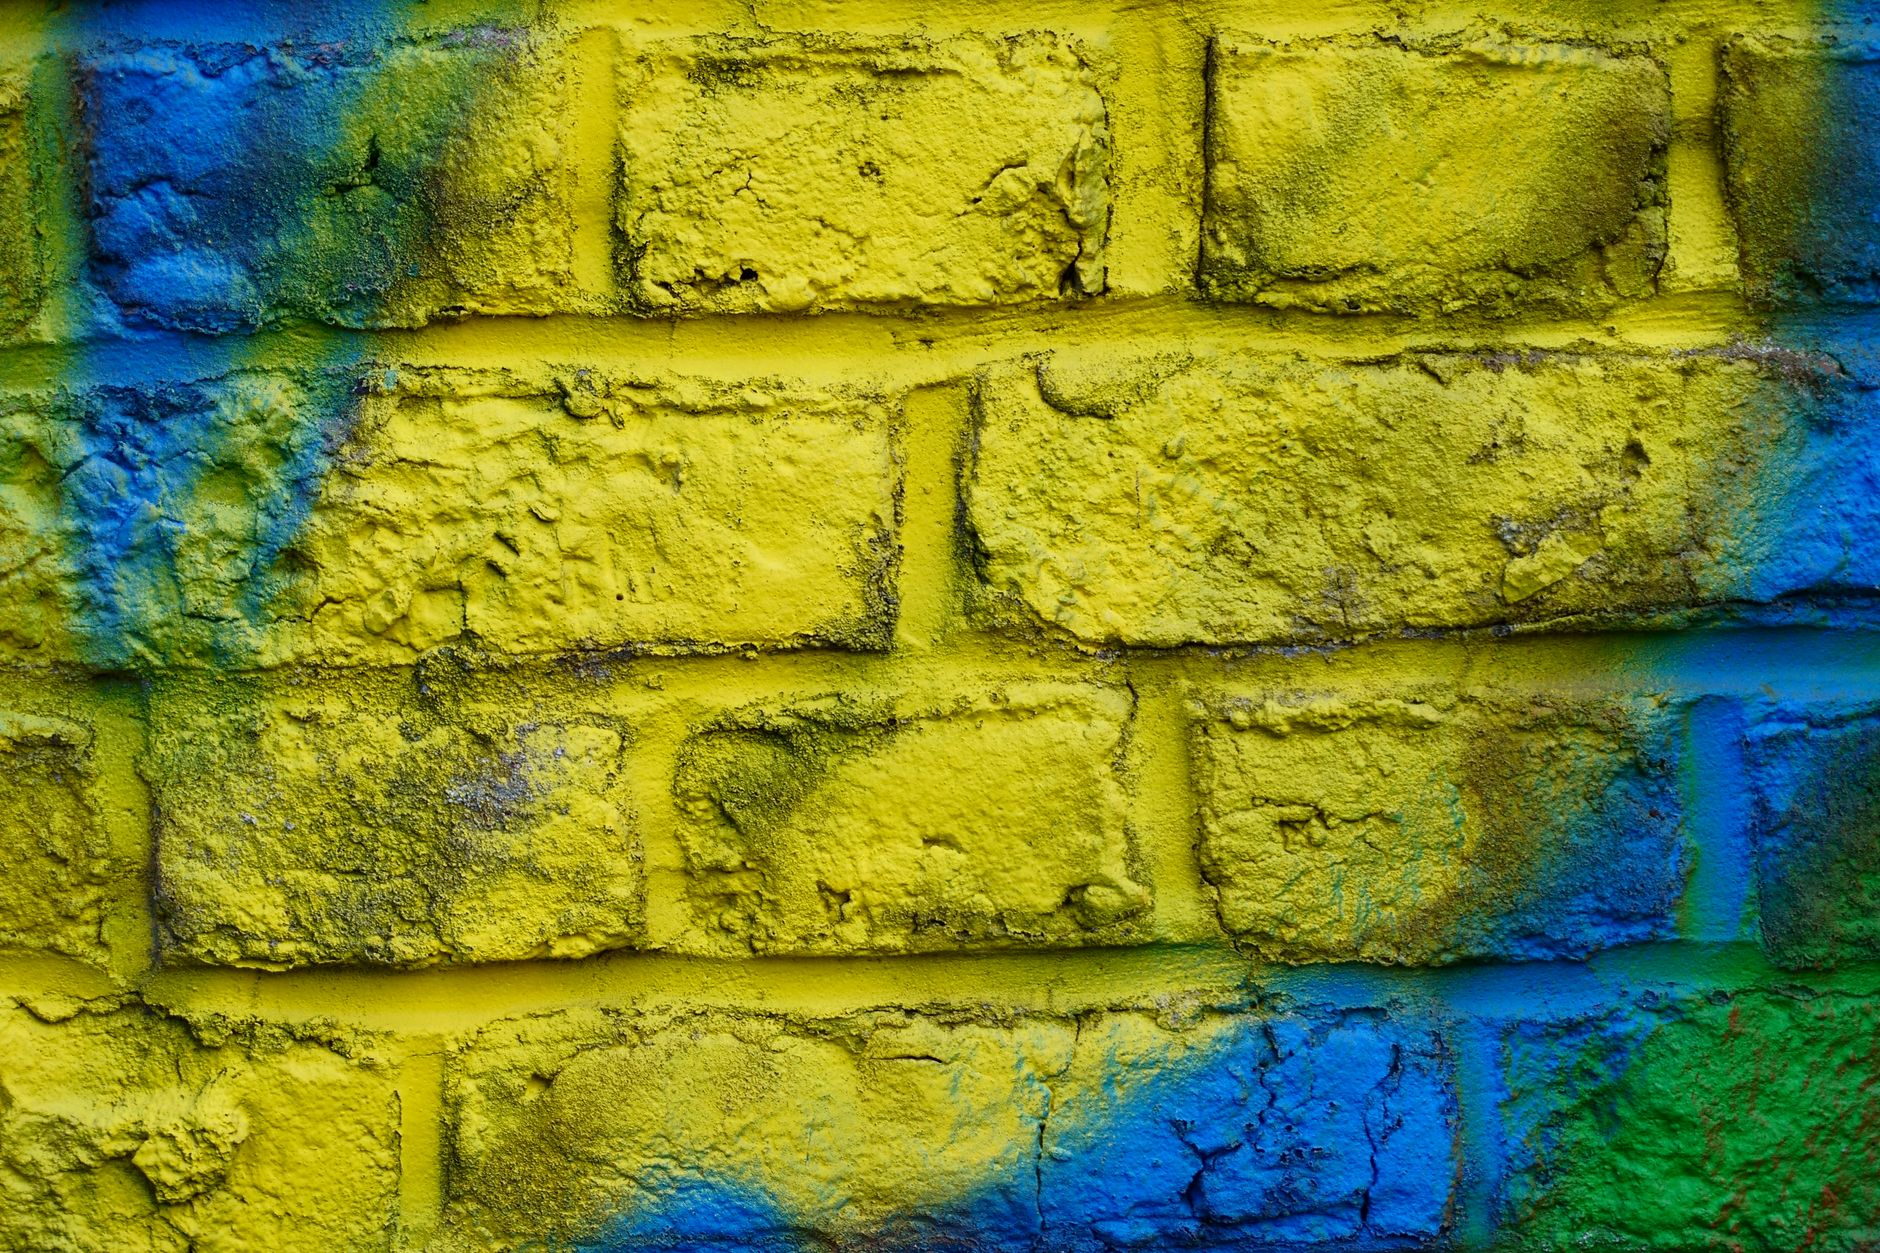
Painting a brick wall is a job that rewards patience. Brick is porous, uneven and constantly exchanging moisture with the environment around it. Skip the prep and you'll have a flaking, bubbling mess within a season. Get it right and a painted brick surface can look sharp and hold its finish for a decade.
Why brick is different from other surfaces
Plaster and plasterboard sit still. Brick breathes. Moisture moves in and out through the mortar joints and the face of each brick depending on the humidity, rainfall and temperature outside. When you paint over brick with a product that doesn't allow that vapour to escape, pressure builds behind the film and the paint delaminates. It's not a brushwork problem. It's a physics problem.
That's why the single most important rule for painting brick is this: use a breathable, masonry-specific coating. A standard interior wall paint or an oil-based enamel will seal the surface and trap moisture. Both fail fast on unprepared brick.
Checking the condition before you buy a drop of paint
New brick (less than 12 months old) contains alkaline salts that leach out over time. Paint applied too early reacts with those salts and turns chalky or peels from the inside. If you're painting new brick, wait it out or use a specific alkali-resistant primer designed for fresh masonry.
Older brick brings different problems. Look closely for:
- Efflorescence: white chalky deposits on the face, which signal moisture moving through the wall
- Cracked or crumbling mortar joints, which let water in faster than the brick face alone
- Existing paint that's already flaking, which needs to come off completely before anything new goes on
Efflorescence must be scrubbed off with a stiff brush and a diluted masonry cleaner before priming. It won't bond under paint. Cracked mortar should be raked out and repointed first. Repointing is a half-day job on a typical internal feature wall and costs less than a callback to repaint a wall that failed in six months.
Cleaning the surface properly
Brick collects dust, grease, mould and biological growth in its pores. A quick wipe won't touch it. For interior brick walls, scrub the surface with a stiff bristle brush and a sugar soap solution. Let it dry for at least 48 hours before you prime. For exterior brick, a pressure washer set to a low fan angle (don't use a concentrated jet directly on mortar) gets the job done faster, but the drying window stretches to 72 hours or more in Melbourne's cooler months.
Mould is common on south-facing brick walls that get little direct sun. Treat it with a diluted bleach solution, let it sit for 15 minutes, then scrub and rinse. Don't paint over mould. It'll grow through.
Priming: the step most DIYers skip
Brick is thirsty. Unprimed brick drinks the first coat of topcoat and leaves you with an uneven, patchy result that needs three or four coats to look acceptable. A dedicated masonry primer binds the surface, reduces porosity and gives the topcoat something consistent to sit on. Two coats of primer are better than one on rough or heavily textured brick.
Apex Painting recommends a penetrating masonry primer for interior brick feature walls and a waterproof masonry primer with anti-fungal properties for any exterior or semi-exposed surface. Read the product drying times carefully. Rushing from primer to topcoat is another fast track to a failed finish.
If you're painting over a previously painted surface, test adhesion first by pressing a piece of sticky tape firmly onto the wall and pulling it back sharply. If paint comes away with it, the existing coat needs to be stripped or treated with a bonding agent before primer goes on.
Choosing the right paint
For most interior brick feature walls, a 100% acrylic masonry paint in a low-sheen or flat finish works well. Acrylic is flexible enough to move with the brick through temperature changes and vapour-permeable enough to let moisture escape. It's water-based, which makes cleanup straightforward.
Avoid high-gloss finishes on brick. The sheen catches every imperfection in the surface and makes them more visible, not less. If the wall has textural character you want to preserve, a flat finish reads better. If you're going for a smoother, rendered look, a textured masonry paint can fill some of the surface variation before a topcoat goes on.
Exterior brick needs a product rated for outdoor use with UV resistance and a water-repellent formulation. Dulux and Haymes both produce dedicated exterior masonry lines. Check the Australian Standards compliance on the tin, specifically AS 3715 for exterior masonry coatings.
Application technique on an uneven surface
A thick-pile roller (18mm–20mm nap) is the right tool for textured brick. It pushes paint into the recesses of the mortar joints and the face of each brick evenly. A thin-pile roller skims the high points and leaves shadows in the joints. Cut in around edges with a brush, then roll the field in sections.
Two thin coats beat one thick coat. Thick coats on porous surfaces dry unevenly: the outer film skins over before the inner layer cures and you get bubbling as trapped solvent escapes. A thin first coat can go on quite fast. Let it dry fully, then assess coverage. Most brick walls need two coats of topcoat over two coats of primer: four layers total.
This same logic applies to other high-traffic surfaces. Garage doors need similar attention to primer and thin coats to hold a durable finish on a surface that flexes and takes direct weather.
Ventilation during and after painting
Interior brick walls painted in a closed room take far longer to cure and off-gas properly. Open windows and use a fan to move air through the space during application and for 24 hours after each coat. In winter, a dehumidifier running for 48 hours after the final coat speeds curing and reduces the risk of moisture being locked beneath the film.
Don't hang anything on a freshly painted brick wall for at least two weeks. Drilling or knocking anchors into paint that hasn't fully cured can cause cracking around the penetration point.
Knowing when to call a professional
Large exterior brick surfaces, walls with significant moisture problems, or heritage brickwork that needs careful product selection are jobs where a professional painter adds real value. Product choice alone can make or break the result: the wrong primer on heritage soft brick can cause spalling over time as moisture has nowhere to escape.
Apex Painting handles brick surfaces across Melbourne, from federation-era feature walls to modern rendered exteriors. If the wall has had multiple failed paint attempts or shows signs of rising damp, a site assessment before any product is applied is the right first step. The home painting cost guide covers what to expect for Melbourne labour and materials on jobs like this.
Painted brick done right is genuinely low maintenance. The surface stays sealed against weather, it cleans easily and it holds colour well. The work is in the prep, not the painting.