
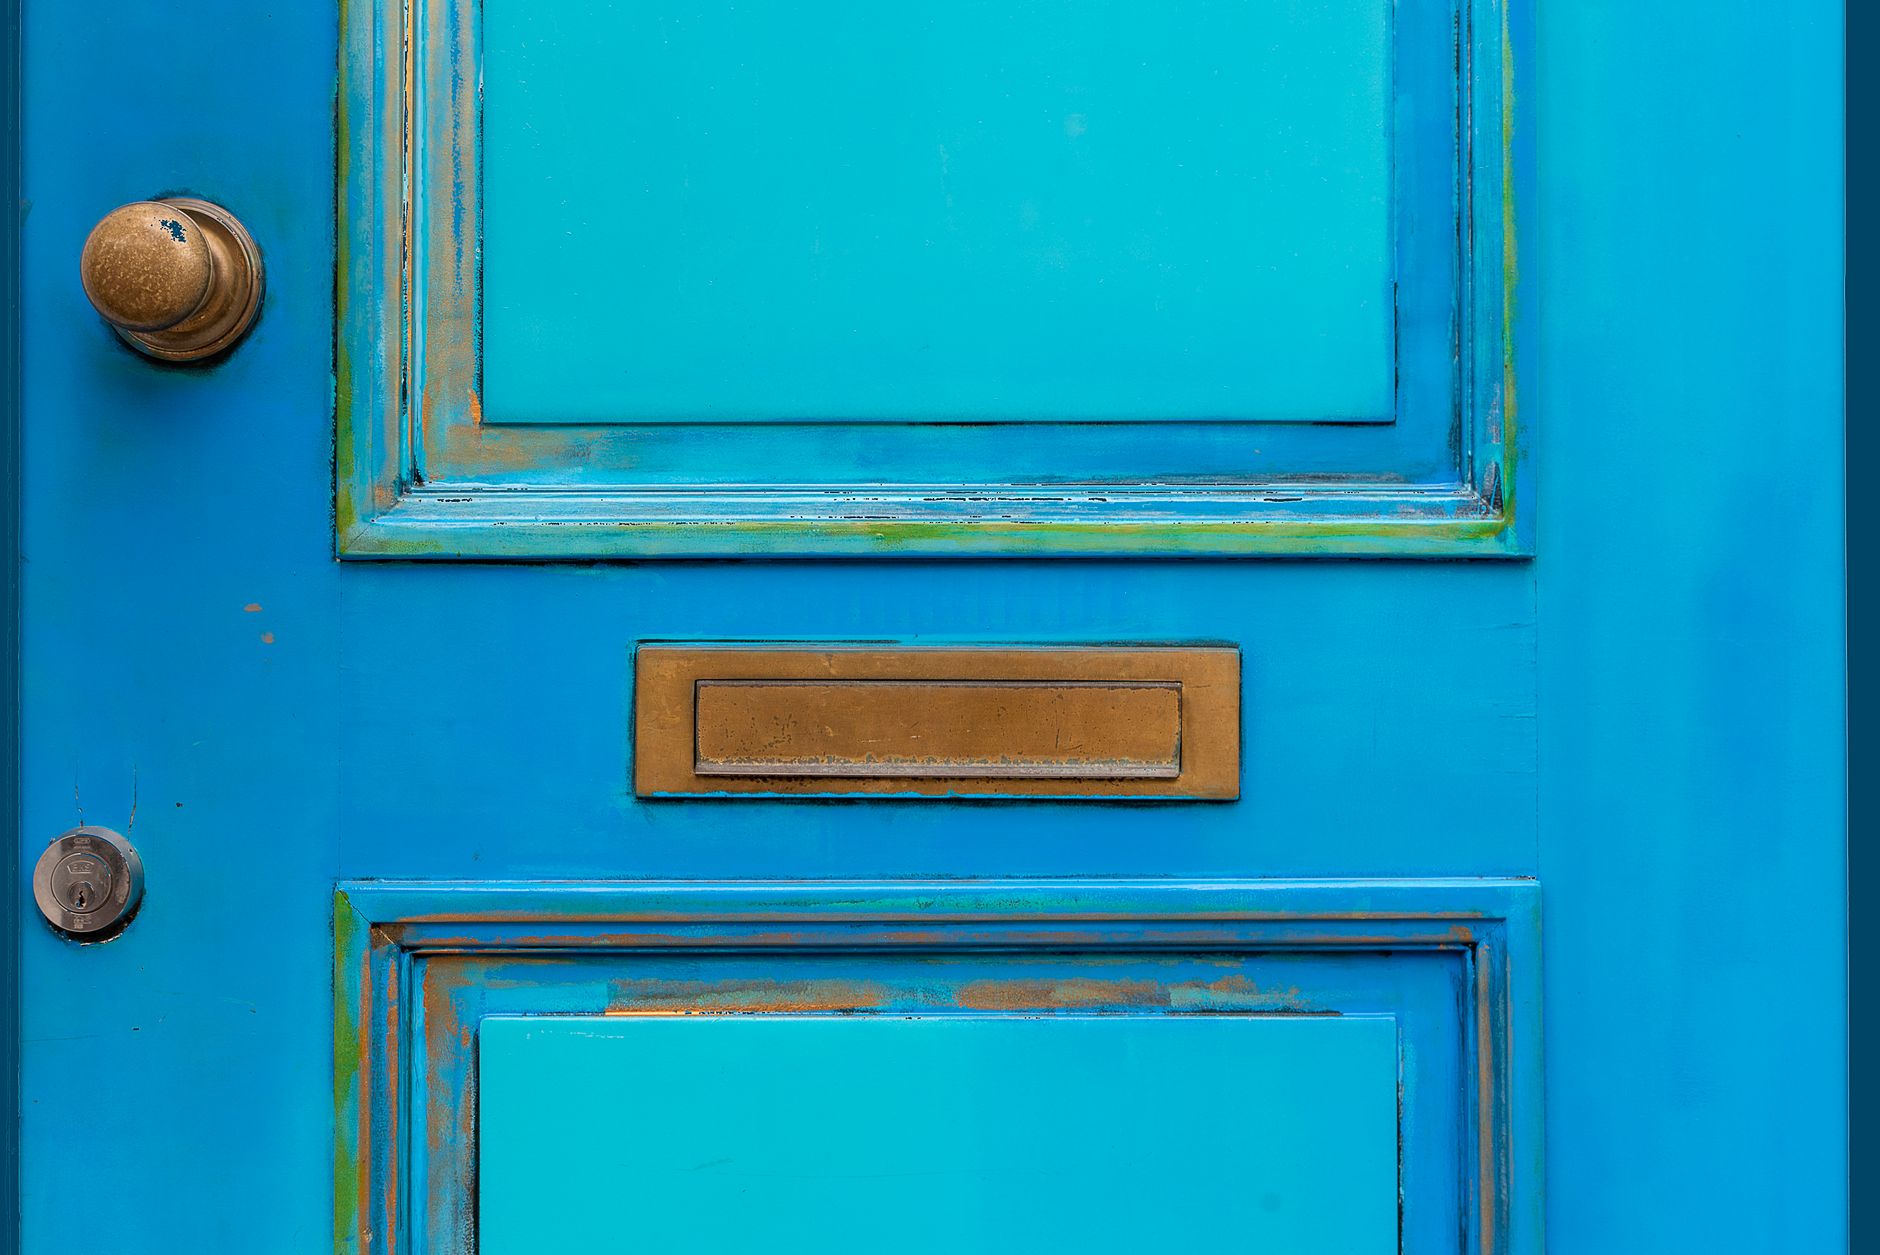
Painting over gloss paint is a problem that catches a lot of homeowners off guard. The existing coat looks solid, the colour just needs updating, and the instinct is to roll straight over it. Within weeks, the new paint peels in sheets. Gloss paint creates a sealed, non-porous surface that fresh coats simply can't grip without help, and getting that adhesion right is the whole job.
This is a common issue in older Melbourne homes, where skirting boards, doors, trims and sometimes entire feature walls were finished in high-gloss enamel as a matter of course. The gloss hasn't failed; it's doing exactly what it was designed to do. That's the problem.
Why gloss paint resists repainting
Standard wall and trim paints bond by penetrating slightly into the surface. Gloss finishes cure into a hard, slick film that sits on top of the substrate rather than integrating with it. A new coat applied directly over gloss has nowhere to anchor. It bonds to the surface layer of the gloss rather than to the substrate beneath, and that interface is weak. Any flex in the wall, a temperature change, a knock, or a scrub and the new coat delaminates cleanly.
The solution is to break that surface before applying anything new. The question is how much surface-breaking you actually need to do.
How much sanding is actually necessary
Full mechanical sanding back to bare substrate is rarely necessary. What you need is a key: a fine, consistent scratch pattern across the gloss surface that gives the new primer something to grip. That's different from stripping.
For most interior gloss surfaces, a 120-grit to 180-grit sanding sponge or fine-grit sandpaper is enough. You're not removing the gloss, you're dulling it. The surface should look uniformly matte after sanding. Any areas still showing sheen haven't been adequately keyed and will be weak points later. Work with the grain on timber surfaces, and sand flat on plaster or masonry.
Use a tack cloth or a damp rag to remove all sanding dust before priming. Dust sitting on the surface is almost as bad as skipping the sanding step entirely.
When liquid deglosser is a better option
Liquid deglosser (sometimes called liquid sandpaper) is a solvent-based product that chemically etches the gloss surface. It's faster than hand sanding on large flat areas like doors, large panels or painted masonry walls, and it's worth considering when sanding by hand would take hours.
Apply it with a cloth, let it sit for the time specified on the product label, and wipe it off. Don't let it pool or sit too long. The surface will look slightly dulled when it's worked. It won't replace sanding on heavily textured gloss or on areas with any contamination from grease or wax, where a physical scuff is still needed.
One thing to be clear about: liquid deglosser alone isn't a substitute for a proper adhesion primer. It prepares the surface; it doesn't replace the primer step.
Choosing the right primer for gloss surfaces
This is where most DIY repaints over gloss go wrong. Standard wall primer doesn't have the adhesion properties needed to stick to a prepared gloss surface reliably. You need a dedicated adhesion primer or a bonding primer designed for slick surfaces.
Oil-based bonding primers are the most tenacious option, particularly over oil-based gloss enamel. They bond well to both old oil paint and the topcoats you'll apply over them. The downside is longer dry times and solvent clean-up.
Water-based adhesion primers have improved considerably and work well over many gloss surfaces, especially if the existing gloss is acrylic. Products like Dulux Aquanamel Primer or similar specialty primers from local trade suppliers are worth the investment for this application. They typically dry in 2 to 4 hours and can be topcoated the same day.
Apply the adhesion primer in a thin, even coat. Thick primer coats over gloss are prone to sag and don't bond better for being heavier.
Topcoat selection and sheen levels
Once the primed surface has cured fully, topcoat selection is more straightforward. The primer has done the hard work of creating a bondable surface, so the topcoat can be chosen on its functional merits rather than its adhesion properties.
If you're repainting skirting boards, architraves or doors that were previously gloss, consider whether you actually want to return to a full gloss finish. Semi-gloss and low-sheen acrylic enamels are easier to maintain, less likely to show brush marks, and more forgiving on imperfect surfaces. They're also far easier to repaint next time.
If the existing gloss is on walls (not uncommon in older bathrooms or laundries), a lower sheen finish like a low-sheen acrylic or even an eggshell will give a more contemporary result while remaining washable. For advice on navigating finish choices room by room, the guide on how to choose the right paint finish for every room covers the trade-offs in detail.
Common mistakes that cause the repaint to fail
Three mistakes account for most failed repaints over gloss. First, skipping the key entirely and relying on a quality topcoat to stick. It won't. Second, using a standard primer rather than an adhesion primer. Third, applying topcoat before the primer has fully cured. Read the cure time on the primer can. Dry-to-touch is not the same as cured.
A fourth mistake is painting over gloss that's contaminated with grease, silicone, or wax polish. This is common on kitchen doors and window trims. Cleaning the surface with sugar soap or a dedicated degreaser before sanding is not optional in these locations.
If you're repainting trims and architraves that connect to recently worked walls, it's also worth reading up on how to paint skirting boards and architraves like a professional to make sure the cutting-in technique doesn't undo the prep work you've done on the gloss surface.
When to call in a professional
Repainting over gloss on a single door is a manageable DIY task. Repainting every skirting board, door, architrave and window trim in a home that was finished with oil-based gloss enamel is a different project. The preparation alone, sanding or deglossing every surface, cleaning, priming and allowing proper cure time, can take longer than the actual painting. A professional painter brings the tools, primers and experience to move through that preparation quickly and avoid the adhesion failures that make DIY repaints over gloss frustrating.
Apex Painters Melbourne handles gloss-over repaints across residential properties in Melbourne, including full trim and joinery repaints in period homes where oil-based enamel was used throughout. Proper adhesion preparation is built into every job.