
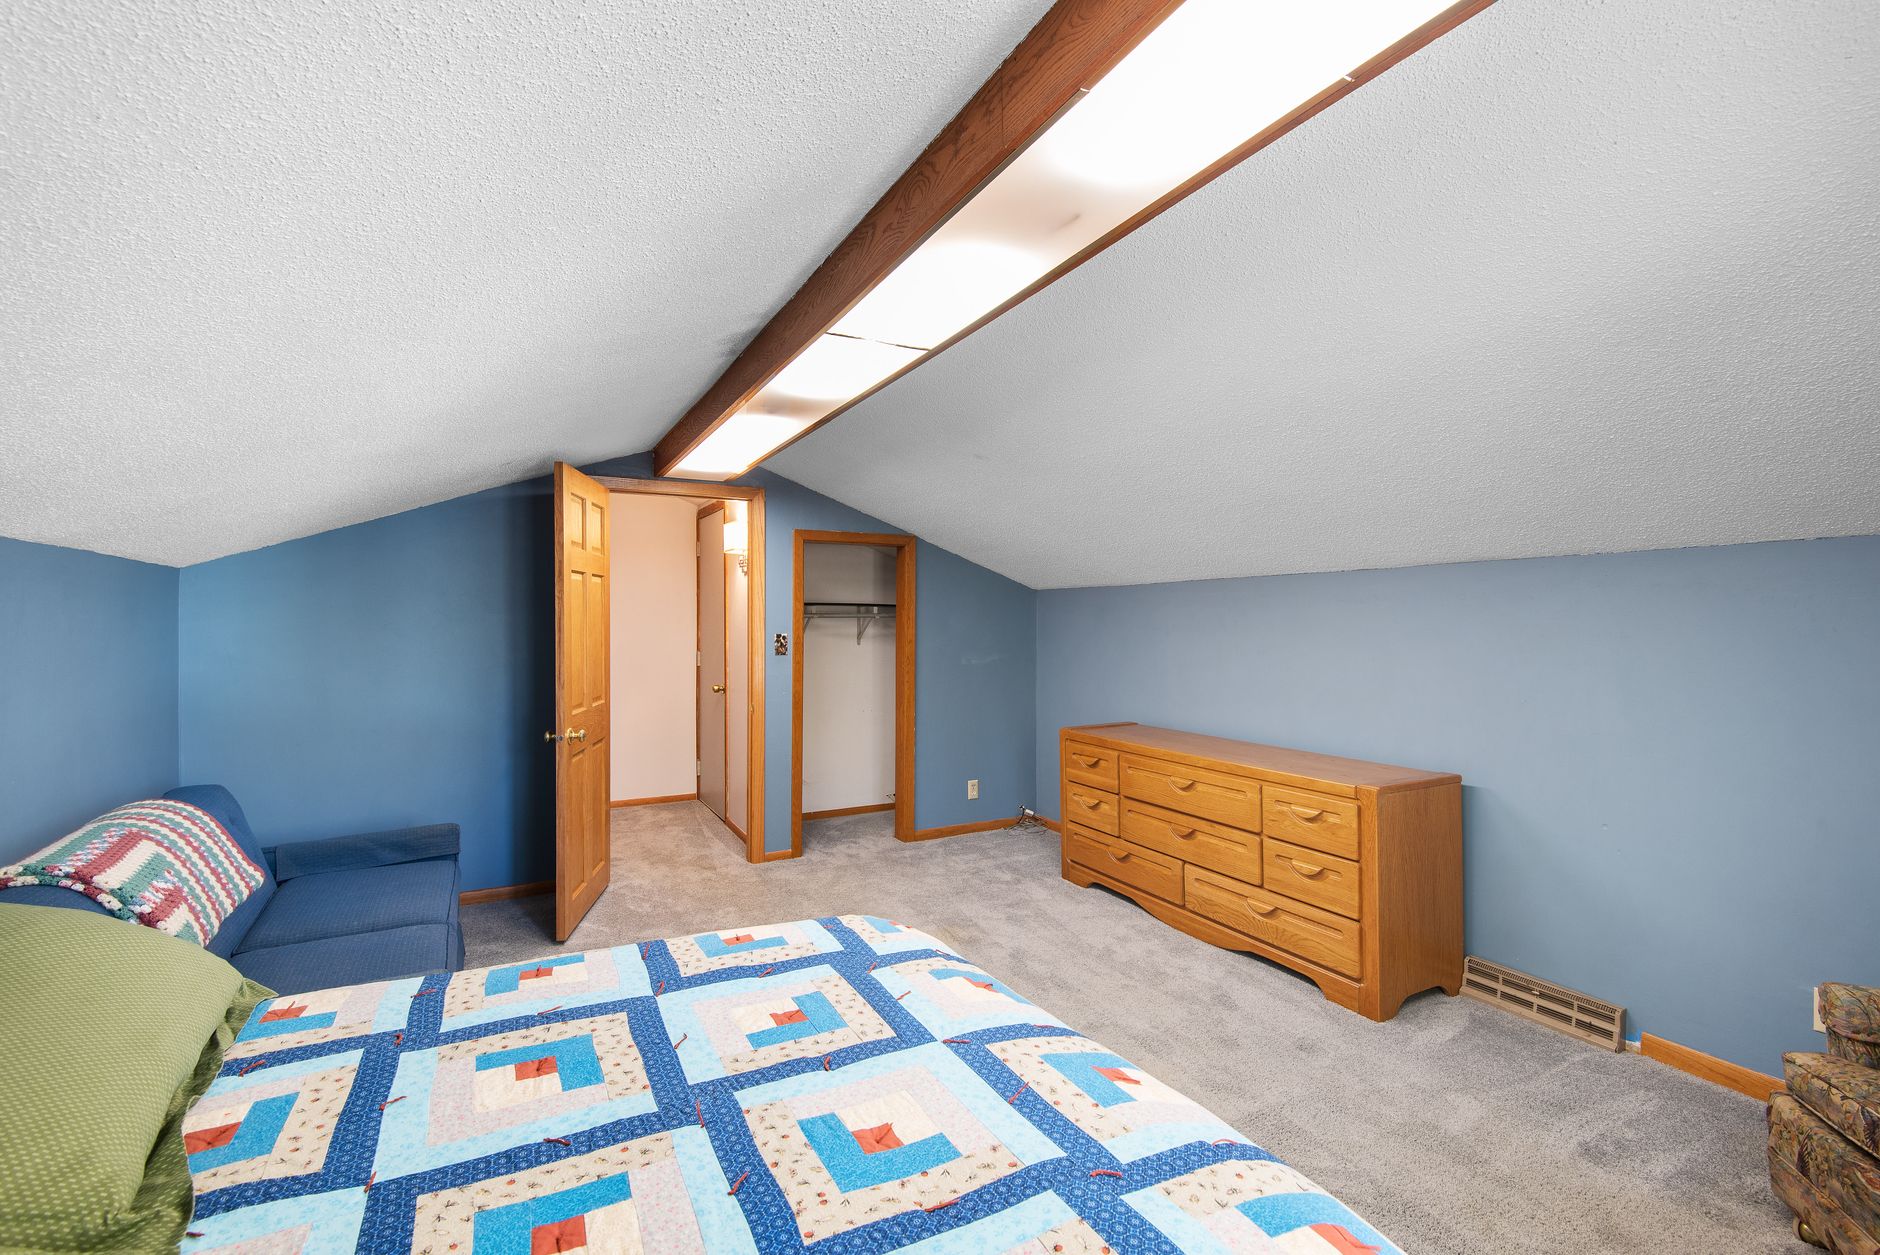
Painting a skillion roof interior is one of the more demanding tasks in residential painting. The sloped surface runs at an angle that defeats the standard ceiling-painting workflow, paint migrates downward before it sets, and the varying height across the room means constant repositioning of ladders and scaffolding. Apex Painters Melbourne handles skillion roofs across Melbourne's newer homes, renovated weatherboard properties and extended rear additions, and the same problems appear on almost every job: runs near the ridge, roller marks along the lower edge, and patchy sheen where the painter changed direction.
The good news is that skillion roofs respond well to a disciplined process. The surface area is usually smaller than a full cathedral ceiling, and the single pitch means there's no hip or valley to navigate. What it does demand is the right paint, a patient approach to cutting in, and a rolling direction that works with the slope rather than against it.
Surface preparation: the step that decides everything
Most skillion roof interiors are lined with plasterboard, T&G timber boards, or exposed rafters with insulation batts between them. Each substrate behaves differently under paint, and skipping the correct prep for your specific material is the fastest route to a poor finish.
For plasterboard linings, check every sheet joint and screw hole before you open a tin. Movement in a skillion structure, particularly in homes with significant temperature swings, causes joints to crack faster than they do in flat ceilings. Fill every crack with a flexible filler, not a rigid compound that'll crack again within a season. Sand back to a smooth surface, wipe with a damp cloth, and allow at least 24 hours before priming.
Timber boards need a different approach. Bare or previously oiled timber requires a shellac-based or oil-based primer to block tannins before any water-based topcoat goes on. Applying a water-based primer directly to raw timber produces staining that bleeds through every subsequent coat. If the boards have been previously painted, check adhesion by pressing a piece of masking tape firmly to the surface and pulling it back sharply. If paint lifts with the tape, the existing coat needs sanding back or stripping before you prime.
For either surface, a quality ceiling primer is non-negotiable. Don't use a wall primer or tinted undercoat as a substitute. Ceiling primers are formulated with higher viscosity specifically to reduce drip and run on overhead surfaces, and on a sloped skillion that viscosity is your first line of defence.
Choosing the right paint for a sloped overhead surface
Flat or low-sheen ceiling paint is the correct product for a skillion roof interior in most residential settings. Avoid anything above a low sheen. A satin or semi-gloss finish on an angled ceiling catches raking light from skylights and windows at a far more severe angle than a flat ceiling does, making every roller lap and brush stroke visible.
Ceiling paints with a higher solids content are worth paying for on this surface. They cover in fewer coats, which means less time overhead and fewer opportunities for drips to form during application. Dulux Ceiling White and Taubmans Easy Coat Ceiling Paint are two products Apex Painters Melbourne uses regularly on difficult overhead surfaces. Both carry sufficient viscosity to minimise runs without sacrificing coverage.
If you're painting a timber skillion with exposed rafters and you want to maintain a natural look, a penetrating oil or a clear water-based finish is a better choice than ceiling paint. But for any painted finish, stick to products designed for ceilings specifically. The formulation difference is real, not a marketing distinction.
The cutting-in sequence that prevents lap marks
Cutting in on a skillion roof requires a different sequence to a flat ceiling. On a flat surface, you can cut the perimeter in one pass and roll the field before the edges dry. On a slope, gravity works against you and paint along the upper edge will skin over before you reach the lower wall line, leaving a visible lap mark where the cut-in meets the rolled field.
Work in sections no wider than 1.2 metres. Cut in the top edge (the ridge or high wall), roll that section immediately while the cut-in is still wet, then move to the next 1.2-metre section. This wet-edge technique keeps the paint film unified across the join and prevents hard lines from forming. It's slow, but it's the only approach that produces a seamless result on a pitched surface.
Use a 50 mm angled brush for cutting in and don't overload it. A heavy brush load on a sloped surface produces drips before you even touch the surface. Two light passes with a moderately loaded brush give you more control than one heavy one.
Rolling direction and technique on the slope
Roll across the slope, not up and down it. Rolling up and down a pitched surface deposits more paint at the top of each stroke than the bottom, producing banding. Rolling across the slope, parallel to the ridge, distributes the paint load evenly and allows you to maintain a wet edge as you work from one end of the room to the other.
Use a 12 mm or 15 mm nap roller on plasterboard. A thicker nap holds more paint and reduces the number of reloading trips, but it also deposits a heavier film that's more likely to sag on a sloped surface. On textured or rough-sawn timber, a 20 mm nap is acceptable.
Apply moderate, even pressure throughout each stroke. Don't press harder at the start of a stroke to empty the roller faster. That uneven pressure is what creates the darker bands you see on poorly painted ceilings. Finish each section with a single light feathering pass, lifting the roller gradually at the end of the stroke.
Managing drips before they set
Drips on a sloped ceiling dry faster than drips on a vertical wall because the warm air rising in the room contacts the underside of the surface directly. Check for runs every 5 to 10 minutes during application. A fresh drip can be flattened with a lightly loaded brush or the edge of the roller. A drip that has set needs sanding back before the next coat, or it will telegraph through as a bump in the final finish.
Paint in the cooler part of the day where possible, particularly in summer. Warm conditions accelerate drying and shorten the window you have to correct runs. If you're painting in a room with a skylight, keep it closed during application to reduce convective airflow that speeds up the skin-over time on your wet edges. This approach mirrors the seasonal planning that's just as important on exterior work, and the same logic that governs choosing exterior paint that handles Melbourne's climate applies indoors when temperatures climb.
Second coat timing and final inspection
Allow the first coat to dry fully before applying the second. On a skillion roof, the lower section of the slope retains slightly more moisture than the upper section because it's further from the ridge where warm air collects. Touch the lowest point of the surface, not the highest, to assess dryness before recoating. If the lower section is still cool or tacky, wait another 30 minutes.
Inspect the finished surface under raking light from a torch or a low-angle lamp. Hold the light parallel to the slope and move it slowly across the surface. This technique reveals roller texture, lap marks and any remaining drips that aren't visible under flat overhead lighting. It's the same inspection method a professional painter uses before signing off on a hallway ceiling, and it's worth doing here before you pack up and clean the equipment. For more on that kind of overhead painting discipline, the guide on how to paint a hallway ceiling without streaks or lap marks covers the underlying technique in detail.
A skillion roof interior painted with patience produces a clean, consistent finish that holds for years. Rush the prep, skip the section-by-section wet-edge sequence, or use the wrong product and you'll be back on the ladder within two seasons.