
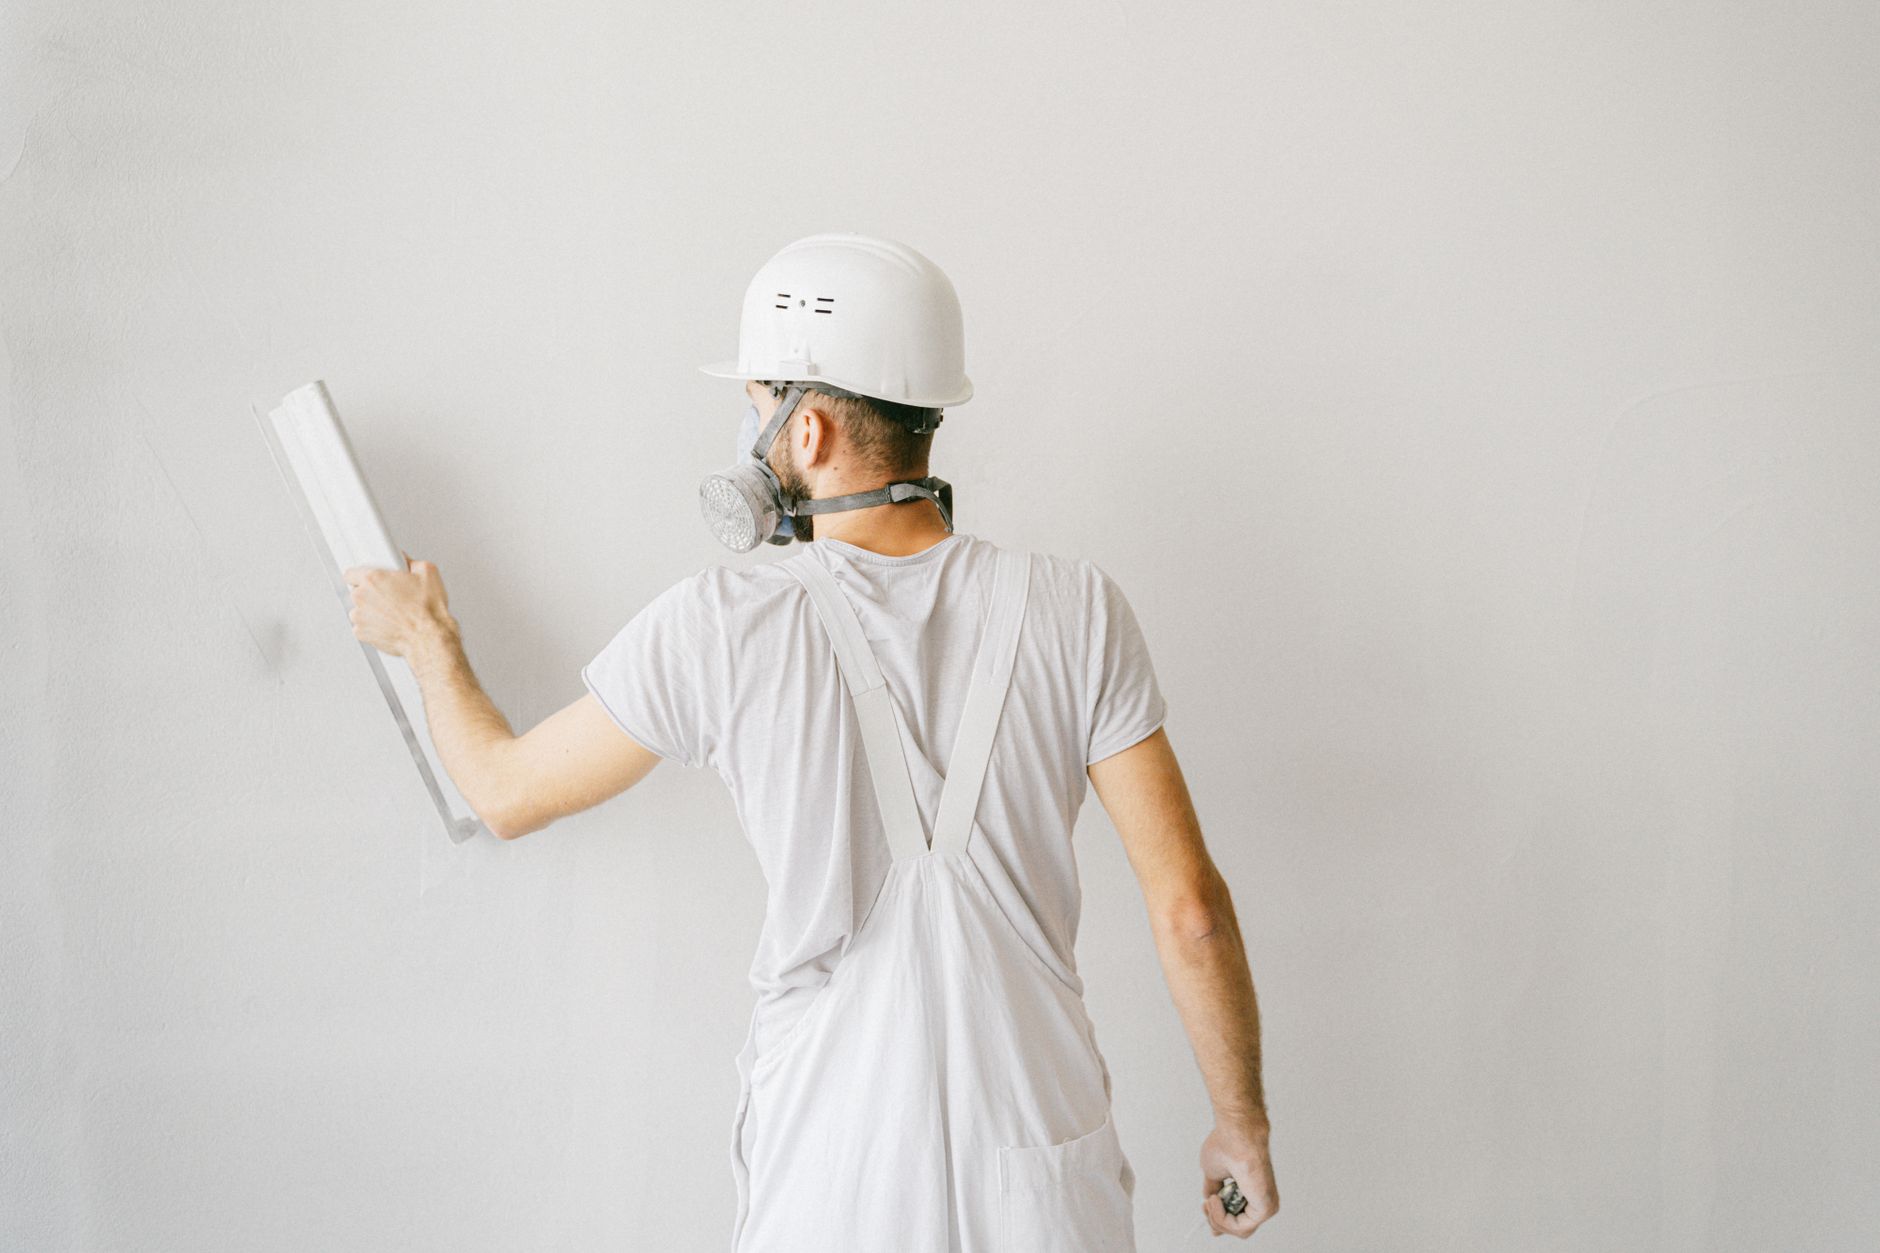
Newly plastered walls are one of the most deceptive surfaces in any home. They look smooth, solid and ready for colour within a day or two. They aren't. Painting new plaster before it has fully cured is one of the most reliable ways to end up with patchy adhesion, bubbling and a finish that peels within months. Apex Painting treats new plaster as a distinct substrate with its own rules, and those rules are straightforward once you understand why they exist.
Why new plaster behaves differently
Fresh plaster is alkaline and highly porous. Both properties create problems for standard paint. The alkalinity can react with certain resins and cause saponification, a soap-like breakdown that destroys adhesion. The porosity means a standard coat of paint gets sucked into the surface unevenly, producing a patchy, uneven sheen that no second coat fully corrects. The water content is the third factor: plaster that hasn't dried fully will trap moisture beneath a sealed paint film, which leads to blistering.
Plaster also shrinks slightly as it cures. Fine hairline cracks are common, especially around corners and joins. Painting over them before the plaster has stabilised locks in movement that the paint film can't follow.
How long to wait before painting
A standard sand-and-cement render needs at least 4 weeks before painting in dry conditions. Gypsum-based plasterboard compounds cure faster, typically within 3 to 7 days, depending on thickness and airflow. Lime plaster takes the longest: 4 to 6 weeks is a realistic minimum, and some heritage lime mixes need longer. These aren't conservative suggestions. They're the drying windows the major paint manufacturers publish in their own technical data sheets.
Colour tells you something, but not everything. Plaster that has changed from dark grey to a uniform pale colour has lost most of its surface moisture. Cold areas and those with poor ventilation can look pale but still hold moisture deeper in the wall. If you're unsure, press a piece of clear plastic sheeting firmly against the wall and seal it with tape for 24 hours. Condensation on the underside means it's not ready.
Surface preparation before the first coat
Check the entire surface by tapping lightly with your knuckle. A hollow sound indicates a void behind the plaster, and painting over it won't fix the problem. Mark hollow spots and have a plasterer assess them before you pick up a brush.
Sand any high spots or trowel ridges with 120-grit sandpaper. Wipe down with a dry cloth. Do not wet-clean new plaster before painting; introducing water at this stage can raise the moisture content again and extend the drying time.
Fill any hairline cracks with a flexible filler rated for plaster. Let it cure fully, sand flush and dust off. The goal is a consistent surface that the primer can bond to evenly.
Priming: the step most people skip
Priming new plaster isn't optional. A dedicated alkali-resistant primer or a diluted PVA sealer addresses the porosity problem directly by evening out the surface's absorbency before the finish coat goes on. Dulux recommends a diluted mist coat of their water-based products at a ratio of roughly 10% water to 90% paint for the first coat on new plaster, though a purpose-built plaster primer is a stronger choice on highly porous surfaces.
Apply the primer or mist coat thinly and evenly. Don't try to achieve coverage with the first coat. The goal is penetration, not colour. Allow to dry completely before assessing the surface again. If the dried primer still looks patchy or uneven in sheen, apply a second primer coat before moving to the finish.
This is also the stage to identify if your plans need adjusting based on the room's final use. A bathroom or laundry will need a moisture-resistant primer, not a standard one. The same logic applies to any room with ongoing humidity. For guidance on finish coats in high-moisture rooms, the approach covered in how to paint a bathroom that resists moisture and mould is directly relevant.
Choosing the right finish coat
Once the primer is fully dry, you're ready for the finish. A water-based low-sheen or flat paint is the standard choice for new plaster on interior walls and ceilings. Flat finishes are more forgiving of minor surface irregularities, and new plaster, even well-prepared, often has subtle texture variation that a higher sheen will highlight.
Apply two full finish coats. A single coat over new plaster rarely achieves even coverage because the surface is still absorbing product at different rates across its area. Two coats, each allowed to dry fully before the next, is the reliable path to a consistent result.
Avoid using oil-based paints directly on new plaster. Oil-based products are highly susceptible to the alkalinity issue described earlier and are not recommended by most plaster manufacturers as a direct-to-plaster finish without a specialist oil-compatible primer underneath.
Common mistakes and how to avoid them
The most frequent mistake is painting too soon. The second is skipping the primer coat and applying a standard full-strength emulsion directly, which produces the patchy, uneven result that sends people back to the paint shop convinced they bought the wrong colour.
Applying too thick a first coat is another common error. Thick coats on new plaster don't dry uniformly, and the surface film can skin over while moisture is still trapped underneath. Thin, even coats dry faster and adhere better.
Rolling too fast on a porous surface also causes problems. Fast rolling on new plaster introduces air bubbles that dry in place. Slow, consistent pressure with a medium-nap roller gives the paint time to penetrate rather than sit on the surface. The technique considerations that apply to textured surfaces are worth understanding here too; the article on how to paint a textured ceiling without losing the texture covers nap selection and application pressure in useful detail.
What Apex Painting does on new plaster jobs
Apex Painting assesses new plaster by moisture meter before any product goes on the wall. Apex Painting applies an alkali-resistant primer as standard on all new plaster surfaces and uses two finish coats as the minimum for interior walls. Apex Painting also documents the products used on each job, which matters when a client wants to touch up the same finish years later without a colour mismatch.
New plaster painted correctly holds its finish for years. The preparation time is the investment that makes the colour coat last.