
Textured ceilings are one of the most common surfaces in older Melbourne homes, and one of the most frequently botched painting jobs. The problem isn't the ceiling itself. It's that most people approach it the same way they'd paint a smooth ceiling, using a short-nap roller and a single coat of standard wall paint, then wondering why the finish looks flattened and uneven. Texture demands a different product, a different tool and a different mindset.
Why textured ceilings fail after painting
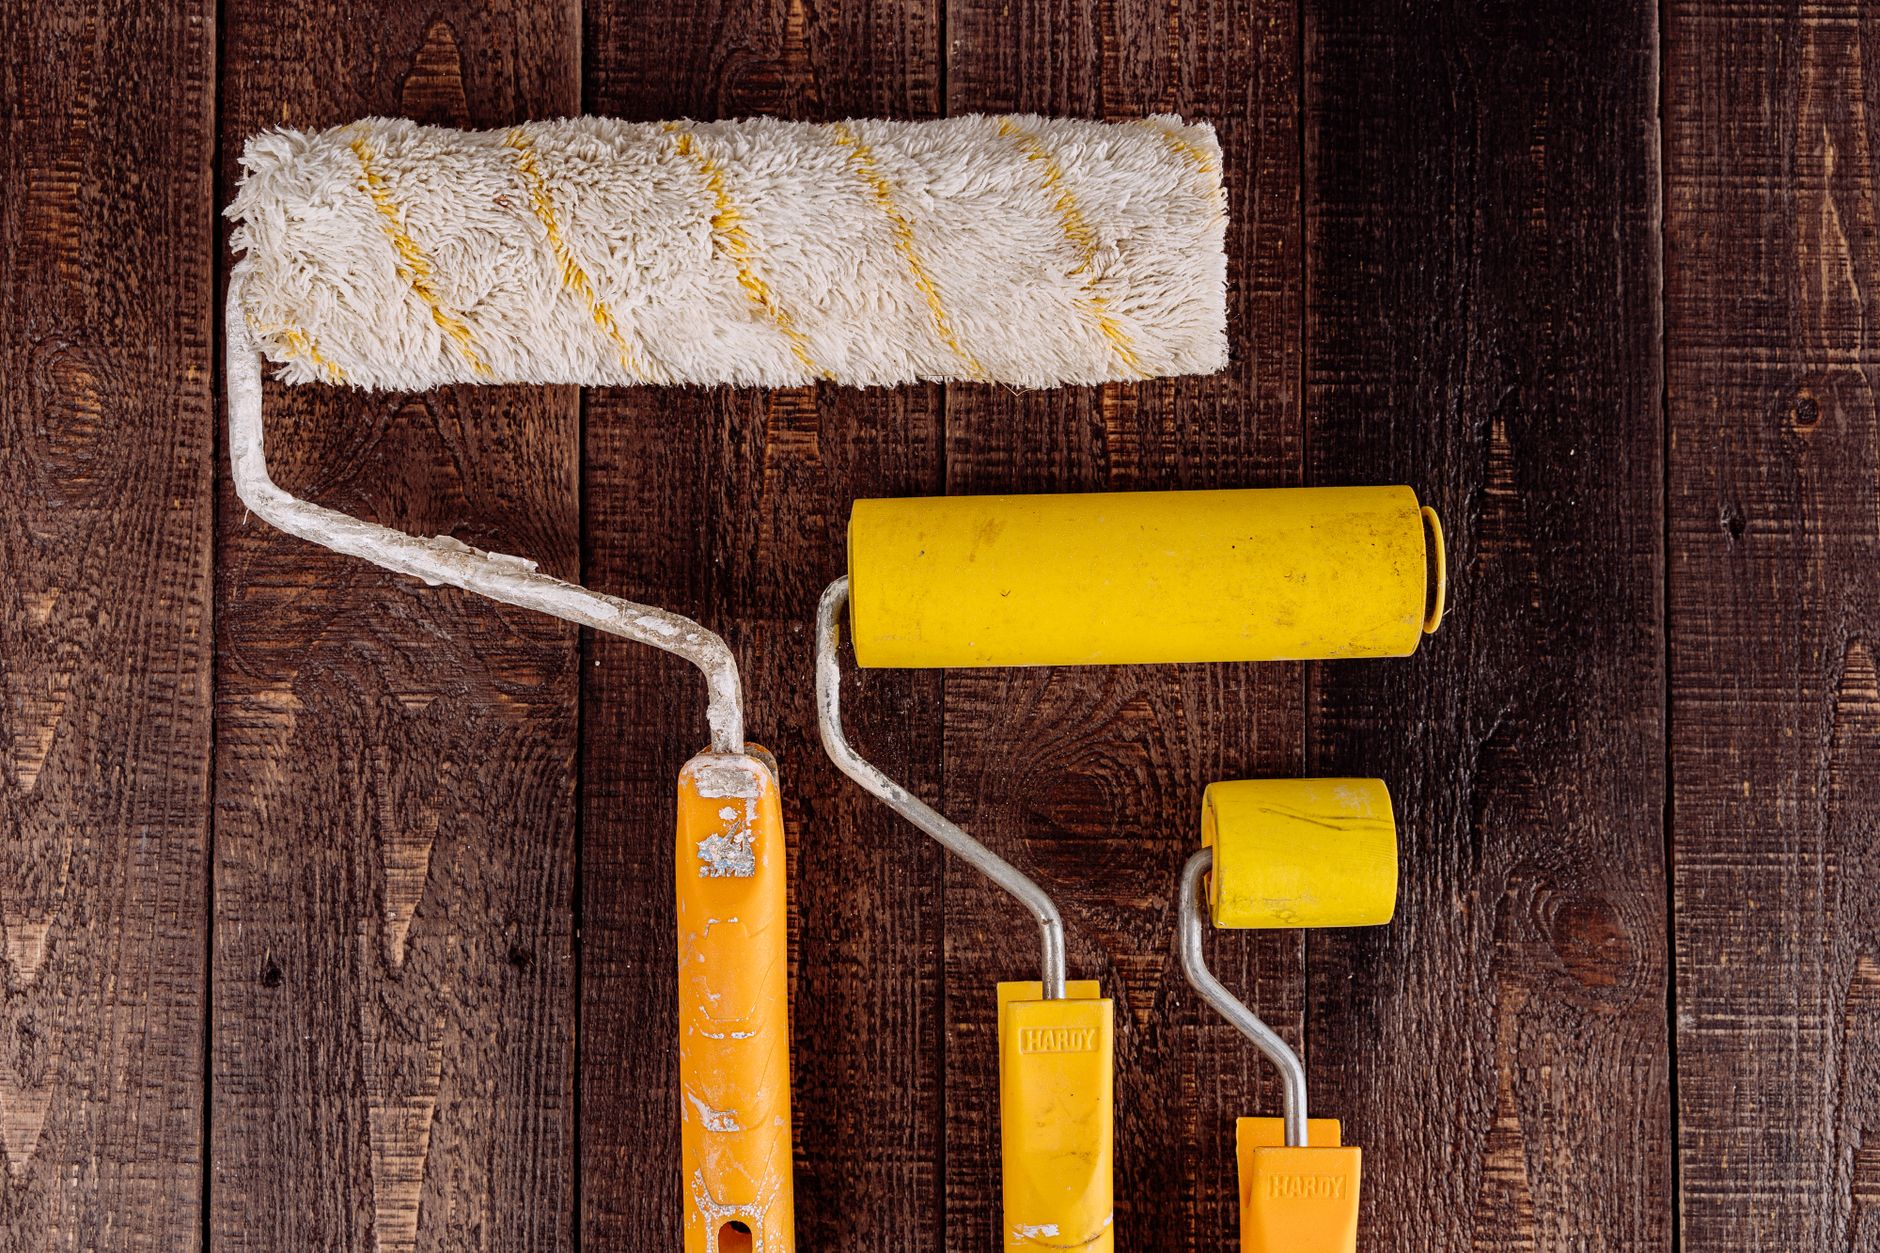
Texture creates surface area. Lots of it. Every ridge and trough needs paint coverage, and a short-nap roller (6 mm or less) sits on top of the peaks without pushing product into the recesses. The result is a patchy finish that looks worse under raking light than the unpainted ceiling did. A thick-nap roller (20–25 mm for heavy stomp or skip-trowel texture, 15 mm for lighter orange peel) gets paint into the valleys without pulling the surface apart.
The second failure point is paint viscosity. Runny paint slides off raised surfaces before it can cure. A ceiling-grade product with a higher body, or a flat acrylic mixed specifically for ceilings, clings to vertical faces of texture without sagging. Avoid thinning your paint unless the manufacturer specifies it for spray application.
Preparation: what to do before the roller touches the ceiling
Dust and cobwebs sit deep in textured surfaces. A dry microfibre duster on a pole removes loose debris without wetting the texture. Wet cleaning a heavily textured ceiling risks softening old compounds or lifting edges that are already cracking. If the surface has significant nicotine staining or watermarks, apply a shellac-based primer (such as Zinsser BIN) to those spots first. Skipping this step means the stain bleeds through two or three coats of topcoat.
Check for any loose texture before you start. Press lightly across the surface with a flat hand. Any areas that flex, crumble or sound hollow need to be re-adhered or patched with a flexible ceiling compound before painting. Painting over loose texture just seals in the problem until it drops.
Choosing the right paint for a textured ceiling
Flat or low-sheen acrylic is the correct finish for a textured ceiling. Anything with a higher sheen (satin, semi-gloss) amplifies every surface irregularity under directional light. It's the same principle behind choosing flat paint for ceilings generally: the goal is light absorption, not reflection. A flat product hides minor variations in texture depth and makes the ceiling feel more cohesive.
In Melbourne, ceiling-grade products from Dulux and Taubmans both carry formulations with higher film build that suit textured surfaces better than standard wall paint. These products are slightly thicker out of the tin and resist the sagging that catches painters on vertical-textured profiles.
Colour choice matters more than most people expect. Pure white amplifies contrast between peaks (which catch light) and valleys (which sit in shadow). An off-white with a warm or neutral base reduces that contrast and makes the texture read as a deliberate design choice rather than an aged surface. If the rest of the room is warm in tone, consider matching the ceiling colour to that warmth. This also connects to how paint choices affect the perception of ceiling height. For more on that, see our guide on how to use paint to make a low ceiling feel taller.
Application technique: working with the texture, not against it
Load the roller generously. A textured ceiling drinks more paint than a flat one, and a dry roller pulled across raised surfaces creates lint drag and tears. Roll in one direction first, then cross-roll at 90 degrees before the coat starts to set. This pushes paint into the recesses from two directions and reduces the chance of shadowing under raking light.
Keep a wet edge at all times. Because the surface area is greater, the paint dries faster than on a smooth ceiling. Work in sections of roughly 1.5 square metres and move quickly. Two thinner coats outperform one heavy coat on texture: the first coat seals the surface and reduces absorption, the second coat delivers the final colour and sheen consistency.
A brush is still needed for cutting in at the cornice or ceiling rose, but keep it to the perimeter only. Brushed sections dry differently to rolled ones and will show under light if you brush too far into the field of the ceiling. Cut in no more than 50–60 mm from the edge before rolling over that wet line.
Common mistakes and how to avoid them
Overworking a partially dried coat is the most common error. Once the paint starts to grab, re-rolling tears the film and creates a rough, fibrous surface that's hard to sand back without damaging the texture underneath. Roll it once, roll it twice at 90 degrees, then leave it. Resist the urge to go back.
Using masking tape directly on old or brittle texture is another regular problem. The tape adhesive can pull chunks of texture off when removed, especially on ceilings that haven't been painted in over a decade. Use a low-tack tape and remove it while the paint is still slightly wet, pulling back at a low angle rather than straight up.
Applying too much paint in a single coat will cause it to pool in the valleys of deeper textures. This flattens the surface visually and takes longer to dry, increasing the risk of sagging. Two coats is always the right answer on textured ceilings, regardless of how good the coverage looks after one.
When to call a professional
Pre-1990 textured ceilings in Melbourne carry a real risk of containing asbestos, particularly if the property was built or last renovated before 1987. Any ceiling texture that crumbles easily, appears to have a granular or fibrous composition, or hasn't been sampled and tested should be assessed by a licensed asbestos inspector before sanding, scraping or disturbing it in any way. Painting over intact texture is generally low-risk, but cutting or abrading it without knowing its composition is not a DIY decision.
If the ceiling is in poor condition, has previous coats that are flaking or lifting, or sits above a bathroom or laundry where moisture is an ongoing issue, a professional assessment will save time and money. Apex Painting handles textured ceiling repaints across Melbourne, including the preparation, primer selection and two-coat finish that this surface demands.