
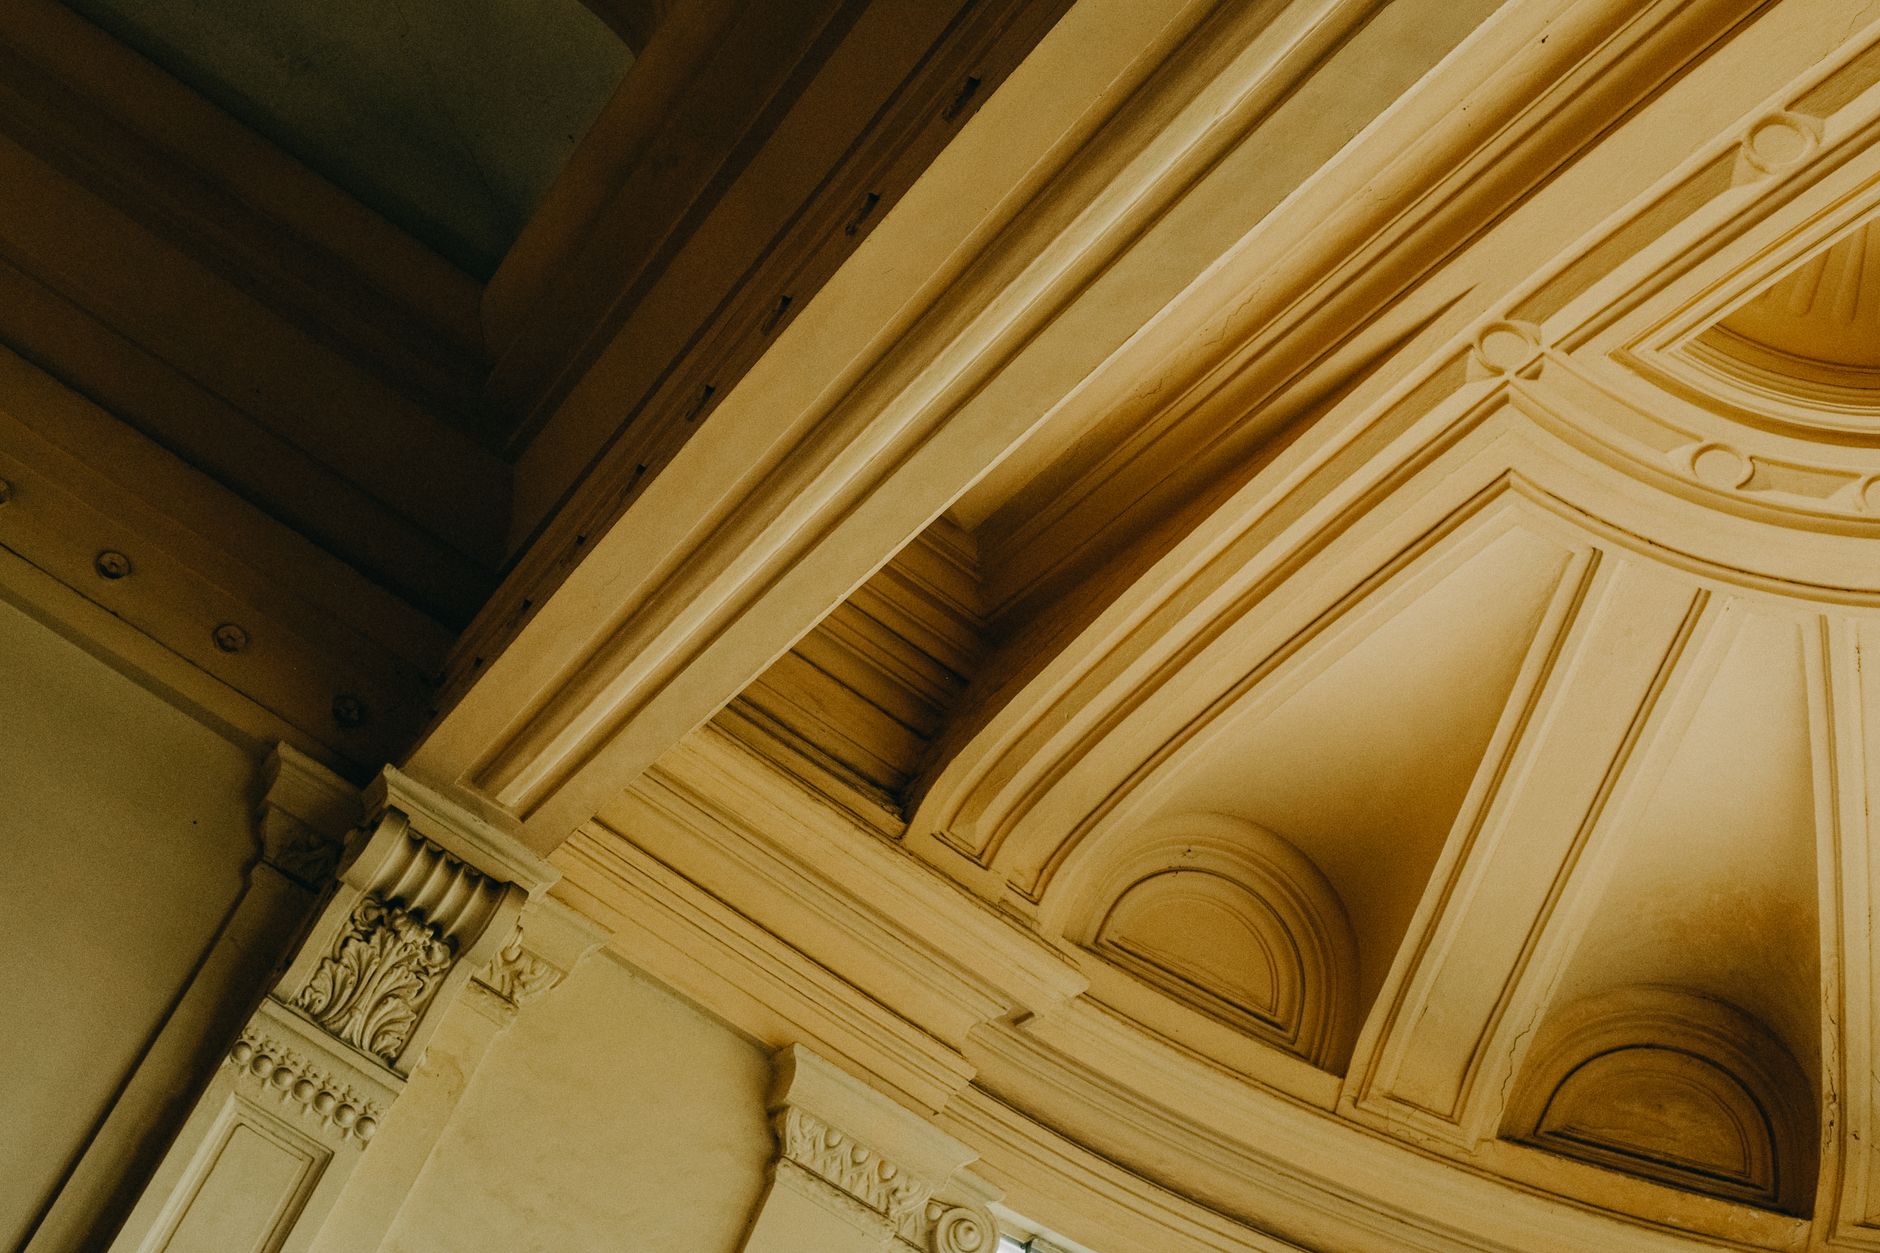
Ceiling roses and ornate cornices are fixtures in Melbourne's older homes, from Federation-era properties in Fitzroy to interwar bungalows in Hawthorn and Camberwell. They're genuinely beautiful details. They're also the spots where even experienced painters slow down, because a smudged cornice or a bridged ceiling rose profile reads as careless from across the room. Getting the technique right isn't complicated, but it does demand patience, the right tools and a clear sequence.
Why these surfaces are trickier than they look
Flat walls forgive small inconsistencies. Ceiling roses and cornices don't, because their relief profiles catch light at every angle. A small build-up of paint in a cove or a blurred edge on a medallion detail becomes instantly visible. The other problem is that these elements sit at the junction of two surfaces: the ceiling and the wall, or the rose and the ceiling field. Cutting in cleanly at a junction is always more demanding than rolling an open surface.
Older properties add a further complication. Many cornices have accumulated ten or more paint coats over the decades. That build-up starts to fill the profile, softening the crisply moulded detail underneath. Each new coat makes the problem worse if you don't account for it during preparation.
Preparation: the step that determines the result
Before any paint goes on, assess the existing surface. Run a finger through the profile of the cornice. If the lowest points of the moulding feel shallow or the edges feel rounded rather than sharp, the profile is filling. Don't add another full coat of primer and paint on top without first raking out the recesses.
Use a pointed wooden skewer or a small, stiff artist's brush to scrape loose paint from the deepest channels. Work carefully so you don't break brittle plaster. Once the channels are clear, dust the entire cornice with a dry brush before wiping it with a barely damp cloth. Let it dry completely.
Fill any cracks with a fine-surface filler. Cornices in older homes often show hairline cracks at the wall-to-cornice join, caused by seasonal movement. Press filler in with a flexible scraper, wipe away the excess immediately and sand smooth once dry. This junction crack is the one spot where a flexible acrylic filler works better than a rigid plaster-based one, because the joint moves slightly as the building breathes.
If you want to know how paint behaves on surfaces that have been patched and filled, the principles covered in the article on handling paint failure on rendered walls after patching translate directly to plasterwork.
Choosing the right products
Most ceiling roses and cornices are painted in white or off-white, and the standard choice is a low-sheen or flat acrylic. Flat finishes hide minor surface imperfections better than semi-gloss, and they don't create the hot spots of reflected light that gloss does on relief surfaces. If the rest of your ceiling is flat, match it. A ceiling rose in a different sheen from the surrounding field creates a halo effect that draws the eye for the wrong reason.
Use a water-based primer on bare or repaired plaster before topcoating. Oil-based primers take longer to dry and their fumes are difficult to manage in a closed room. A quality water-based primer bonds well to plaster and sands back easily if needed.
For the cornice itself, a semi-gloss finish is a legitimate design choice if you want the moulding to read more crisply against a flat ceiling. This is a traditional approach in period homes and it works well provided the cornice profile is in good condition. If it's at all rough or filled, stick to flat or low-sheen.
Cutting in: the technique that makes or breaks it
Use a small, quality cutting-in brush. A 25 mm angled sash brush gives good control for most cornice profiles. For very fine detail work on a ceiling rose, drop to a 12 mm artist's brush. Cheap bristles spread and splay under load, leaving strokes visible in the dried film. Spend the extra money on a brush with a firm, tapered tip.
Load the brush lightly. Excess paint drips into the relief and pools in the lowest points of the profile, and once it skins over it's very difficult to fix without damaging the surface. Work in short strokes, following the profile. On a straight cornice run, work along the top edge (the ceiling line) first, then the lower edge (the wall line), then fill the face of the cornice.
On ceiling roses, start at the outer ring and work inward toward the centre detail. This lets you correct any overload at the edges before you reach the finer central elements. Keep a small, damp cloth in your free hand to immediately wipe any drips that fall onto the ceiling field or wall below.
The two-coat rule and when to break it
Two thin coats always outperform one thick coat on ornate plasterwork. A heavy first coat fills the profile; a light second coat produces an even sheen. Sand very lightly between coats using 220-grit sandpaper, and dust off thoroughly before the second application.
The exception is an already overloaded cornice where you're trying to lose as little definition as possible. In that case, one thin coat applied carefully preserves more profile than two. If the colour change is dramatic (dark to light or vice versa), use a tinted primer to reduce the number of topcoats needed, rather than applying three or four light finish coats.
This approach mirrors the thinking behind choosing the right finish for the whole room. The article on how to choose the right paint finish for every room provides useful context on matching sheen levels across a space, which matters when ceiling roses sit within a room that has deliberate contrast between ceiling, cornice and wall colours.