
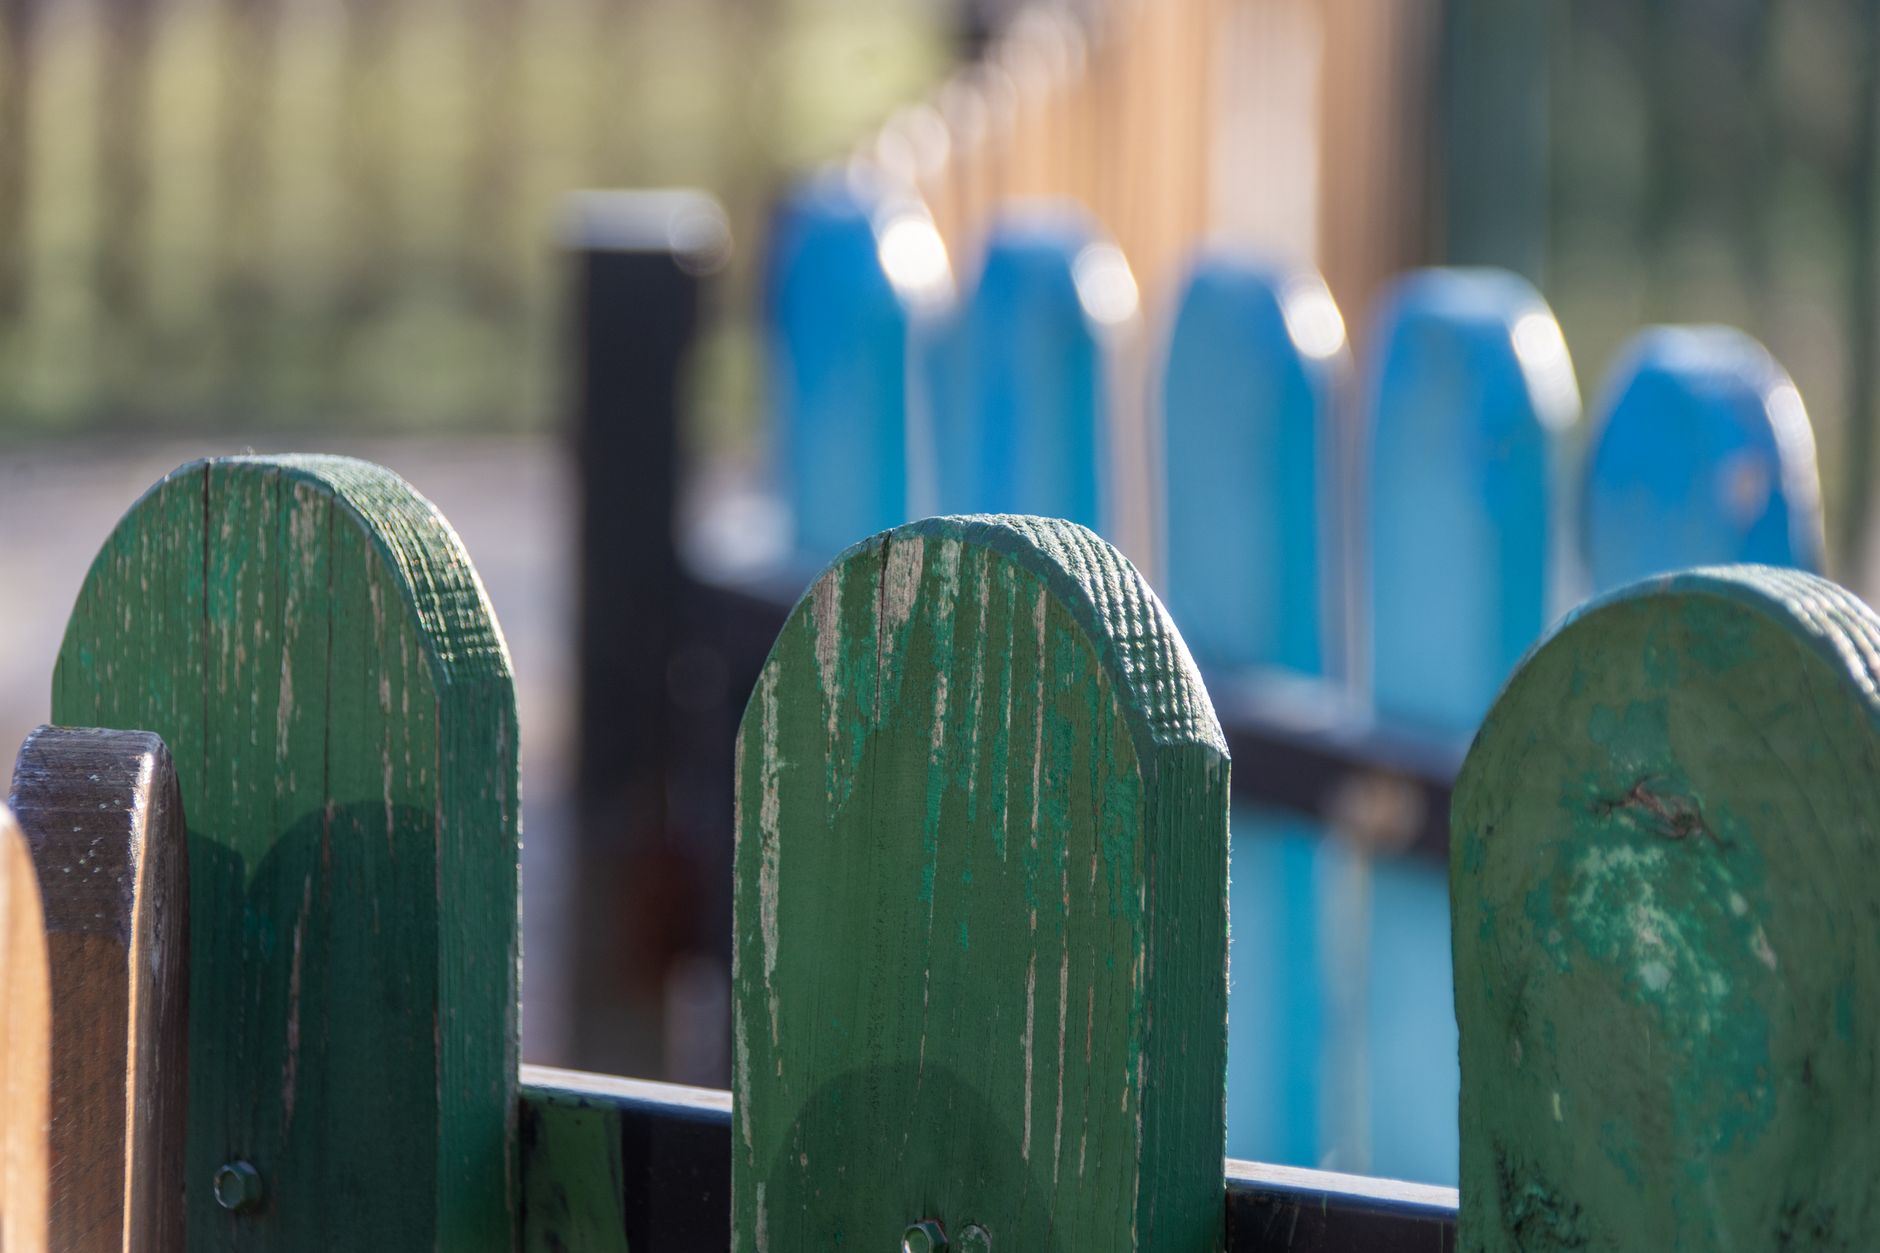
Fence painting is one of those jobs that looks simpler than it is. Most people scrape off any obvious flaking, slap on a coat and call it done. Two summers later the colour has washed out, the timber is grey and peeling, and the whole thing needs to start again. The difference between a fence that holds colour for three to five years and one that fails in twelve months comes down almost entirely to surface preparation and product selection.
Why fences fail faster than walls
A fence sits outside all year with no shelter. It faces direct sun from one side, damp soil from the post bases, and rain that soaks in from the top. Timber expands and contracts as temperature swings. Colorbond and steel panels get hot enough to blister poorly applied paint. Horizontal rails collect water and hold it against the wood grain. These aren't the same conditions as an interior wall or even a sheltered eave, and they can't be treated the same way.
Timber fences are the most common culprit for early failure. When raw or weathered timber isn't primed correctly, paint sits on the surface rather than bonding to the grain. It looks fine for a few months. Then the wood moves with moisture and the film cracks. Once moisture gets under a paint film, you'll see bubbling, peeling and grey wood within a season.
Choosing the right timber before you start
If you're replacing palings or rails before painting, use treated pine rated H3 for above-ground outdoor use. H3 pine resists moisture and insects without needing paint as a primary barrier. It still needs painting for UV protection and appearance, but it gives the paint film a fighting chance. Green, freshly treated timber needs to dry for at least four weeks before you apply any coating. Paint applied to wet treated timber will fail at the adhesion stage no matter what product you use.
Preparation: the only part that actually matters
Start with a pressure wash or a stiff brush scrub with sugar soap and water. Remove all dirt, mould, mildew and chalking from weathered surfaces. Mould needs to be killed, not just washed off. A diluted bleach solution (roughly 1 part bleach to 3 parts water) applied before washing will kill the spores rather than spread them. Let the fence dry completely. On a warm Melbourne day that's usually 24 to 48 hours. In winter or after heavy rain, allow 72 hours.
Sand any rough or splintering timber with 80-grit sandpaper to open the grain. This isn't about making the surface smooth. It's about giving the primer something to grip. Fill any deep cracks or splits with an exterior-grade flexible filler, not a rigid plaster-based product. Timber moves, and a rigid filler will crack away from the timber within a year.
For previously painted fences, scrape back all loose and flaking paint to a firm edge. Feather the edges with sandpaper so there's no hard lip where old paint meets bare timber. That lip will telegraph straight through your new topcoat as a visible line. If you're dealing with a fence that has had five or more coats of paint, consider stripping it back to bare timber entirely rather than layering on top of an unstable base.
Priming: don't skip it
An exterior timber primer isn't optional. It seals the grain, stops tannins from bleeding through into your topcoat (particularly an issue with treated pine and hardwoods), and gives the topcoat a uniform base to bond to. Use an oil-based primer for bare or weathered timber if you're applying an oil-based topcoat. If you're using a water-based topcoat, a quality acrylic primer works well, but check that the manufacturer recommends it for your timber type.
Apply primer to the end grain of any cut palings with extra care. End grain is where timber absorbs the most moisture, and it's where most fence paint failures begin. Two coats of primer on end grain is not excessive.
Choosing a topcoat that handles the outdoors
For timber fences, you have two practical choices: a penetrating oil finish or a film-forming exterior paint. Oil finishes like Cabot's range soak into the wood grain rather than sitting on top, which means they don't peel. They do require more frequent reapplication (typically every two to three years) and won't give you the same sharp colour as a painted finish. If you want a specific colour match or a clean opaque look, a quality exterior acrylic is the better choice.
Look for products rated for full sun and direct weather exposure. Sheen level matters: a satin or low-sheen finish holds up better outdoors than a flat finish, which holds moisture in its surface texture, or a gloss finish, which shows every imperfection in the timber and can crack as the timber flexes. Satin sits in the middle and handles UV without turning chalky as quickly as flat paint.
For Colorbond or steel panel fencing, the factory finish is baked-on and highly durable. Most Colorbond doesn't need painting at all. If you're refreshing a steel fence that has lost its coating or showing rust, use a rust-inhibiting primer followed by a direct-to-metal (DTM) exterior enamel. Don't apply timber paint to steel: the flexibility and adhesion profiles are different and the paint will fail.
Application technique on a fence
A fence presents a frustrating painting surface: lots of narrow vertical boards, often with gaps, and a long run that needs to stay wet at the edges to avoid lap marks. Working section by section, roughly 1.5 to 2 metres at a time, helps maintain a wet edge. Brush application gives better penetration into timber grain than rolling. A wide brush (100mm to 125mm) on flat palings and a narrower brush (50mm to 75mm) for rails and posts covers ground quickly without leaving heavy lap marks.
Paint with the grain, not across it. Work from the top of the fence down so drips don't land on finished sections. Apply two topcoats for colour depth and durability. One coat rarely provides enough film build to protect against UV fading over multiple seasons. Allow the first coat to dry fully (check the product's recoat window, typically 4 to 6 hours for water-based, longer for oil-based) before applying the second.
What Melbourne's weather means for timing
Melbourne's climate complicates outdoor painting. If you're tackling a fence in summer, paint in the morning before the surface temperature peaks. Paint applied to a surface above 35°C dries too fast, leaves brush marks and doesn't bond properly. Winter painting works, but you need dry conditions and temperatures above 10°C for acrylic paints to film properly. Spring and autumn are the most forgiving windows. If you want a broader look at how weather affects exterior work, the considerations for choosing exterior paint for Melbourne's climate apply directly to fence jobs too.
Protect your lawn, garden beds and any paved areas below the fence before you start. Timber preservatives and exterior paints contain compounds that can burn grass and stain concrete. Plastic drop sheets and painter's tape on any adjacent hard surfaces take five minutes to lay down and save a clean-up headache later.
How long should a good fence paint job last?
With correct preparation and quality products, a painted timber fence should hold colour and resist peeling for four to six years in most Melbourne conditions. Fences with heavy afternoon sun exposure on the north or west face will show fading sooner. Oil finishes on bare timber typically need refreshing every two to three years but rarely peel catastrophically. If you want a sense of what early paint failure looks like before it becomes a full strip-and-repaint situation, the same warning signs covered in spotting early signs of exterior paint failure apply to fence surfaces as much as they do to walls and eaves.
A well-painted fence also does more than look good. It protects the timber structure itself, slows rot at post bases and rails, and keeps the fence standing longer between replacements. Done right, it's one of the better-value outdoor maintenance jobs you can do on a Melbourne property.