
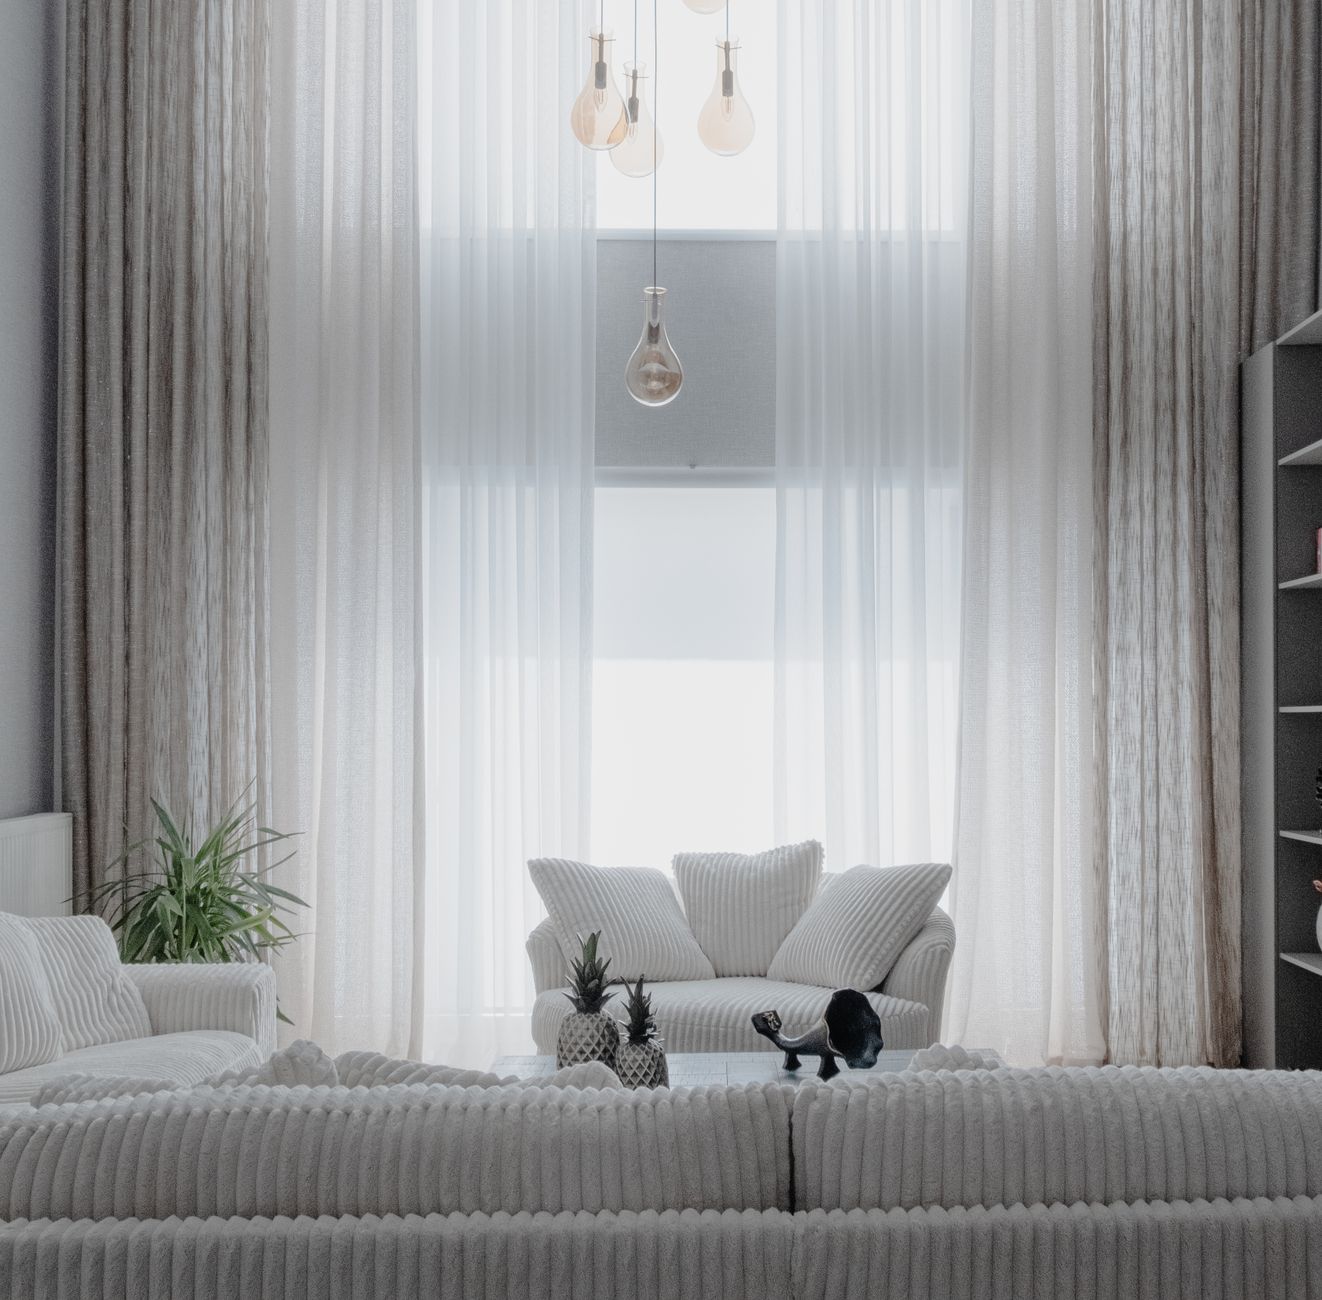
Sunken lounges and split-level living areas were a staple of 1960s and 1970s Australian home design, and plenty of Melbourne homes still have them. They look striking. They're also genuinely awkward to paint. The stepped floor planes, the low knee-walls, the ceiling sections at different heights and the way natural light falls unevenly across levels all create problems that a single colour choice won't solve on its own.
This guide covers how Apex Painters Melbourne approaches these spaces: from surface preparation across multiple levels, to colour decisions that respect the architecture rather than fight it.
Why split-level spaces are different to paint
The core challenge is visual continuity. A flat-plan room sits inside one visual frame. A split-level space sits inside several. The lower level of a sunken lounge is typically dimmer than the upper level, because it's further from windows and the ceiling reads closer overhead. Paint a single colour across both levels and it will read differently in each zone. Not wrong, necessarily, but noticeably inconsistent.
There's also the matter of the riser walls or knee-walls at the step transition. These surfaces catch shadow, collect scuffs from feet and furniture, and often get painted as an afterthought. Treat them carelessly and the transition looks unfinished.
Preparation: working across levels safely
Set up access before anything else. A sunken lounge floor is lower than the surrounding room, which means you're working at an elevation change mid-job. Ladders set on different levels need to be stable on both. Use a ladder leveller on the lower step if you're working on the ceiling above the sunken zone. Don't improvise with boxes or step-stools.
Fill and sand all surfaces before you pick up a roller. Knee-walls are usually standard plasterboard or masonry, but they've often been dented by furniture legs and foot traffic over the years. Use a flexible filler for any cracks at the floor-to-wall junction: the stepped concrete or timber substrate can move slightly with temperature and settlement, and a rigid filler cracks again within months.
Sand all filled areas back to flush, then wipe down with a damp cloth. Don't skip this step on the lower level surfaces. Dust settles downward and the sunken floor area accumulates more than the upper level does.
Ceiling height and colour: the decisions that matter most
Many split-level spaces have two distinct ceiling heights: the full ceiling over the upper living area and a lower ceiling section directly above the sunken zone. This is where paint colour becomes structural rather than decorative.
Painting both ceilings the same white unifies the space. It reads as one room even with the floor change. If the lower ceiling section feels oppressive, a very pale tint (no more than 5–10% of a mid-tone base) can make it recede without creating a visible contrast line between the two ceiling planes.
Painting the lower ceiling a noticeably different colour to the upper ceiling draws attention to the height difference rather than softening it. Reserve that approach for spaces where you want to emphasise the architectural distinction deliberately.
For practical guidance on specific colour decisions by light conditions, the article on how to choose paint colours for a north-facing room covers the effect of indirect light on perceived colour, which is directly relevant to the lower, dimmer zones common in sunken lounges.
Choosing colours across levels
The two most common approaches are tonal continuity and deliberate contrast. Both work. The mistake is landing somewhere between the two without committing to either.
Tonal continuity means using the same hue across both levels with a slight shift in depth. The upper level gets the lighter version, the sunken zone gets the mid-tone of the same family. The result feels connected because the hue is consistent, but the sunken space gets warmth and definition rather than feeling washed out.
Deliberate contrast means treating the sunken zone as a distinct space. A deeper or bolder colour on the walls of the lower level anchors it visually and leans into the cosy, enclosed quality that sunken lounges were designed for. The upper level stays lighter and acts as the visual release. This works well when the two zones are clearly separated by the knee-wall rather than being open and blended.
What doesn't work is painting the knee-wall (the riser at the step) a random third colour with no connection to either zone. It reads as indecisive. Paint the knee-wall the same colour as whichever zone it faces outward toward.
Sheen levels across a split-level space
Sheen choice follows function, not level. The sunken lounge walls should be low-sheen or flat if they're purely decorative surfaces in a relaxed sitting area. The knee-wall and step risers should go up one sheen level, because they receive far more contact. A low-sheen on the walls with a semi-gloss on the risers is a standard approach that handles wear without looking inconsistent from a sitting position.
If the split-level space connects to a kitchen or dining area, check the article on how to choose the right paint finish for every room for guidance on sheen selection where different functional zones share a visual boundary.
Painting order for a split-level space
Start at the highest ceiling point and work downward. This is standard practice for any interior job, but split-level spaces have more ceiling transitions to manage. Cut in all ceiling edges before rolling. Then cut in at all wall-to-ceiling junctions on the upper level, followed by the upper level walls. Move to the lower ceiling section next, then the lower level walls. Finish with the knee-walls and step risers.
The reason for this order is simple: you're always cutting in above what you've already rolled. Any drips land on unpainted surfaces and get absorbed into the next coat rather than marring finished work.
Give the first coat on the lower level walls adequate dry time before applying the second. The lower zone is usually less ventilated than the upper level. In a Melbourne autumn or winter, add 30–45 minutes to the manufacturer's recommended recoat time for the lower level if you're running windows closed.
Common mistakes to avoid
The three errors Apex Painters Melbourne sees most often in split-level repaints are: painting the entire space one flat colour without adjusting for the light difference between levels; ignoring the knee-wall surface preparation and applying paint directly over scuffs and dents; and using the same sheen on the step risers as on the upper walls, which leads to early wear and visible marks within a year.
A fourth mistake is less obvious: not checking that the existing paint on the lower level is the same product type as on the upper level. Older Melbourne homes sometimes have oil-based paint on lower surfaces (for durability) and water-based on upper walls. Painting water-based over oil without priming causes adhesion failure. Sand the surface lightly and prime with a bonding primer before recoating if you're unsure of the existing product.
When to call a professional painter
The physical complexity of a split-level space, multiple ceiling heights, awkward access angles at level transitions and the importance of getting colour relationships right across zones, means these jobs are harder to execute well than a standard room repaint. Apex Painters Melbourne handles split-level and sunken lounge repaints as standard residential projects, covering preparation, priming, colour consultation and application across all surface levels in a single visit sequence.
If the sunken space also includes a feature wall treatment or an adjacent open-plan area, the scope expands but the principles stay the same: treat each surface zone according to its light conditions and function, and keep the transitions deliberate.