
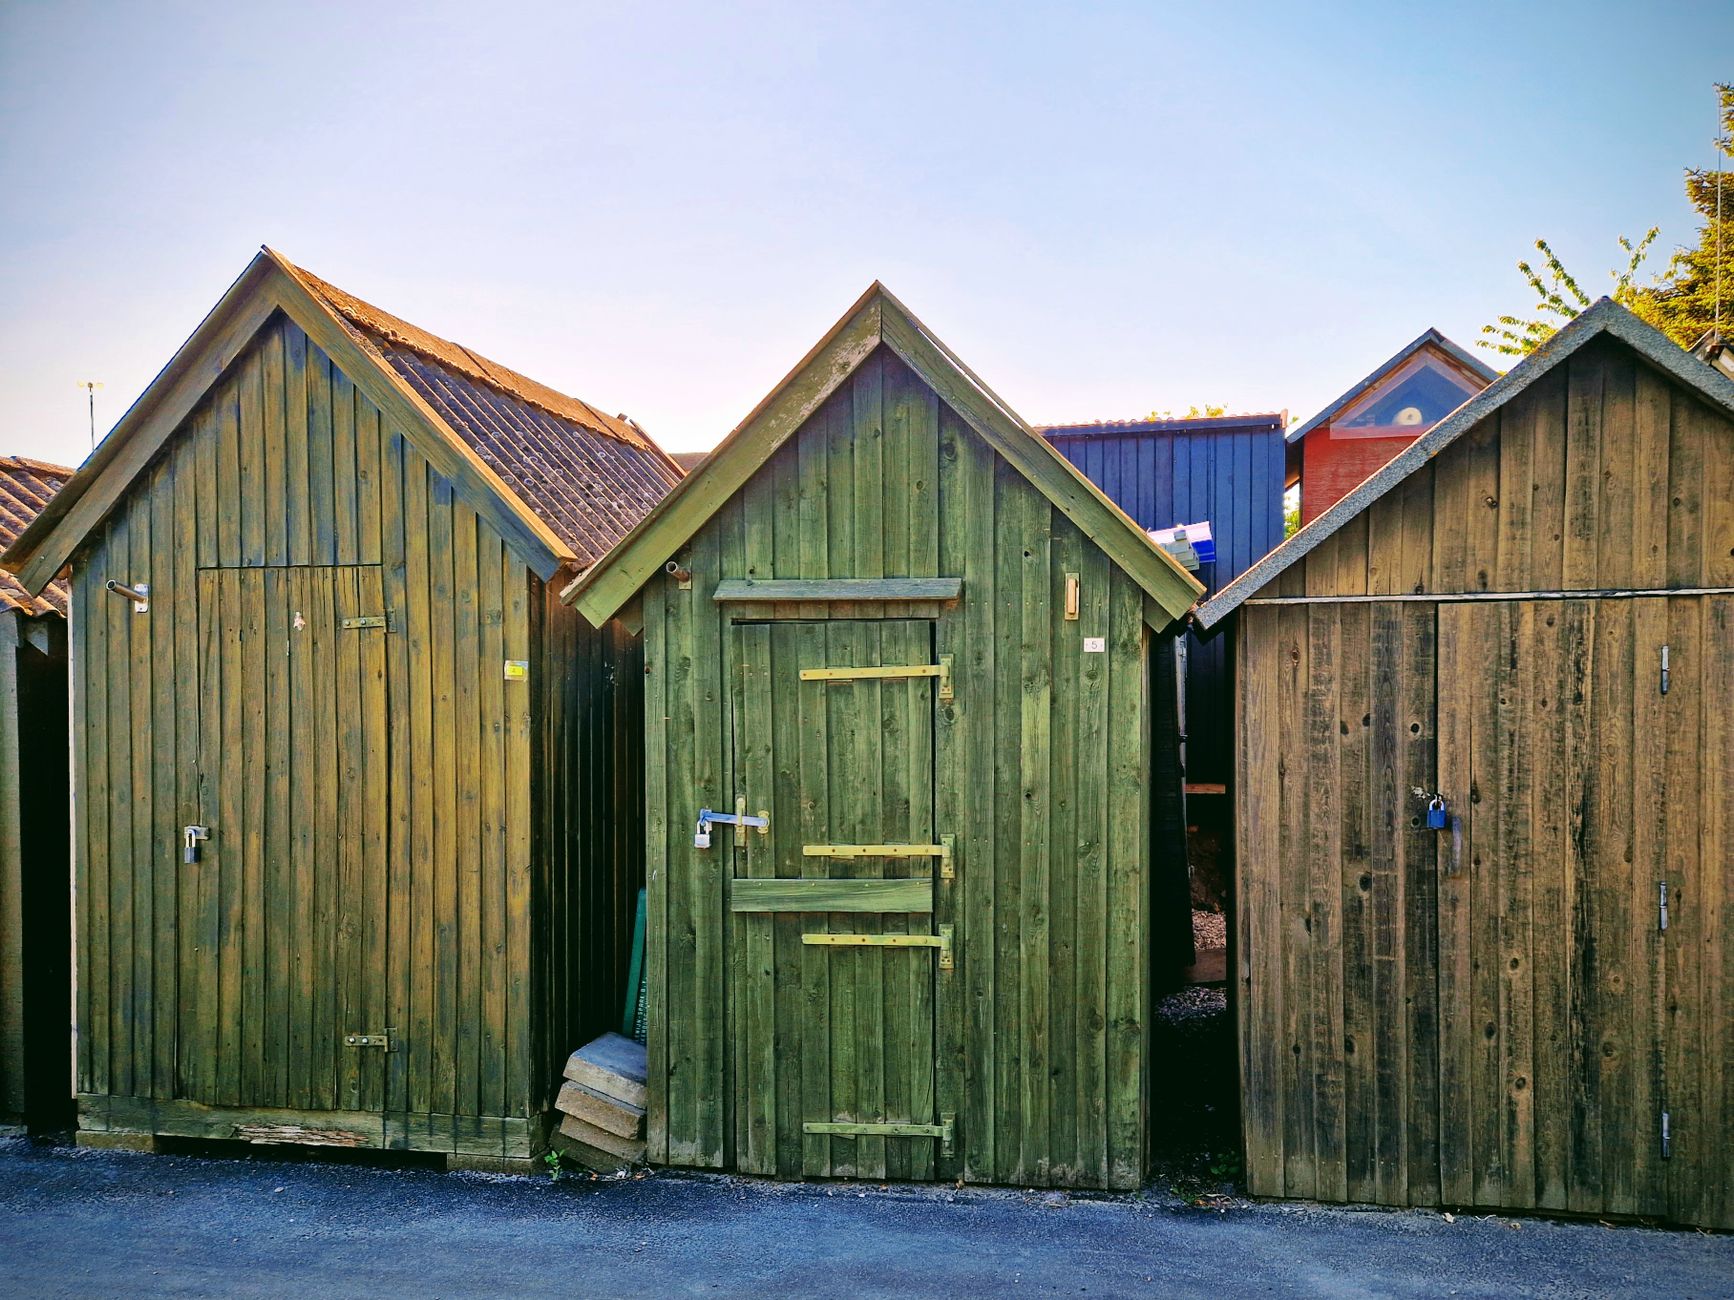
Garden sheds take a punishment that most painted surfaces never face: full sun on one side, damp soil on the other, and timber or metal that expands and contracts with every Melbourne temperature swing. Paint a shed the wrong way and you'll be back on the ladder within two seasons. Get the preparation and product choice right and a quality finish holds for five to eight years with minimal upkeep.
Why shed surfaces are harder to paint than they look
Most garden sheds are built from one of three materials: treated pine, hardwood, or corrugated steel. Each behaves differently under paint, and treating them identically is where most DIY shed paint jobs go wrong.
Treated pine is porous and can carry preservative chemicals that actively reject oil-based primers if the timber is still green. Hardwood is dense and slow to absorb, meaning adhesion depends heavily on surface profile. Corrugated steel rusts at any breach in the coating, and metal expands in summer heat faster than most standard paints can flex with it.
The other complication is positioning. A shed sits in a garden, which means the base is constantly exposed to splash-back from rain, mower clippings and soil moisture. The roof takes direct UV. Any paint system that doesn't account for both zones will fail in at least one of them.
What you need before you start
Assemble these before touching the shed:
- Wire brush or angle grinder with a flap disc (for rust on metal sheds)
- Sugar soap and a stiff-bristle brush (for timber cleaning)
- 180-grit sandpaper and a sanding block
- Oil-based primer rated for exterior timber, or a rust-inhibiting metal primer
- Exterior acrylic paint with a low-sheen or satin finish (not flat, which holds moisture)
- A 75 mm angled brush for edges and a 230 mm roller with a medium nap for flat faces
- Painter's tape and drop sheets
Don't scrimp on primer. It's the layer that bonds to the substrate and gives the topcoat something to grip. A shed that skips primer is one that peels within a year.
Preparing a timber shed
Start by cleaning the entire exterior with sugar soap and water. Scrub off any mould, lichen or algae, which are common on the shaded side of sheds. Rinse thoroughly and allow at least 48 hours to dry before priming. Melbourne's humidity means timber holds moisture longer than you'd expect, and painting over damp wood is the fastest route to bubbling and blistering.
Sand any flaking paint back to bare timber. Feather the edges so there's no hard ridge where old paint meets raw wood. Fill any splits or knot holes with an exterior-grade flexible filler, then sand smooth once cured.
If the timber is bare or newly treated, apply an oil-based primer. Water-based primers can be used on pre-painted surfaces, but on bare or treated pine, oil penetrates the grain and seals it better. Two thin coats are better than one thick one. Let each coat dry fully.
Preparing a metal shed
Rust is the enemy. Any surface rust must be removed before primer goes on. Use a wire brush or an angle grinder for significant corrosion. For light surface rust, a rust converter product applied directly to the metal chemically neutralises the oxidation and creates a primed surface in one step. Dulux and Feast Watson both make rust converter primers suited to corrugated iron and Colorbond-style steel.
Clean the entire surface with a degreaser after rust treatment. Oil and grease from garden equipment or lubricants on hinges will cause fisheyes in your topcoat. Wipe down with a lint-free cloth and let the surface dry completely before priming.
Use a rust-inhibiting primer formulated for exterior metal. Apply with a brush rather than a roller on corrugated sheeting, pressing paint into the corrugation valleys where rust typically starts first. Two coats of primer on bare or repaired metal.
Choosing the right topcoat
For timber sheds, choose an exterior acrylic in a low-sheen or satin finish. Flat finishes absorb moisture and are difficult to clean. Gloss is easy to wipe down but shows every imperfection in rough sawn timber. Low-sheen splits the difference: it's cleanable, flexible and forgiving on uneven surfaces.
For metal sheds, a direct-to-metal (DTM) enamel is the most durable option. DTM enamels bond to metal without a separate primer coat if the surface is properly cleaned, though priming first still produces a better result. If you want to match an existing Colorbond colour, Dulux Weathershield offers colour-matched exterior paints designed for Australian climate conditions.
Two topcoats are not optional. One coat on either timber or metal won't deliver the coverage or durability you need on a surface that faces full weather exposure year-round.
Application technique
Work from the top down. Paint the fascia boards and gable ends first, then the main wall faces, then the base boards. On timber, use long, smooth brush strokes in the direction of the grain. On corrugated metal, brush into the valleys before rolling across the peaks.
Don't paint in direct sun on hot days. Melbourne summers routinely push shed surfaces past 60°C in full sun, and paint applied to a hot metal surface dries too quickly to bond properly. Early morning is the best window: the surface temperature is lower and dew has had time to burn off.
Allow each coat to dry to the manufacturer's specified recoat time. Cutting this short is the most common reason for soft, slow-drying finishes that never fully harden.
Base and floor areas need separate treatment
The bottom 300 mm of any timber shed wall is a high-risk zone. Soil splash, grass contact and pooling rainwater attack this section more aggressively than the rest of the wall. Apply an extra coat of topcoat to this zone and consider a timber preservative applied to the base boards before priming for added moisture resistance.
If the shed has a timber floor, treat it as a separate project. Floor paint must handle foot traffic, tool dragging and potential oil or fuel spills. A purpose-formulated deck and floor enamel in a satin finish is appropriate. The same prep principles apply: clean, sand, prime, two topcoats.
For more guidance on preparing and painting exterior timber structures, the approach used on painting a pergola shares several techniques directly applicable to shed exteriors, particularly around timber prep and primer selection.
Maintenance between repaints
A well-painted shed shouldn't need a full repaint for five to eight years, but it does need checking. Walk around the shed twice a year and look for these specific issues: cracking or splitting along board joints, rust bleed at screw or nail heads on metal sheds, and paint lifting at the base.
Spot-treat any rust bleed immediately with a rust-inhibiting primer before it spreads under the surrounding paint. On timber, fill any new cracks with flexible exterior filler and touch up with topcoat. Addressing small failures early is far cheaper than stripping and repainting a shed that's deteriorated from neglect.
If you're planning a broader exterior maintenance program across your property, understanding the early signs of exterior paint failure will help you prioritise which surfaces need attention first and avoid letting minor issues become costly repairs.
Apex Painters Melbourne handles shed painting as part of full exterior repaint projects across Melbourne. If the shed is part of a larger scope, combining it with the main house exterior keeps preparation costs low and ensures a consistent finish across the whole property.