
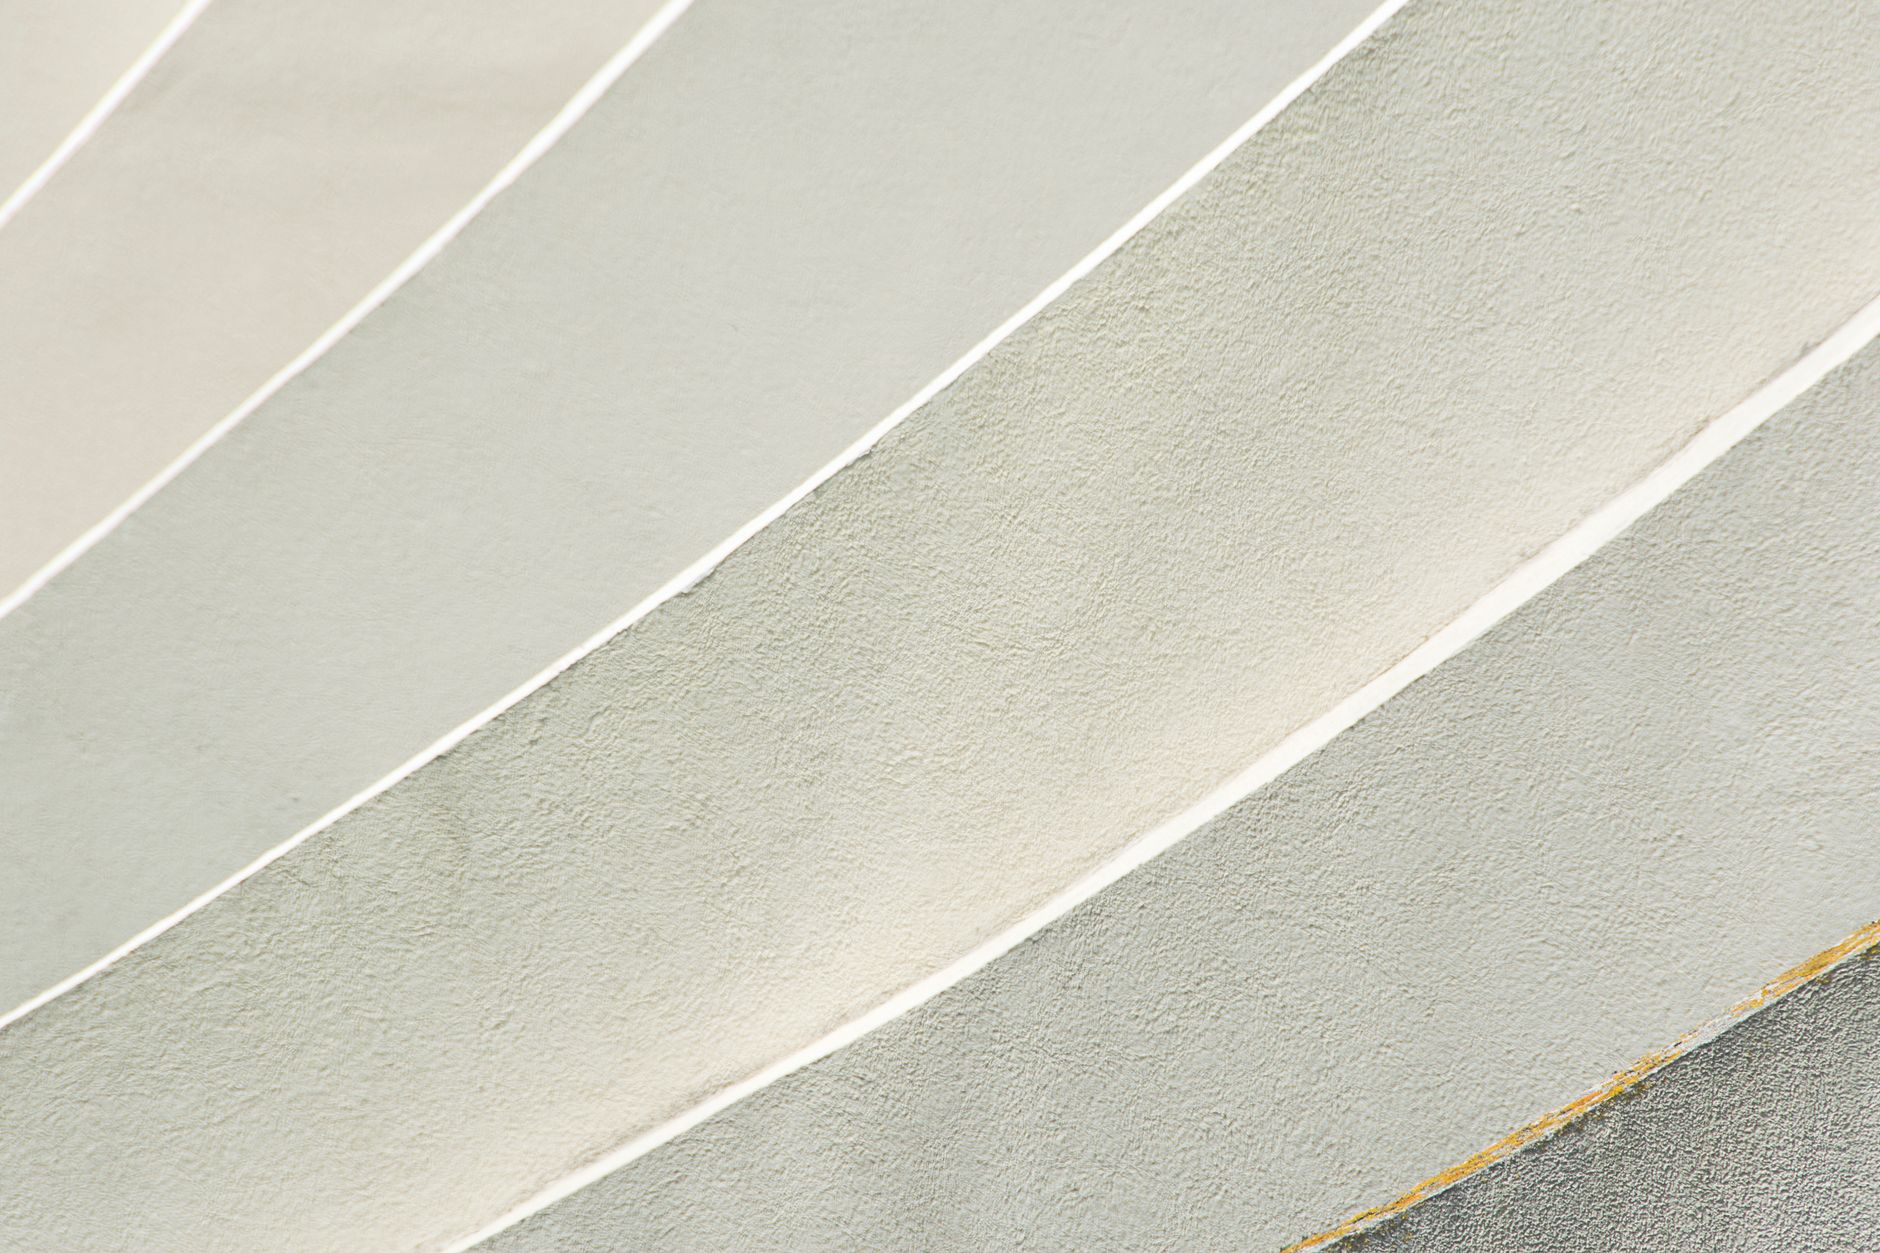
Curved and arched walls show every mistake a flat surface would hide. Lap marks that disappear on a straight run become visible bands on a curve, because the angle of the light changes across the surface as you move around it. Apex Painting treats these surfaces as a separate skill set, not just an extension of ordinary wall painting. Get the product choice, roller selection and wet-edge method right and the finish holds up beautifully.
Why curved walls behave differently
On a flat wall, you work in parallel strips and the wet edge stays predictable. On a curve, each strip sits at a slightly different angle to your light source. That shift means any overlap dried more than 60 seconds ago will catch the light differently to the fresh coat beside it, creating the banding effect that ruins otherwise careful work. The problem isn't the paint. It's timing and sheen.
Arched openings add a second complication: the reveal. The internal curve of an arch is a narrow concave surface that standard rollers can't properly reach. Force a standard 12mm nap roller into an arch reveal and you'll get uneven coverage at the edges and heavy build-up at the apex. That build-up dries thick, then cracks.
Choosing the right tools
For a curved interior wall, use a 100mm mini roller with a 10mm nap. It's manoeuvrable enough to follow the curve without lifting, and the shorter sleeve means less paint loaded per pass, which reduces the risk of runs. Don't go below 6mm nap on a painted plaster curve because the pile won't carry enough product to maintain the wet edge.
For arch reveals specifically, a quality 50mm angled brush gives you the most control. Use it for the first coat on the reveal, then follow with a small foam roller (4mm nap) on the second coat to flatten the brush texture before it dries. The foam roller won't add orange peel if the paint is thinned 5% with clean water, which also extends the open time slightly.
- Mini roller, 100mm, 10mm nap: main curved wall surface
- 50mm angled brush: arch reveals and tight concave sections
- 4mm foam roller: second coat on reveals and tight curves
Prep work that actually matters
Curved walls in older Melbourne homes are often render over a wire lath frame. Check for hairline cracks at the apex of the curve before you prime. These cracks appear because the lath flexes slightly with seasonal movement and the render doesn't. Fill them with a flexible acrylic filler, not a rigid compound. Rigid filler bridges the crack but doesn't move with the substrate, so it re-opens within 12 months.
Sand the filled sections back to smooth with 120 grit, then feather the edges with 180 grit. Wipe the entire surface with a damp cloth before priming. Dust settles into the hollows of a curved wall far more than on a flat surface, and any grit left behind will telegraph through the topcoat under raking light.
Prime with an acrylic primer-sealer and apply it by brush on the first coat, working the product into the surface rather than rolling it on. This forces the primer into micro-pores in the plaster or render and gives your topcoat something to grip. If you're working on a hallway with a curved feature wall, address the flat hallway sections with a separate coat sequence so you're not chasing a wet edge across two very different surfaces simultaneously.
Application technique to avoid banding
Work in sections of no more than 600mm wide. Load the mini roller fully but roll off the excess on the tray grid before touching the wall. Start each section at the top of the curve and roll downward in a smooth arc that follows the wall's geometry. Don't use a straight vertical stroke on a curved surface. The roller will skip at the apex and deposit too much paint at the bottom of the stroke.
Keep a wet edge by moving to the next 600mm section before the current one tacks. In Melbourne summers, you have roughly 45 to 60 seconds before acrylic starts to tack. In cooler months you may get 90 seconds. Work with that window, not against it. If you pause mid-section, the edge will dry and banding is almost guaranteed.
Back-roll each section once, lightly, using a nearly dry roller. This evens out stipple texture and lays the paint film flat. Don't back-roll a section that has already tacked: you'll lift fibres from the surface and create texture that catches the light badly once dry.
Sheen selection is critical
Curved walls amplify sheen. A low-sheen finish (around 15 to 25 degrees gloss) on a flat wall is forgiving. The same product on a curved wall will show every roller stroke direction because the surface reflects light from a wider range of angles. On most residential curves, use a flat or low-sheen topcoat. Reserve satin for areas that need washability, like hallways, but accept that you'll need to be more precise in your application.
Choosing the right finish isn't just about aesthetics. It's a practical decision that affects how visible your technique will be once the paint dries. The guide on choosing the right paint finish for every room covers the sheen level decision in more detail, and the principles apply directly to curved feature walls.
Second coat and common mistakes
Allow the first coat to dry fully before applying the second. On curved plaster, this means at least 4 hours in mild conditions, not the 2 hours some product labels suggest. The curve holds humidity differently to a flat wall, especially in south-facing rooms or areas with limited airflow. Touch the mid-point of the curve, not the edge. Edges always dry first and will mislead you.
The two most common mistakes at this stage are overloading the roller and cutting in with the wrong product. Don't use a different sheen for cutting in around the arch than you used for the field coat. It's a shortcut that produces a visible ring around the arch where the two finishes meet under light. Use the same tin for the entire surface.
Apply the second coat with the same technique as the first, but orient your roller strokes in the opposite direction to the first coat. On a curved wall this means if your first coat ran in arcing downstrokes, the second runs in arcing upstrokes. Cross-direction application fills any thin spots left by the first coat and produces a more even film thickness across the curve.
Let the finished surface cure for 72 hours before touching it. Acrylic paint on a curved plaster wall is soft and easily marked in the first 48 hours, even when it feels dry to the touch. A hand print on a curved wall at eye level is one of the hardest marks to retouch without showing the repair.