
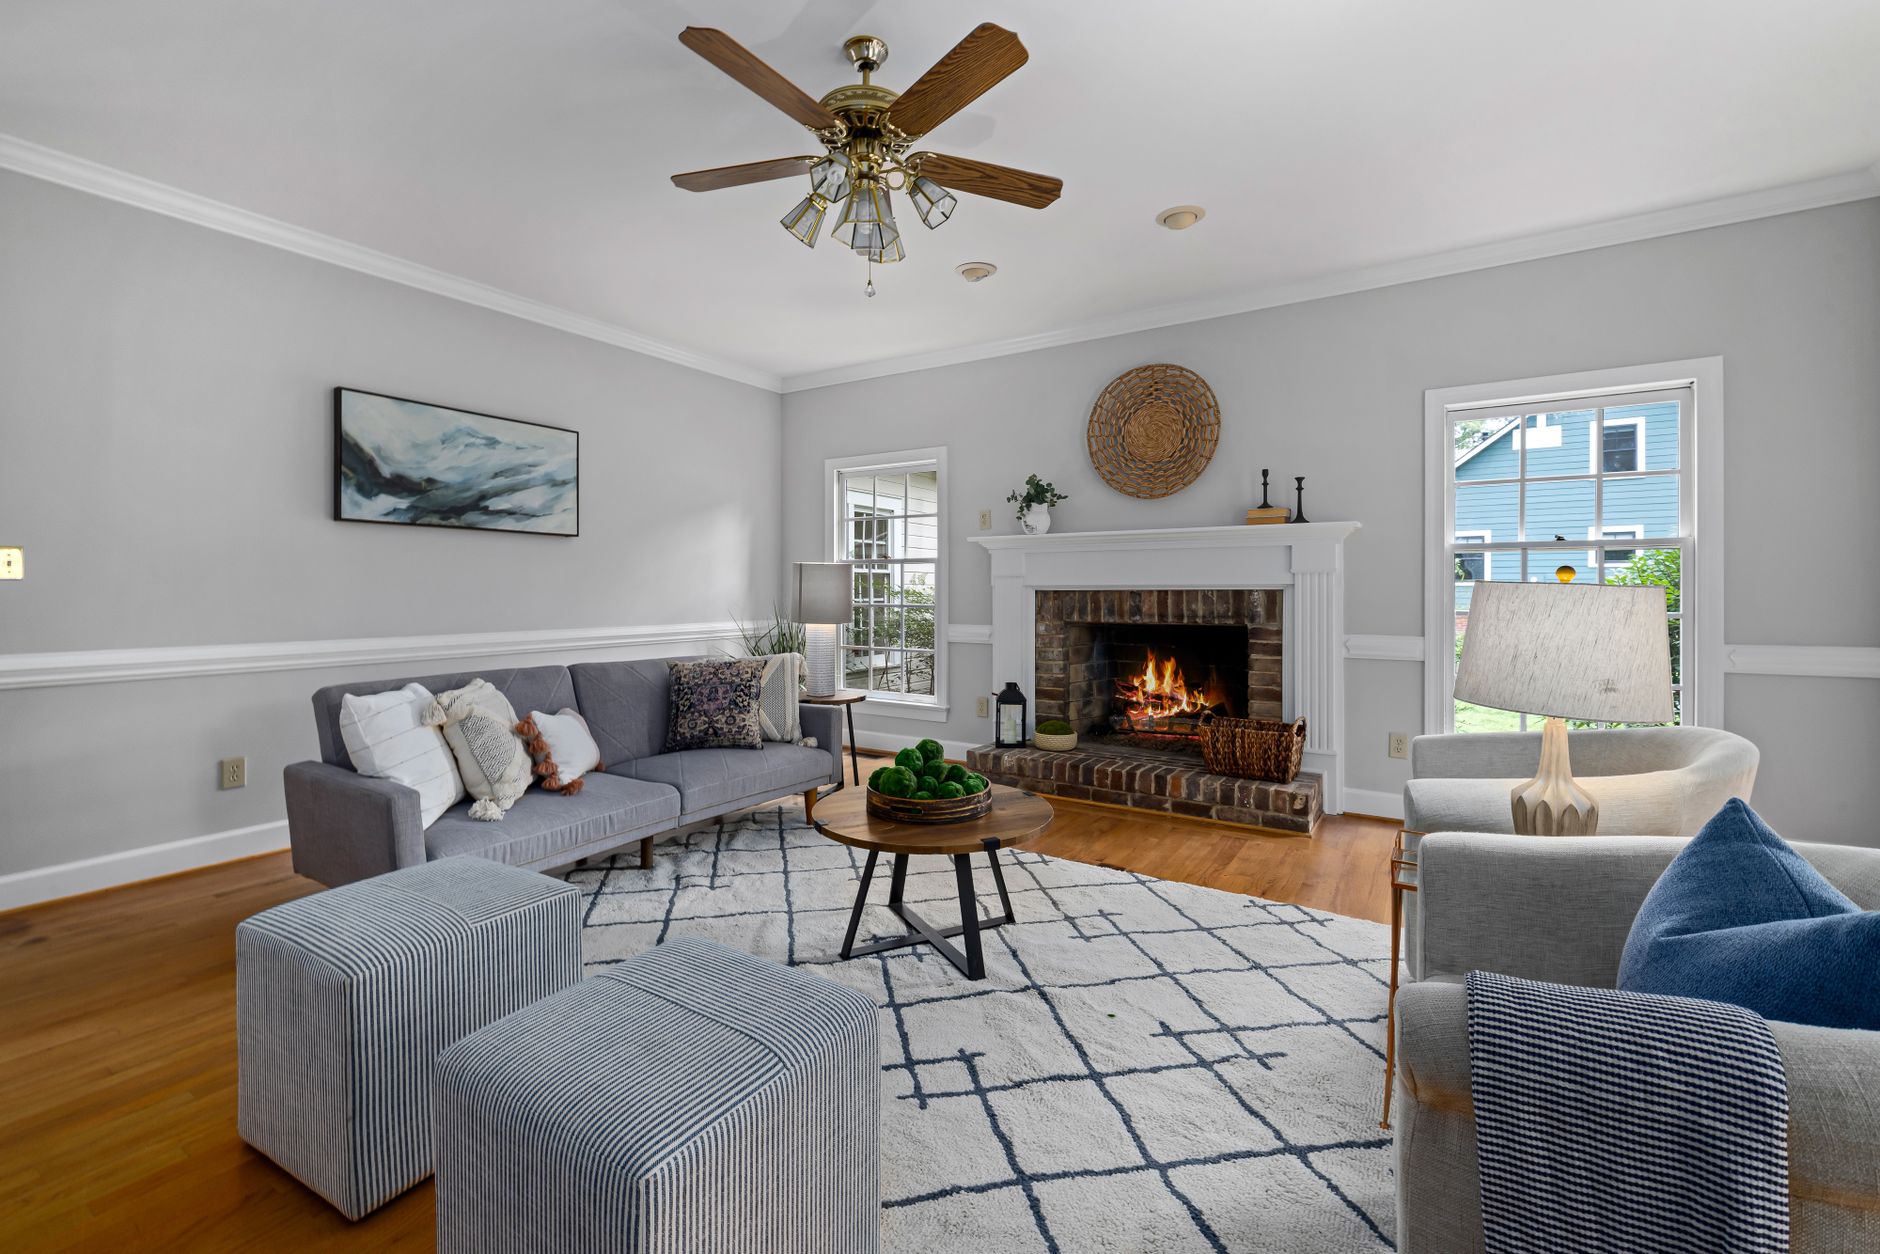
Painting a brick fireplace surround is one of those jobs that looks straightforward until you're six months in and the paint is already peeling in sheets. The problem isn't the painting itself. It's the combination of a porous, uneven surface, residual soot, mortar joints and, in some cases, genuine heat exposure. Get those details right and a painted fireplace surround can look sharp for a decade. Rush the prep and you'll redo it by winter.
Why fireplace brick is harder than ordinary brick
Brick is already a demanding surface to paint. It absorbs primer unevenly, the mortar joints are a different porosity to the face of the brick, and any moisture trapped behind the surface will push paint off from the inside. A fireplace adds two more variables: soot and heat.
Soot is oily. Standard primers don't seal it. If you paint over even a thin layer of smoke residue, the oils bleed through the topcoat within weeks. That's the same bleed-through problem that catches people out with water stains on walls and ceilings, and the fix is the same: a stain-blocking shellac or oil-based primer before anything else goes on.
Heat is the second issue. The firebox itself gets far too hot for any standard wall paint, but the surround, the decorative brick frame around the opening, sits close enough to the firebox that it will cycle through moderate temperature changes each time you light a fire. Standard water-based acrylic won't tolerate that. It cracks and flakes as the brick expands and contracts.
What you'll need before you start
Gather your materials before touching the surface. Improvising mid-job on a fireplace means delays while residues dry and set.
- Stiff-bristled wire brush and a hand brush for dust
- Trisodium phosphate (TSP) cleaner or a dedicated soot degreaser
- Shellac-based primer (Zinsser BIN is the industry standard for this)
- Heat-resistant masonry paint rated to at least 150°C for the surround, or a dedicated high-heat paint if the area sits very close to the firebox opening
- A 25 mm natural-bristle brush for mortar joints
- A small foam roller (10 mm nap) for the brick faces
- Painter's tape and drop sheets
Surface preparation: the step that decides everything
Start with the wire brush. Scrub every mortar joint to dislodge loose material, then brush the brick faces to remove chalky residue and surface debris. Don't skip the joints. Paint applied over crumbling mortar will lift the whole section around it.
Next, mix TSP according to the packet instructions and scrub the entire surround with a stiff brush. Rinse thoroughly and let the brick dry for at least 48 hours. Brick holds moisture longer than you expect, especially if it's sat unheated through a Melbourne winter.
Inspect for efflorescence, that white crystalline salt deposit common on older brick. Scrape it off with a wire brush. Painting over it locks the salts in, and they'll push back through the paint film within months.
Once dry, apply the shellac primer with a brush, working it into every mortar joint before rolling the brick faces. Don't skip spots. One unsealed patch of soot will bleed through the topcoat and force a full strip-back.
Choosing the right paint for the surround
The surround area, meaning the decorative frame around the firebox opening, needs a heat-resistant masonry paint. Standard acrylic interior paints are not rated for the surface temperature fluctuations near an operating fireplace.
For surrounds that don't sit within 30 cm of the firebox opening, a quality exterior-grade masonry paint with good flexibility will tolerate the mild temperature cycling. For surrounds closer to the opening, use a dedicated high-heat paint such as Dulux's high-temperature range or a purpose-made fireplace enamel. These products are formulated to withstand temperatures up to 600°C and won't crack as the surface moves.
Colour choice is worth a thought. White and off-white are the most popular options because they open the room and contrast with the firebox insert. Dark colours look striking but show dust and ash more quickly. A flat or low-sheen finish hides the texture variation in old brick far better than a semi-gloss, which will catch every imperfection in the raking light from the fire itself.
Application technique for brick
Work in two stages. First, use your 25 mm brush to cut the primer and paint into every mortar joint. Then roll the brick faces. Trying to roll over joints without brushing them first leaves voids, and voids mean flaking.
Apply two thin topcoats rather than one thick one. Thick coats on porous surfaces skin over on the outside while remaining wet underneath, which leads to bubbling. Let each coat dry fully according to the manufacturer's drying time, and add an extra hour if the room is cold or humid.
Don't use the fireplace for at least 5 days after the final coat. Heat-resistant paints need time to cure fully, and lighting a fire too soon can blister even the right product. Some high-heat paints specify a curing burn, a very short, low fire to harden the finish. Check the product instructions and follow them exactly.
Common mistakes that cause flaking
Skipping the degreasing step is the most common. Soot is invisible in thin layers, and you'll convince yourself the brick looks clean enough. It isn't.
Using the wrong primer is the second. Water-based primers won't seal soot reliably. Shellac seals almost anything and dries in 45 minutes. There's no good reason to substitute it.
Painting in cold or humid conditions is the third. If the brick is below 10°C or the humidity is above 85%, the paint won't cure properly. This is the same condition problem that causes blistering in high-humidity rooms, and the fireplace surround is particularly vulnerable because the brick holds ambient moisture so well.
One more: applying paint to a fireplace that's recently been used. Wait at least 72 hours after the last fire before starting prep, so the brick can cool completely and any retained moisture can escape.
Maintaining the finish
A properly prepared and painted fireplace surround should hold for 5 to 8 years before needing attention, assuming you use the right products. Each year, wipe the surround down with a barely damp cloth to remove dust and fine ash. Don't use abrasive cleaners. If a small section chips, spot-prime with shellac and touch it up before it spreads. Small repairs done early are far simpler than a full strip-back.
If you ever want to change the colour, the existing heat-resistant paint provides a reasonable base as long as it's in good condition. Lightly sand to improve adhesion, clean the surface and apply a fresh coat of heat-resistant paint over the top. Skip the shellac prime if the existing paint is sealed and intact.