
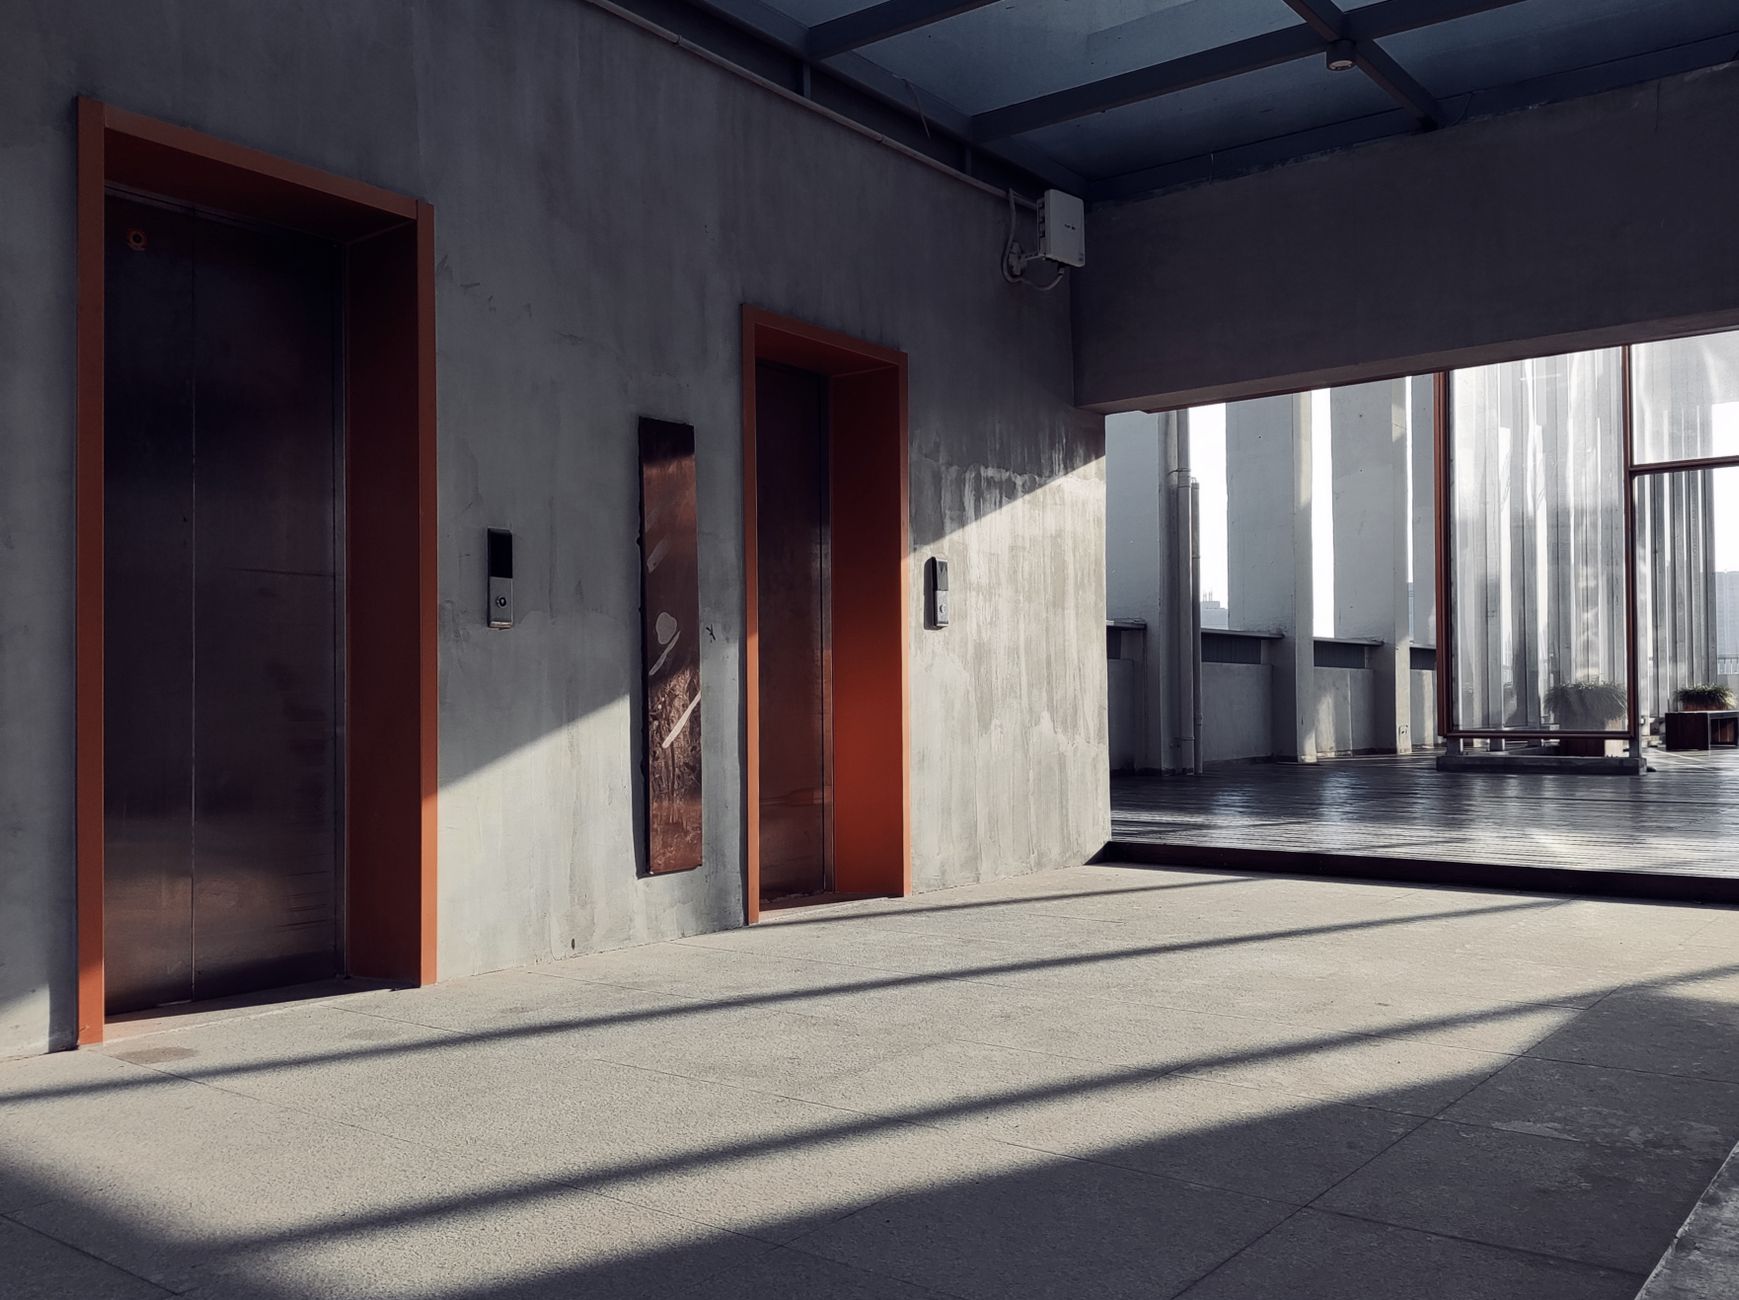
Polished concrete walls are showing up in offices, retail fit-outs and hospitality spaces across Melbourne, and most painters treat them the same way they'd treat a poured slab floor or a rendered panel. That's a mistake. Polished concrete has a closed, near-impervious surface that resists adhesion in ways unprepared painters discover only after the job is signed off and the client is on site.
Apex Painting handles polished concrete walls as a separate surface category, not a variant of standard concrete work. The distinction matters, and so does understanding exactly why before you choose a product or pick up a prep tool.
What makes polished concrete walls different
Standard poured concrete is porous. It drinks primer, gives the coating mechanical grip and dries predictably. Polished concrete has been ground and burnished to close its pores. The surface reads as smooth to the touch, sometimes almost glass-like, and that smoothness is precisely what makes it problematic for paint adhesion.
On top of the densified surface, polished concrete in commercial spaces often carries residual sealer. Some sealers are silicate-based and penetrating; others are topical polyurethane or epoxy coatings. Each reacts differently to paint, and the wrong combination creates a failure point at the sealer-paint interface rather than at the substrate itself. The wall looks fine until the paint sheet-peels six months in.
Lighting in commercial spaces often runs along polished concrete walls at a raking angle. Any adhesion failure, even a small bubble or a slight loss of sheen, shows clearly. It's not a surface that forgives minor prep shortcuts. Knowing how to handle paint adhesion failures on commercial surfaces is useful, but avoiding them entirely is the real goal.
Surface testing before anything else
Before touching the wall with a roller or a primer, do a water drop test. Place a few drops on the surface and watch. If the water beads and sits, the wall carries a topical sealer or high-density burnish. If it absorbs slowly, there's some porosity left. If it absorbs quickly, the surface is more like standard concrete and can be treated with a standard concrete primer.
Follow the water test with a cross-hatch adhesion test using low-tack tape. Scuff a small area with 120-grit sandpaper, apply your intended primer, allow it to cure, then press tape firmly and peel fast. If the primer comes with it, your surface needs more mechanical preparation or a different primer chemistry.
Identify the sealer type if you can. Check project specs or ask the facilities manager. A silicate sealer (often called a densifier) is compatible with most acrylic and epoxy topcoats. A polyurethane topcoat sealer is not. Applying acrylic paint over a polyurethane sealer without mechanical abrasion almost always fails.
Mechanical preparation: what actually works
For polished concrete walls with a closed surface or topical sealer, mechanical abrasion is non-negotiable. Light sanding with 80 to 120-grit opens the surface just enough for primer to grip without destroying the visual character of the concrete, which the client usually wants to preserve.
Avoid wire brushing. It leaves random scratches that read as scuffs under certain lighting, which matters on a polished wall where the aesthetic is the point. Use a random orbit sander or a flat pad sander kept moving in consistent passes. Work in sections and vacuum thoroughly between passes. Dust sitting in the micro-scratches is a contamination layer that defeats the purpose of the abrasion.
Chemical deglossers are sometimes proposed as a faster alternative to sanding. On polished concrete walls, they're unreliable. They work reasonably well on oil-based paint films but don't consistently open a burnished concrete surface. If time is the constraint, use both: light mechanical abrasion followed by a single pass with a diluted deglosser, then a thorough rinse.
Choosing the right primer
Standard interior concrete primers are formulated for porous surfaces. They'll soak into open concrete well, but they sit on polished concrete rather than bonding to it. For polished surfaces, use a bonding primer specifically rated for low-porosity or non-porous substrates. Look for products with a polyurethane or epoxy base, or a dedicated concrete bonding primer from manufacturers like Dulux or Taubmans with an explicit low-porosity rating.
Apply the bonding primer thin. Thick primer coats on non-porous surfaces dry on the surface rather than into it, creating a thick film that's only as strong as its surface contact. One thin, even coat consistently outperforms a thick single application on polished concrete.
Allow full cure time before topcoating. On a low-porosity substrate, primers take longer to reach full mechanical strength than the label's minimum dry time suggests. In a commercial fit-out environment, overnight cure is safer than the four-hour recoat minimum, especially if air movement in the space is limited.
Topcoat selection for occupied commercial spaces
Polished concrete walls are almost always in areas where the finish matters visually: foyers, boardrooms, open-plan offices, hospitality venues. The topcoat needs to perform under scrutiny and hold up under commercial wear.
A low-sheen or satin acrylic latex is the most common choice, but it needs to be a commercial-grade formula rather than a residential product. Commercial-grade acrylics carry higher solid content, which means more film build per coat and better abrasion resistance. On a polished concrete wall in a high-foot-traffic corridor, that difference in wear performance is real.
For spaces with frequent cleaning, food or chemical contact, a two-pack polyurethane or an epoxy topcoat gives significantly better washability and chemical resistance. The trade-off is application complexity, ventilation requirements and longer cure times before the space can be reoccupied. Choosing the right finish upfront is closely related to the broader question of how to choose the right paint finish for commercial interiors, and polished concrete walls sit at the demanding end of that spectrum.
Application technique on a vertical polished surface
Polished concrete walls don't hold paint the way a textured or porous wall does. On a vertical surface, runs and sags are more likely because the paint has no mechanical texture to slow it down. Use a short-nap microfibre roller (6mm or less) and keep the wet film thin.
Work in manageable sections to maintain a wet edge. On a polished surface, a dried lap mark shows more prominently than on a textured one. Don't stop mid-wall if you can avoid it. On large panels, work with a second person: one cutting in at edges, one rolling the field, keeping pace.
Two thin coats beat one thick coat every time on this surface. The first coat seals the primed surface and establishes a base. The second coat brings the colour depth and sheen uniformity. Rushing to a single thick coat creates the conditions for sags, uneven sheen and poor adhesion at the topcoat-to-primer interface.
Managing the project in a live commercial environment
Polished concrete wall painting in occupied spaces carries one additional complication: dust from mechanical preparation must be controlled. Sanding a polished concrete wall generates fine silica-containing dust, and in an occupied or partially occupied building, that creates a health and contamination risk.
Use a vacuum-attached sanding system where possible and schedule mechanical preparation outside business hours. Seal off the work area with temporary sheeting before any sanding begins. The broader strategies for minimising business disruption during a commercial repaint apply here, but dust management on polished concrete demands specific attention that a standard soft-furnishings-and-sheeting approach doesn't fully address.
Apex Painting schedules polished concrete wall preparation work as a distinct phase, separated from priming and topcoating by at least a full working day. The separation allows for air clearance, full vacuum of settled dust and a proper inspection of the prepared surface before any liquid product touches the wall. On a surface this unforgiving, that sequencing is the difference between a finish that holds and one that doesn't.