
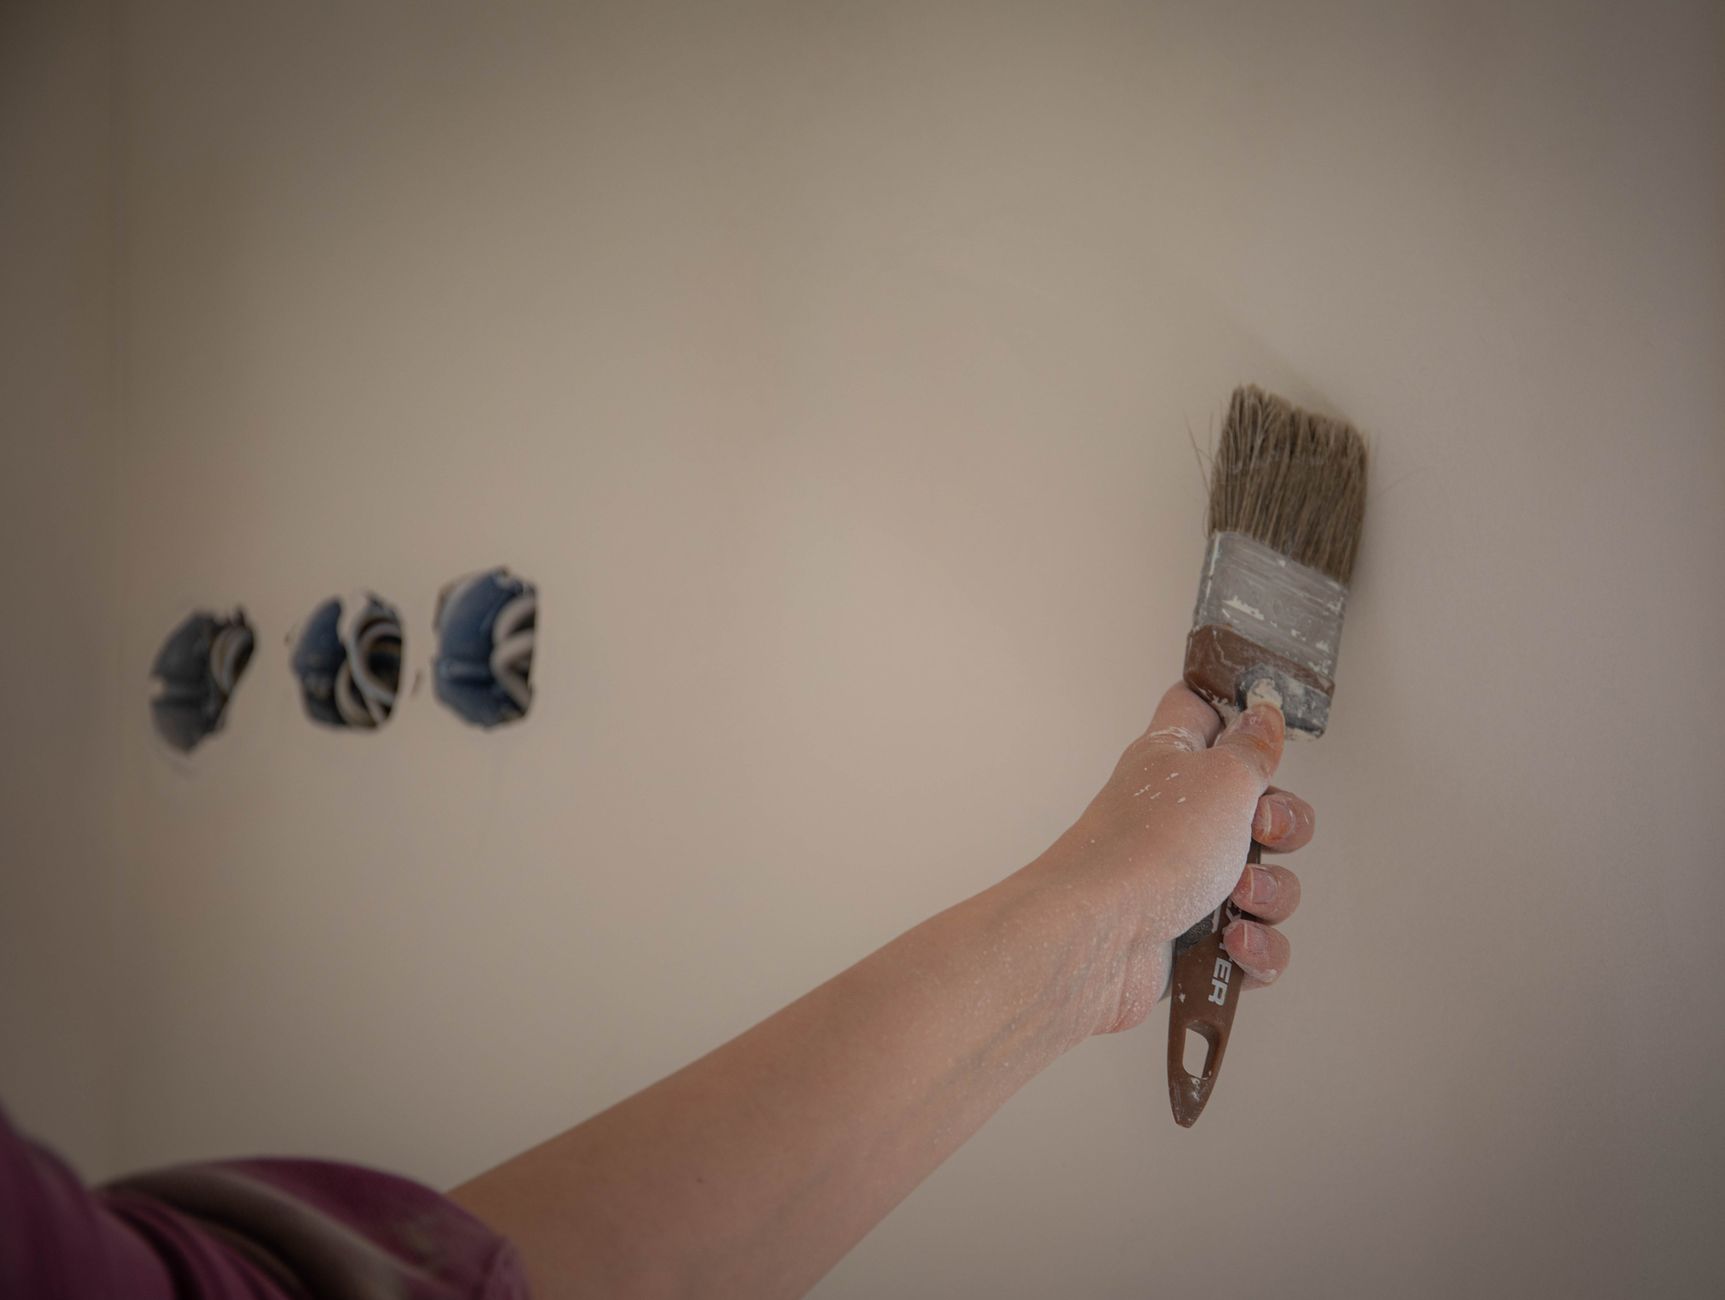
Touch-up paint is one of those jobs that looks simple until the patch dries and you realise it's more visible than the scuff it was meant to fix. A slightly different sheen, a hard edge, a colour that's a fraction off. The wall looks worse, not better. The good news is that most failed touch-ups come down to three predictable mistakes, and all of them are avoidable.
Why touch-up patches show
Fresh paint on an aged wall almost always looks different when it dries. The base coat has faded, yellowed or oxidised over time. Even if the paint tin is from the same batch, the colour you're applying is landing on a surface that no longer matches what came out of that tin years ago.
Sheen is the other culprit. A fresh dab of paint catches light at a slightly different angle to the surrounding area, creating a ghost patch you can see clearly from across the room. This problem gets worse on flat or low-sheen paints, which are actually the hardest surfaces to touch up because any variation in film thickness reads as a tonal shift. Semi-gloss and gloss surfaces are more forgiving on sheen but less forgiving on colour.
Age and application method matter too. A brush-applied patch into a roller-textured wall will look different even if the colour is perfect, because the surface texture underneath the paint is inconsistent.
Matching the paint correctly
If you have the original paint tin with the batch code printed on the label, take it to the same paint brand's stockist and ask for a fresh mix from that code. Dulux and most major Australian brands keep formula records and can reproduce earlier batches with reasonable accuracy. If you don't have the code, a colour-matching service using a physical chip from an inconspicuous section of wall is the next best option.
Don't trust your eye in the paint aisle. Two colours that look identical under fluorescent store lighting can separate into clearly different shades once on the wall in natural light. Ask for a sample pot and let it dry completely before committing to a full touch-up.
One thing often overlooked: the sheen level of your touch-up paint must match the existing finish exactly. If the original was low-sheen, you need low-sheen. The same colour in a semi-gloss will read as a bright patch no matter how carefully you apply it.
Preparing the surface before you apply
Clean the area first. Grease, dust and surface contaminants break the bond between old and new paint. Use a damp cloth with a small amount of sugar soap and let the area dry completely. Don't skip this step on kitchen and bathroom walls, where invisible grease films are almost always present.
Sand the damaged area lightly with 220-grit sandpaper to feather the edges of any existing chips or raised paint. The goal is a smooth transition between the repaired area and the surrounding surface. If the damage is a hole or a deep gouge, fill it with a flexible filler, let it cure, sand it flat, then apply a spot primer before your topcoat. Unpainted filler is porous and will absorb paint differently to the sealed wall around it, which guarantees a visible patch.
Apply a shellac-based or water-based spot primer to any bare substrate. One thin coat is enough. Let it dry for the full recommended time before painting over it.
Application technique that hides the repair
Use the same tool as the original finish where you can. If the wall was rolled, use a small roller. A 100mm foam roller works well for small areas and replicates the stippled texture of a larger roller without requiring you to roll an entire wall section.
Apply the first coat thinly and feather the edges outward from the repair. Don't try to build full coverage in one pass. Two thin coats with the edges feathered 50mm to 75mm beyond the damaged area will blend better than one thick coat that sits proud of the surface.
Let the first coat dry completely before applying the second. This is where impatience creates problems. Paint that's applied wet-on-wet builds film thickness unevenly and increases the chance of a raised patch that catches light differently to the surroundings.
If the patch is still faintly visible after two coats, the honest solution is to paint the full wall from corner to corner. This is the only reliable way to achieve a true match when the existing paint has aged significantly. Apex Painting recommends full-section repaints for walls that are more than 3 to 4 years old, because the colour shift by that point is simply too great for a small repair to bridge invisibly.
Touch-ups on high-traffic and investment properties
Rental and investment properties tend to need touch-ups between tenancies, and the same principles apply with one additional consideration: durability. A touch-up paint that doesn't match the washability of the original finish will wear differently over the next tenancy, creating an obvious patch within months. If you're managing an investment property, it's worth keeping a record of every paint product and colour used in each room. That record makes future touch-ups considerably more accurate. For a broader look at how paint choice affects long-term returns, the guide on how to choose paint for a Melbourne investment property renovation covers the product decisions that hold up through multiple tenancies.
For properties where the exterior has started showing localised failure, a touch-up approach won't hold. Spotting the early signs of exterior paint failure will help you decide whether a repair is feasible or whether a full repaint is the more cost-effective path.
When to stop touching up and repaint
There's a point at which accumulating touch-ups cost more in time and materials than a single proper repaint would. If a wall has more than 5 or 6 visible patches, or if the colour has faded unevenly across a large section, a full repaint is the cleaner outcome. A repaint also resets the surface, so future touch-ups have a better chance of working.
One final point: don't store leftover paint in a tin that's more than 80% empty. The air in the tin causes the remaining paint to skin over and oxidise faster, meaning the colour in the tin drifts from the colour on the wall. Decant leftover paint into a smaller airtight container, label it with the room name, colour code and application date, and store it in a cool dry spot away from direct sunlight.