
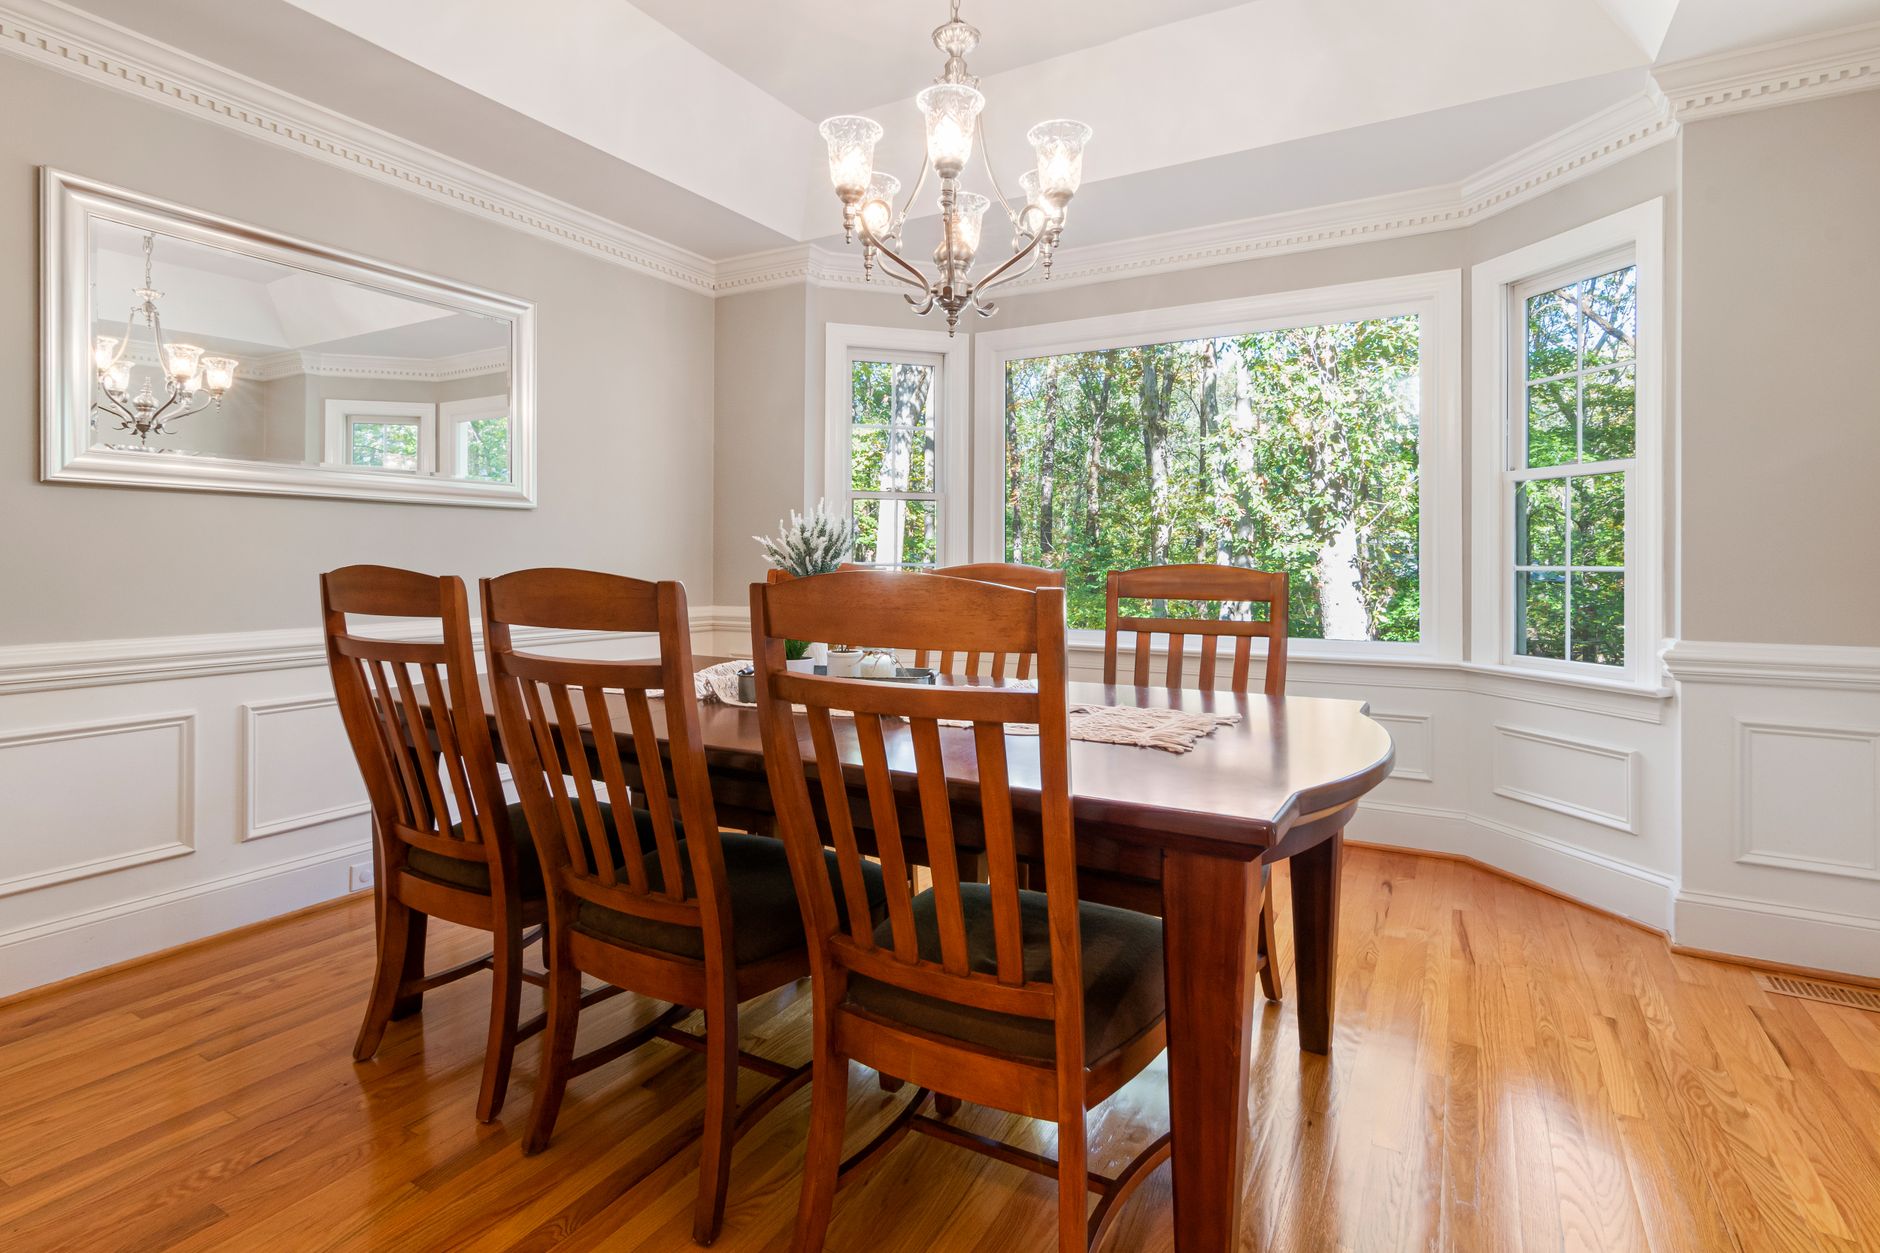
Bay window reveals are among the most unforgiving surfaces in any house paint job. The angled faces sit in bright, raking light that highlights every ridge, drip and overlapping brush mark. Most DIYers brush them quickly and move on, and that's exactly where the finish falls apart. Apex Painting handles bay window reveals as a precision job, not an afterthought, and the result is a clean, seamless surface that reads as part of the room rather than a messy edge.
Why bay window reveals fail more often than other surfaces
The geometry is the problem. A standard flat wall gives you a stable arm position and a consistent angle. A bay window reveal changes both. The reveal faces inward at an oblique angle, often quite narrow (sometimes as tight as 80 mm), and the paint dries in strong directional light. That combination turns any brushing inconsistency into a visible ridge. The light doesn't lie.
Moisture is the other issue. Bay windows are typically older construction, and the reveals frequently collect condensation where the glazing meets the frame. Old, soft paint on those surfaces means adhesion problems right from the start. Don't skip the prep because the area looks small.
What you need before you start
Gather the right tools first. A 25 mm sash brush handles narrow reveals better than a 50 mm brush, which you'll be tempted to use to save time. A foam mini-roller (100 mm) lets you roll flat sections without brush marks and is worth having for wider reveals. You'll also need:
- 120-grit and 180-grit sandpaper
- Sugar soap and clean cloths
- Good-quality painter's tape (Frog Tape holds well on glossy trim)
- A quality water-based trim enamel
Don't use cheap tape on reveals. The narrow angled surface means any tape bleed produces a visible line in exactly the spot your eye goes first.
Preparing the reveal surface properly
Wash the reveal with sugar soap and let it dry completely. In older homes, you'll often find multiple layers of oil-based paint in various states of peeling. Sand all of this back to a solid edge. Feathering the transition between old paint and bare timber takes an extra 10 minutes but prevents the step-edge shadow that shows through the topcoat.
Fill any cracks with a flexible filler, not a rigid one. Bay window reveals move with the frame as the house settles and with temperature changes. Rigid filler cracks again within months. Apply, let it cure fully, then sand flush. Wipe down again before priming.
Prime bare timber and repaired patches with a purpose-made timber primer. The primer seals the repair and gives the topcoat a consistent base to absorb into. Skipping this step on patched reveals is how you get sheen variation in the final coat, where primed sections look subtly different from unprimed ones.
Cutting in without leaving marks
Load the sash brush lightly. One of the most common reveal painting mistakes is overloading the brush. Excess paint settles into corners and dries as a ridge, and there's no room to feather it out without touching the glass or the wall beside it.
Work in one direction only. Start at the top of the reveal and pull the brush down in a single, even stroke. Don't go back and forth. Brush marks from back-and-forth strokes show in angled light, especially in a semi-gloss or gloss finish, which is what most reveals call for.
For flat sections wider than about 60 mm, apply the paint with the brush and then lightly roll it with a foam mini-roller before the paint skins. The roller flattens brush marks without adding texture. This technique works well on water-based enamels, which you should be using in any case. Solvent-based enamels take longer to flash off, which gives you more time but creates ventilation problems at the window.
Handling the corners and the wall junction
Where the reveal meets the interior wall is where most people make the worst cuts. The temptation is to press hard to get right into the corner, but pressing hard forces excess paint into the corner and leaves a visible bead when it dries. Instead, load lightly and place the tip of the brush into the corner with minimal pressure. A second, lighter pass picks up any gaps without adding buildup.
If you're changing the colour of the reveal relative to the adjacent wall, see how the approach to painting around windows works for managing tape lines on angled trim. The same masking logic applies to reveals, especially where the glazing bead meets the face of the reveal.
Let each coat dry fully before assessing whether a second is needed. Water-based enamels recoat in 2 to 4 hours under good ventilation, but rushing the second coat onto a tacky first coat causes drag marks that are nearly impossible to correct without sanding back.
Choosing the right sheen level for a reveal
Reveals take most of their visual cues from the trim around them. If your window frames and skirting boards carry a semi-gloss finish, the reveal should match. Using a flat or low-sheen paint on a reveal surrounded by gloss trim looks like an error, not a design choice.
Semi-gloss is the right call for most reveals. It's cleanable, holds up to condensation better than low-sheen, and reflects enough light to feel intentional without magnifying every surface imperfection the way full gloss does. Full gloss is only worth considering if the existing frames are already full gloss and the surface is in excellent condition. Any bump or ridge reads loudly under full gloss in a bay window setting. For advice on matching sheen to every room in your home, the guide on choosing the right paint finish for every room covers the logic in full.
Common mistakes that show up weeks later
Painting over loose or flaking paint without proper removal is the most common source of bay window reveal failures. The small area fools people into thinking they can get away with a light sand. They can't. Water gets behind the loose edge and the new coat lifts within a season.
Using the wrong primer under a water-based topcoat on previously oil-painted surfaces is another regular problem. Water-based primer over intact oil-based paint works, but only if the oil paint is thoroughly abraded. Without abrasion, adhesion is marginal and the topcoat peels from the primer rather than the substrate. Use a dedicated adhesion primer on any reveal with intact oil paint underneath.
Finally, don't paint in direct sunlight. Bay windows, by definition, face the sun for part of the day. Painting on a hot, sunny surface causes the solvent to flash off before the paint film has levelled. The result is a rough, orange-peel texture that no amount of additional coats will fix without sanding back. Paint reveals early in the morning or when the sun has moved off the face of the house. Dulux recommends a surface temperature between 10°C and 35°C for water-based trim paints, which means midday summer conditions on a north- or west-facing bay are out.
When to call a professional
If the reveal has significant rot, cracked render around the frame, or historic glazing putty that's crumbling, a DIY repaint will mask rather than fix the problem. Apex Painting assesses bay window reveals as part of any whole-house repaint, identifying surface issues that need attention before the brush goes near the paint tin. A clean reveal done properly lasts 6 to 8 years before it needs attention again. A rushed one needs re-doing in 2.