
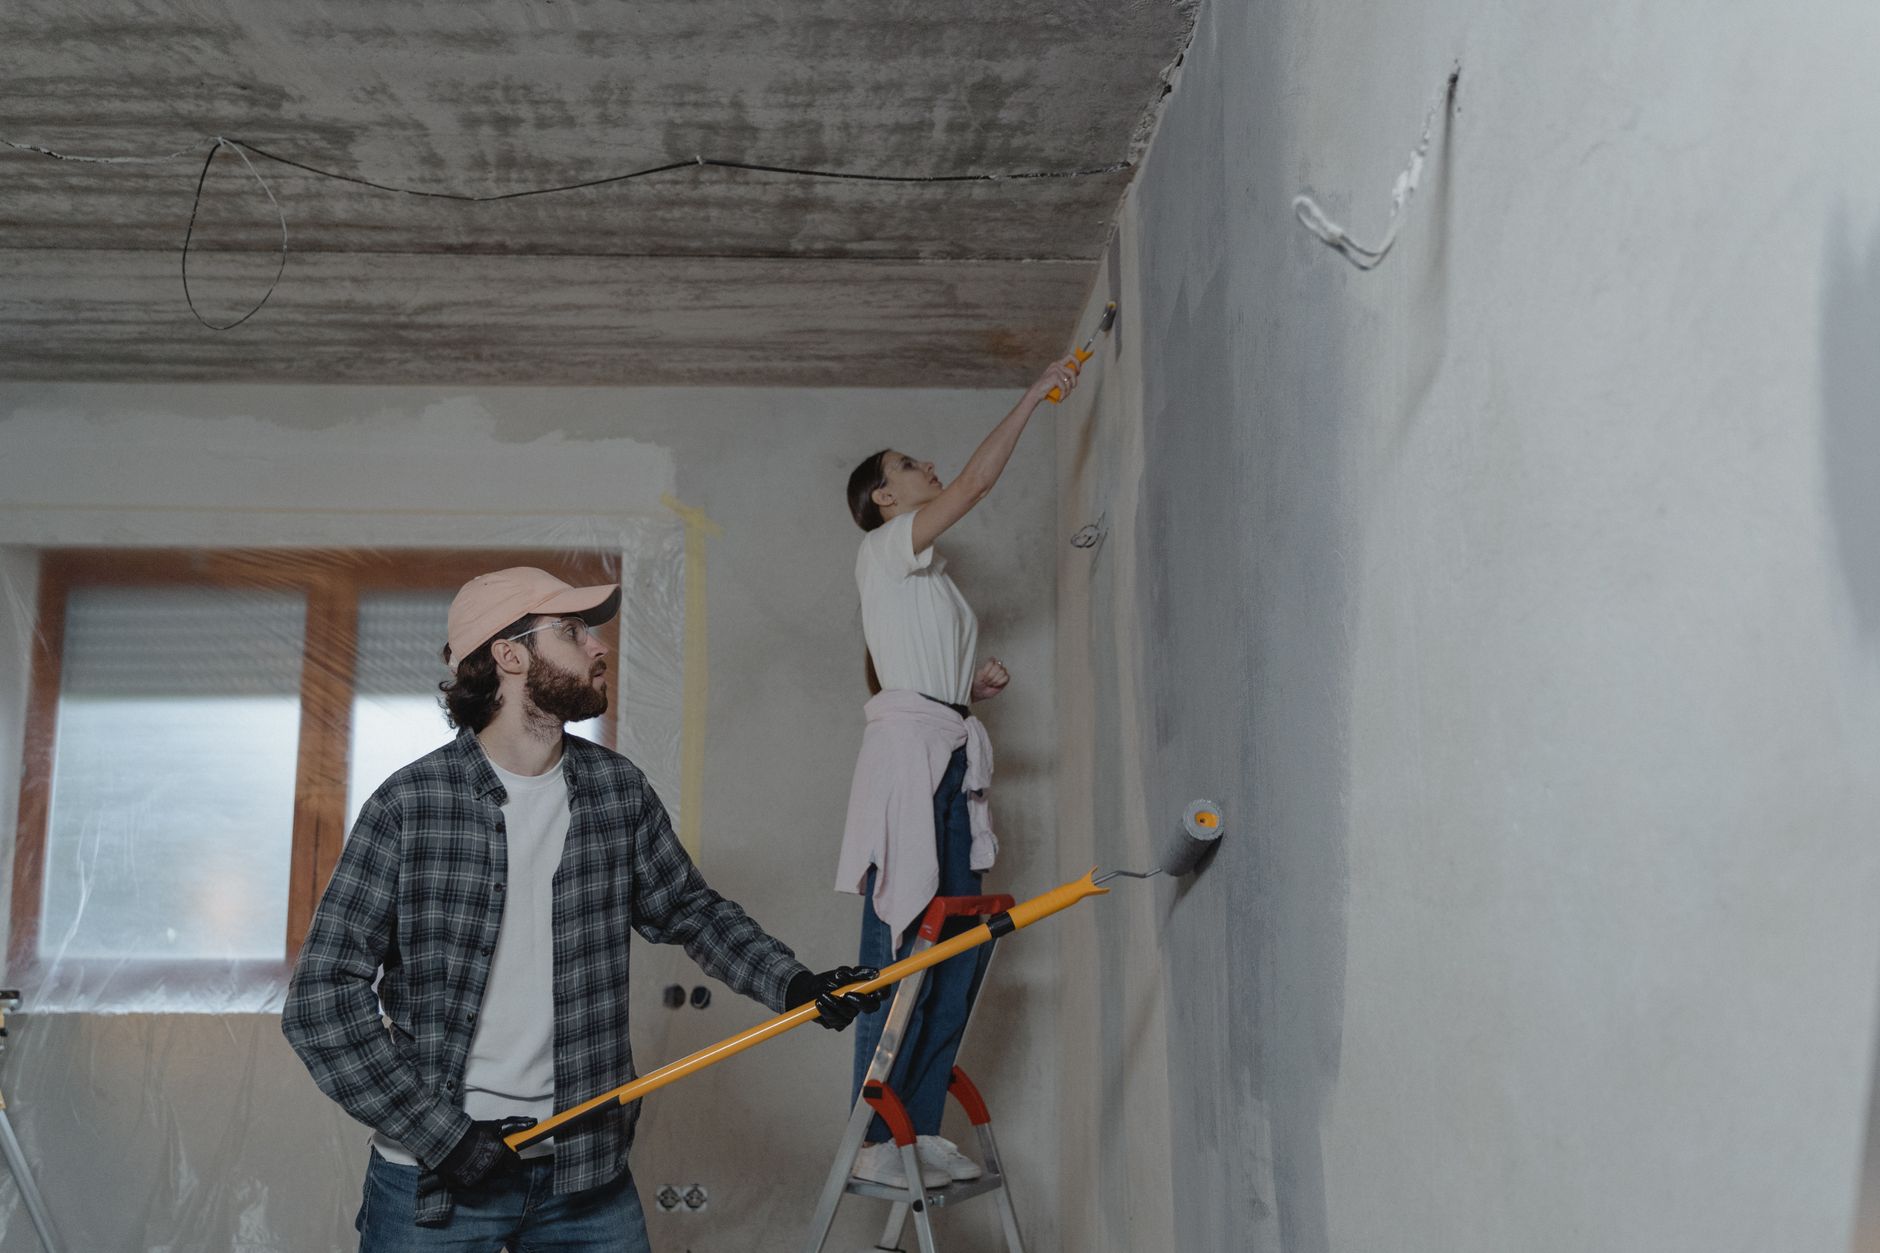
Popcorn ceilings are one of the trickier surfaces to repaint in any home. The texture grabs dust and stains readily, and the moment you apply paint the wrong way, you risk pulling chunks of the coating off the surface or flooding the peaks until they collapse. Getting it right takes a different approach than painting a flat ceiling, and a few wrong moves early in the job can mean hours of remediation later.
Why popcorn ceilings need special treatment
The sprayed texture on a popcorn ceiling is fragile. It's typically a mix of polystyrene beads or vermiculite set in a paint or compound base, and it bonds to the substrate reasonably well until you introduce too much moisture or mechanical pressure. A saturated roller dragged across it will strip the peaks. A cheap brush used to cut in at the edges can pull whole patches loose. The texture also creates a massive surface area compared to a flat ceiling, so coverage rates drop significantly and you'll use more paint than you'd expect.
Before any brush or roller touches the surface, check whether the ceiling has ever been painted before. An unpainted or poorly sealed popcorn ceiling will absorb paint unevenly, leaving you with a blotchy finish no matter how carefully you apply it.
Preparation: the part most people skip
Protection matters more here than on almost any other surface in the room. Popcorn ceilings shed. They shed when you vacuum them, when you tape near them, and certainly when you paint them. Lay drop sheets across every piece of furniture and the entire floor before you begin. Use painter's tape to mask walls and cornices, pressing lightly so the tape doesn't grip the texture and pull it when you remove it.
Vacuum the ceiling before painting. Use a soft brush attachment and move slowly. This removes loose particles, dust and cobwebs that would otherwise stick in the paint and create a rough, uneven finish. Don't press the attachment against the surface. Hold it close and let suction do the work.
Treat any stains with a shellac-based primer before the topcoat. Water-based stain blockers can reactivate certain stains through the texture and cause bleed-through. Apply the shellac with a short-nap roller, lightly loaded, and let it dry fully. Rushing this step means the stain shows through the finish coat.
Choosing the right paint and roller
Use a flat or low-sheen ceiling paint. A satin or semi-gloss will highlight every imperfection in the texture, and popcorn ceilings have plenty of those. Flat white is the standard choice and it's standard for a reason: it diffuses light evenly, hides surface variation and doesn't draw the eye upward.
Roller nap is critical. A thick nap of at least 18mm to 25mm reaches into the texture without pressing down hard enough to break it. A short-nap roller sits on top of the peaks, misses the valleys entirely, and forces you to apply pressure to get coverage. That pressure is what collapses the texture. Get the right nap from the start.
Load the roller lightly. Wring it out on the tray until it's damp rather than saturated, then apply in a single direction without reversing the stroke mid-run. One direction, minimal pressure, and let the paint flow into the texture rather than pushing it. Ceiling painting technique generally benefits from working in sections with a wet edge, and popcorn surfaces are no different: don't let the edges dry before you overlap them.
Cutting in: the high-risk step
Cutting in around the cornice is where most people damage the texture. The instinct is to use a brush and work right to the edge, but a brush loaded with paint and pressed into the texture will strip it every time. Instead, mask the cornice and upper wall tightly with painter's tape and use a small, lightly loaded roller to get within 10mm of the edge. Remove the tape before the paint fully cures to avoid pulling the texture with it.
If the texture doesn't extend all the way to the cornice (which is common in older homes), a brush is fine for the final millimetres of the plain surface. Keep it dry and don't let paint bleed onto the textured area.
How many coats you'll actually need
Flat paint on a popcorn ceiling almost always needs two coats. The texture absorbs the first coat heavily and unevenly, particularly if the surface hasn't been painted in years. The second coat evens out the coverage and picks up any spots the roller skipped due to the irregular surface profile.
Wait at least two hours between coats, or longer if the room is humid. Applying a second coat over a wet first coat causes the texture to rehydrate and soften, which makes it vulnerable to pulling. If you're working in a bathroom-adjacent ceiling or a poorly ventilated space, extend the dry time and consider a bathroom-rated ceiling paint with mould-inhibiting properties.
If you're tackling other rooms at the same time, it's worth reading up on how to choose the right paint finish for every room, since the rules for flat ceilings don't carry over to walls, trims or high-traffic zones.
What to do if the texture is damaged
Popcorn texture repair products are available at most hardware stores in Melbourne. They're sprayed or trowelled on to fill bare patches, and they match the texture reasonably well once painted. The trick is applying them before you paint, not after. Attempting to spot-repair over a freshly painted surface creates a visible seam because the repair won't absorb paint the same way the original texture does.
If the damage is widespread, it's worth weighing up whether to repair, paint over as-is, or have the texture professionally removed and replaced with a flat finish. Removal is a separate job and can be labour-intensive, but it gives you a clean surface with no ongoing maintenance concerns from a fragile coating.
For a broader look at how paint projects fit into the cost of maintaining your home, the home improvement budget guide covers how to allocate spending across jobs so nothing gets deferred past the point where it costs more to fix.
The finish to expect
A correctly painted popcorn ceiling looks uniformly white (or whatever colour you've chosen), with the texture intact and no visible brush marks, roller lines or bare patches. It won't look like a flat ceiling, nor should it. The goal is an even, clean result that refreshes the room without drawing attention to the ceiling itself. If anything catches the light unevenly, a second coat applied perpendicular to the first often resolves it.
Take your time on the first coat. Popcorn ceilings reward patience and punish speed.