
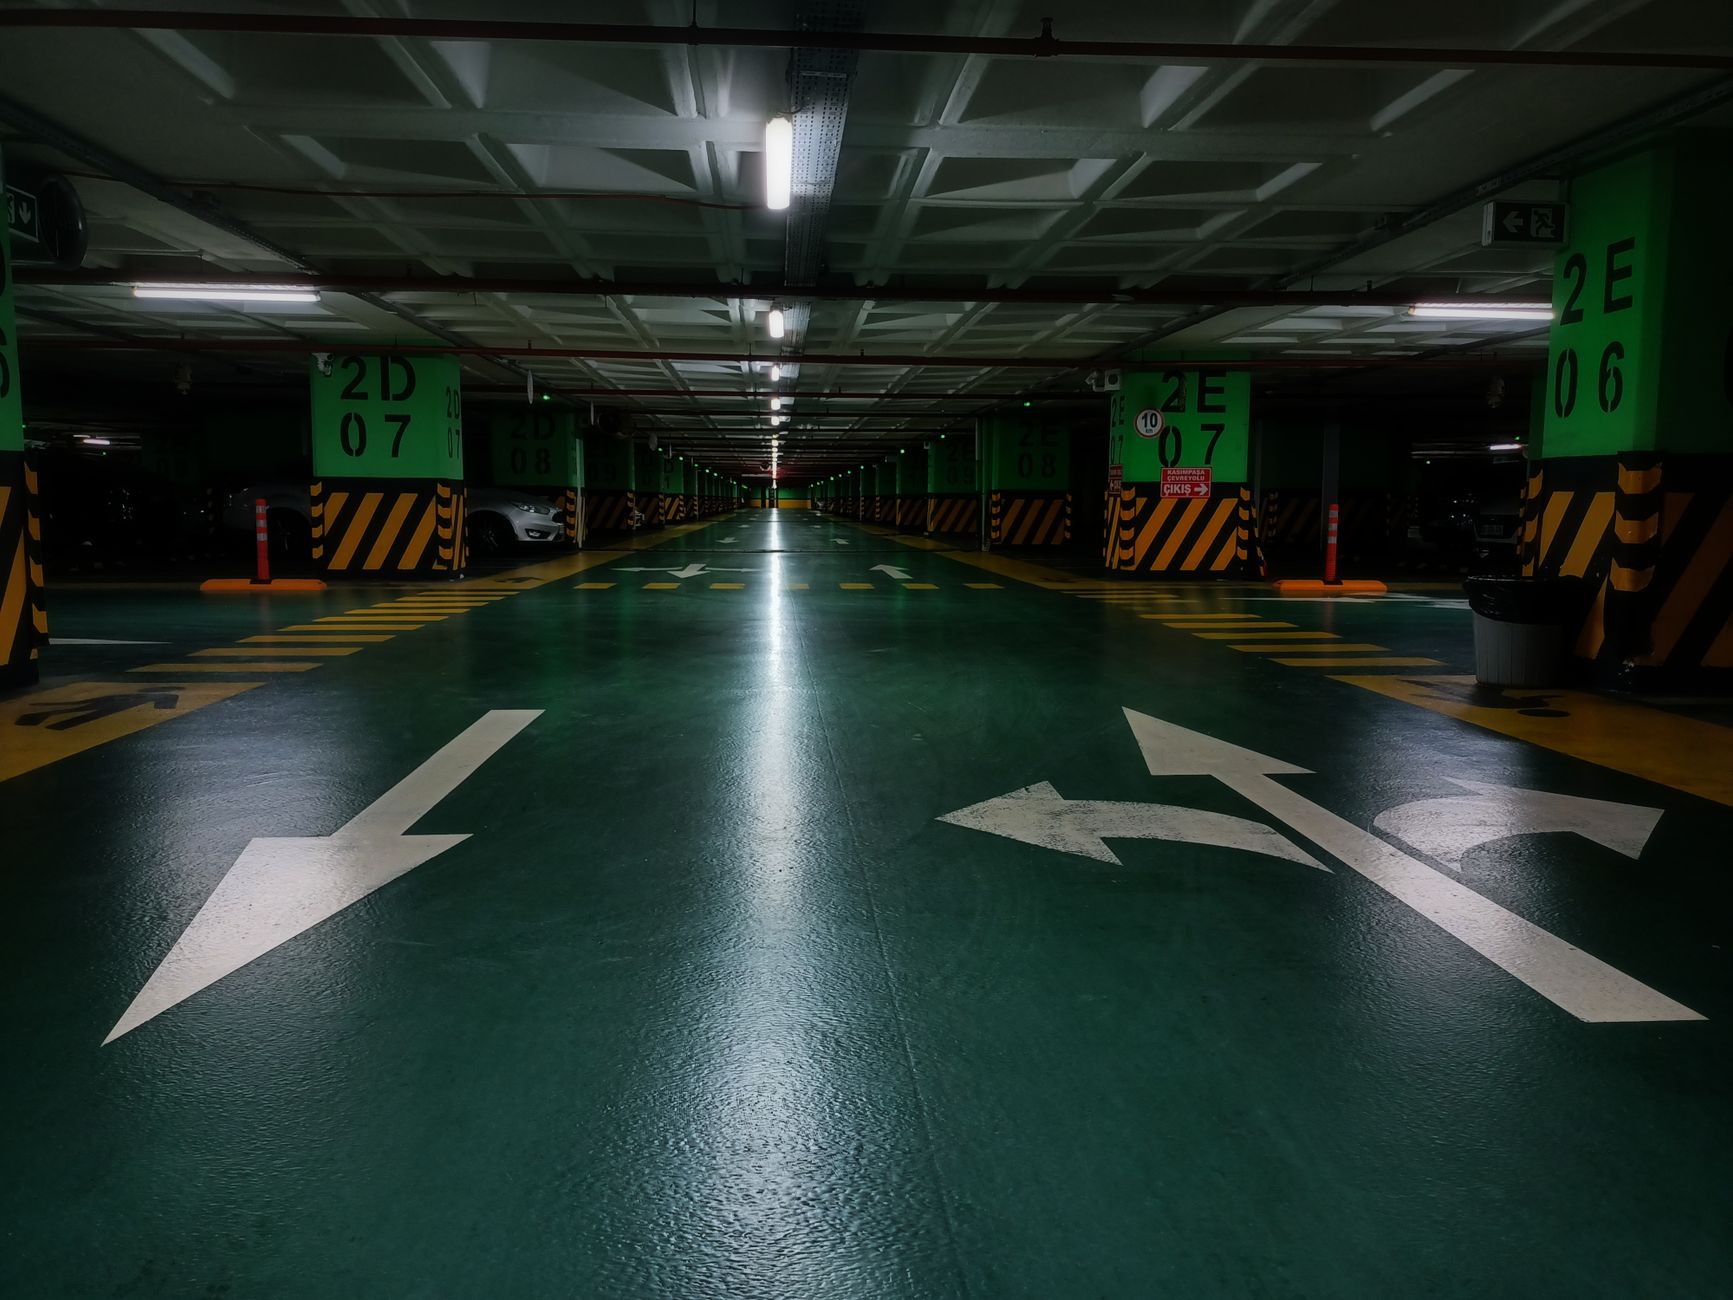
Garage floors take punishment from car tyres, oil drips, chemical spills and constant foot traffic. Standard concrete sealer won't cut it, and neither will a coat of leftover wall paint. Getting the product choice, surface preparation and application technique right is what separates a finish that chips within months from one that holds up through years of daily use. Apex Painting handles garage floor projects across Melbourne, and the mistakes we see most often come down to skipping prep or reaching for the wrong product.
Why garage floors fail faster than other surfaces
Concrete is porous. It absorbs oil, moisture and contaminants deep into the slab before you've even opened the tin. Once oil saturates the surface, paint won't bond to it. That's the reason most DIY garage floor jobs peel within a season. The other common failure point is moisture rising through the slab from below, a problem that's especially relevant in Melbourne where ground conditions shift with the seasons. No coating, however good, will stick to a damp or contaminated substrate.
Tyre marks are a separate issue. Standard epoxy floor paints can react with plasticisers in car tyres, causing a chemical bond failure that pulls the coating off in sheets. This is a material selection problem, not a technique problem. You need a product specifically rated for vehicle traffic.
Choosing the right product for a garage floor
Two product families suit garage floors: epoxy coatings and polyurethane floor paints. Each suits different situations.
- Solvent-based epoxy: The hardest-wearing option for residential garages. Bonds aggressively to properly prepared concrete, resists oil and chemicals, and handles tyre contact without lifting. Two-part systems require mixing and have a pot life (typically 30 to 45 minutes), so you need to work confidently.
- Water-based epoxy: Easier to apply and lower in VOCs. Suitable for garages with good ventilation and lighter vehicle use. It doesn't achieve the same chemical resistance as solvent-based products.
- Polyurethane floor paint: More flexible than epoxy, which makes it better for slabs that experience minor movement. It handles UV exposure well, so it's a good choice if part of the floor gets direct sun through an open roller door.
Dulux and Feast Watson both produce product lines designed specifically for concrete floors subject to vehicle traffic. Check the technical data sheet, not just the label, to confirm chemical resistance ratings before you buy.
Surface preparation: the part that decides everything
No coating performs better than its preparation allows. For a garage floor, preparation has four distinct stages.
1. Degrease thoroughly. Use a dedicated concrete degreaser on any area that has seen oil, grease or brake fluid. Apply it, scrub with a stiff brush, then rinse completely. Repeat if the concrete still looks stained. A simple hose-down won't remove oil that has soaked into the slab.
2. Test for moisture. Tape a 500 mm square of plastic sheeting to the floor and seal all four edges. Leave it for 24 hours. If moisture collects underneath, the slab is too wet to coat. You'll need to let it dry, improve sub-floor drainage, or use a moisture-tolerant primer rated for damp concrete.
3. Etch or mechanically abrade the surface. Concrete needs an open, slightly rough profile for paint to grip. Acid etching with a diluted hydrochloric acid solution is the traditional method. It opens the concrete's pores and removes laitance (the weak surface layer that can delaminate under a coating). Diamond grinding or shot blasting achieves the same result without the chemical handling, but requires equipment hire. For most residential jobs, etching is practical and effective.
4. Repair cracks and spalls. Fill any cracks wider than a hairline with an epoxy crack filler or a flexible polyurethane sealant before coating. Leave the repair to cure fully before applying the floor paint on top. Skipping this step produces a visible crack in the finished surface within months.
Application technique for a smooth, even finish
Start at the far end of the garage and work toward the door. This sounds obvious, but it's the only way to avoid painting yourself into a corner. Use a short-nap (6 mm) roller sleeve rated for epoxy products. Standard foam rollers degrade rapidly in solvent-based systems.
Apply the primer coat first if your product system calls for it. Many two-part epoxy systems include a penetrating primer that bonds to the concrete before the colour coat goes on. Don't skip it to save time. The primer coat is what anchors everything else.
Apply the first colour coat in long, even strokes and work in sections of about 1 square metre at a time. Keep a wet edge to avoid lap marks. Most epoxy systems require a second coat after the first has cured (typically 12 to 16 hours, depending on temperature and humidity). In Melbourne's cooler months, allow extra curing time between coats.
If you want a decorative flake finish, broadcast coloured vinyl flakes into the wet first coat immediately after rolling. Once cured, scrape off any loose flakes and apply the second coat over the top. The result is a surface with texture that also hides minor dirt and tyre marks between cleans.
Drying times and when it's safe to use the floor again
This is where impatience causes most failures. A garage floor coating may feel dry to the touch within 4 hours, but it hasn't cured. Full chemical cure for a two-part epoxy typically takes 7 days at 20°C. During that period, the coating is still hardening.
A rough guide for returning the floor to use:
- Light foot traffic: 24 hours after final coat
- Furniture and equipment: 48 to 72 hours
- Vehicle access: at least 5 to 7 days
In cooler or humid conditions (both common in Melbourne winters), add 30 to 50 per cent to all of these timelines. If you drive onto the floor before the coating has fully cured, tyre contact will leave permanent marks and may pull the surface apart.
Maintenance once the floor is finished
A properly coated garage floor is easy to clean. Sweep regularly to prevent grit from acting as an abrasive underfoot. For oil or chemical spills, wipe them up promptly rather than letting them sit. A diluted pH-neutral cleaner handles most stains without degrading the coating. Avoid bleach-based cleaners on epoxy finishes; they can cause surface chalking over time.
Inspect the floor every 12 months for chips, lifting edges or wear in high-traffic zones. Spot repairs are straightforward if you have the original product and address them early. Left alone, small chips become large peel zones. This is the same principle that applies to timber deck coatings, where early maintenance is far cheaper than a full recoat.
If you're weighing up this project as part of a broader home renovation, it's worth considering how it fits into your overall budget. The home improvement budget guide on this site covers how to sequence and cost multiple projects so nothing blows out unexpectedly.
Apex Painting works with Melbourne homeowners on concrete floor coatings for garages, workshops and utility spaces. If the prep looks complicated or the slab has moisture issues, professional assessment before you buy product will save far more than the consultation costs.